Elden Ring Guide

What to do in your first hour of Elden Ring
Elden Ring
- The basics
- Elden Ring beginner's guide
- Elden Ring Trophy checklist
- How to upgrade summons in Elden Ring
- How to use spells
- What does the Faith stat do?
- Exploration
- Area order - How should you play the game?
- How to get to Nokron
- Bosses
- Full list of all Limgrave bosses
- Items
- Full list of all Talismans
- Best Talismans for Mage builds
- How to get the Jar Canon weapon
If you’ve just started Elden Ring for the first time, you’re probably feeling completely overwhelmed and lost. When I started, I felt that way too, but after sinking over 300 hours into the game across several playthroughs, I’ve got a fair idea of how to quickly set things up for a smoother experience. So here’s exactly what to do in your first hour of Elden Ring to get properly set up.
Dying at the Chapel of Anticipation
Once you’ve created your character and selected your class, you’ll spawn in the Chapel of Anticipation. There’s not much to do here, so grab items off the nearby bodies and follow the path until you reach the Grafted Scion, your first boss.
Like in all Souls games, the first boss you’re forced to face does not need to be defeated. You’re expected to die during this fight, triggering a cutscene that stops the fight and takes you to the game’s main tutorial area: the Stranded Graveyard.
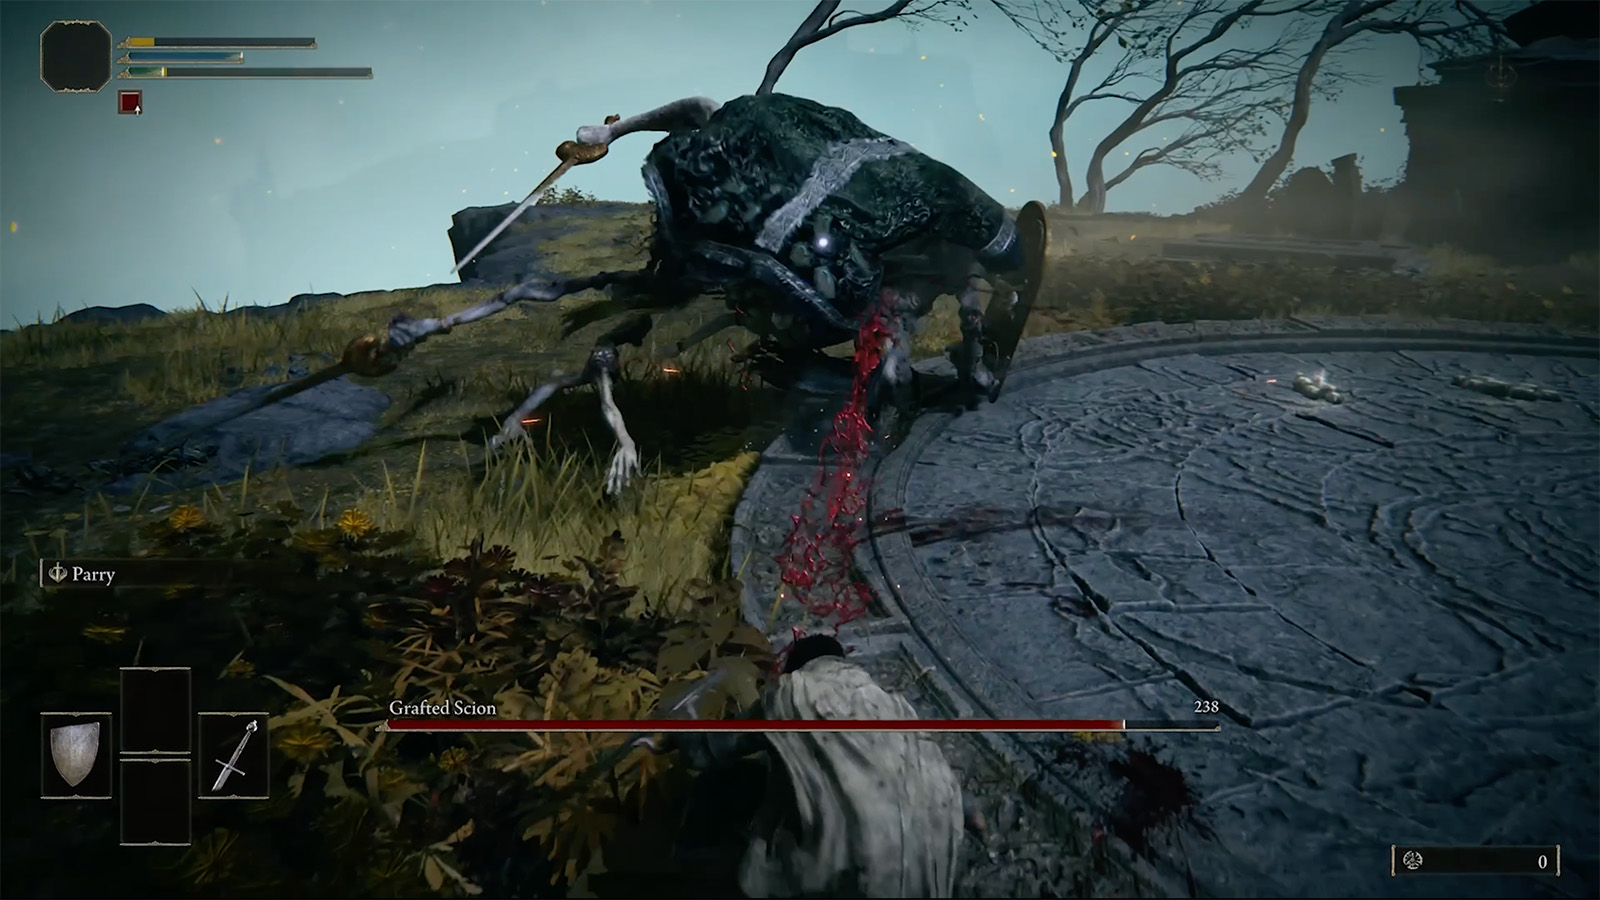
But even players who manage to survive the attack and dwindle the boss’ health down are forced to stop as they too are given the cutscene transporting them to the tutorial.
Completing the tutorial
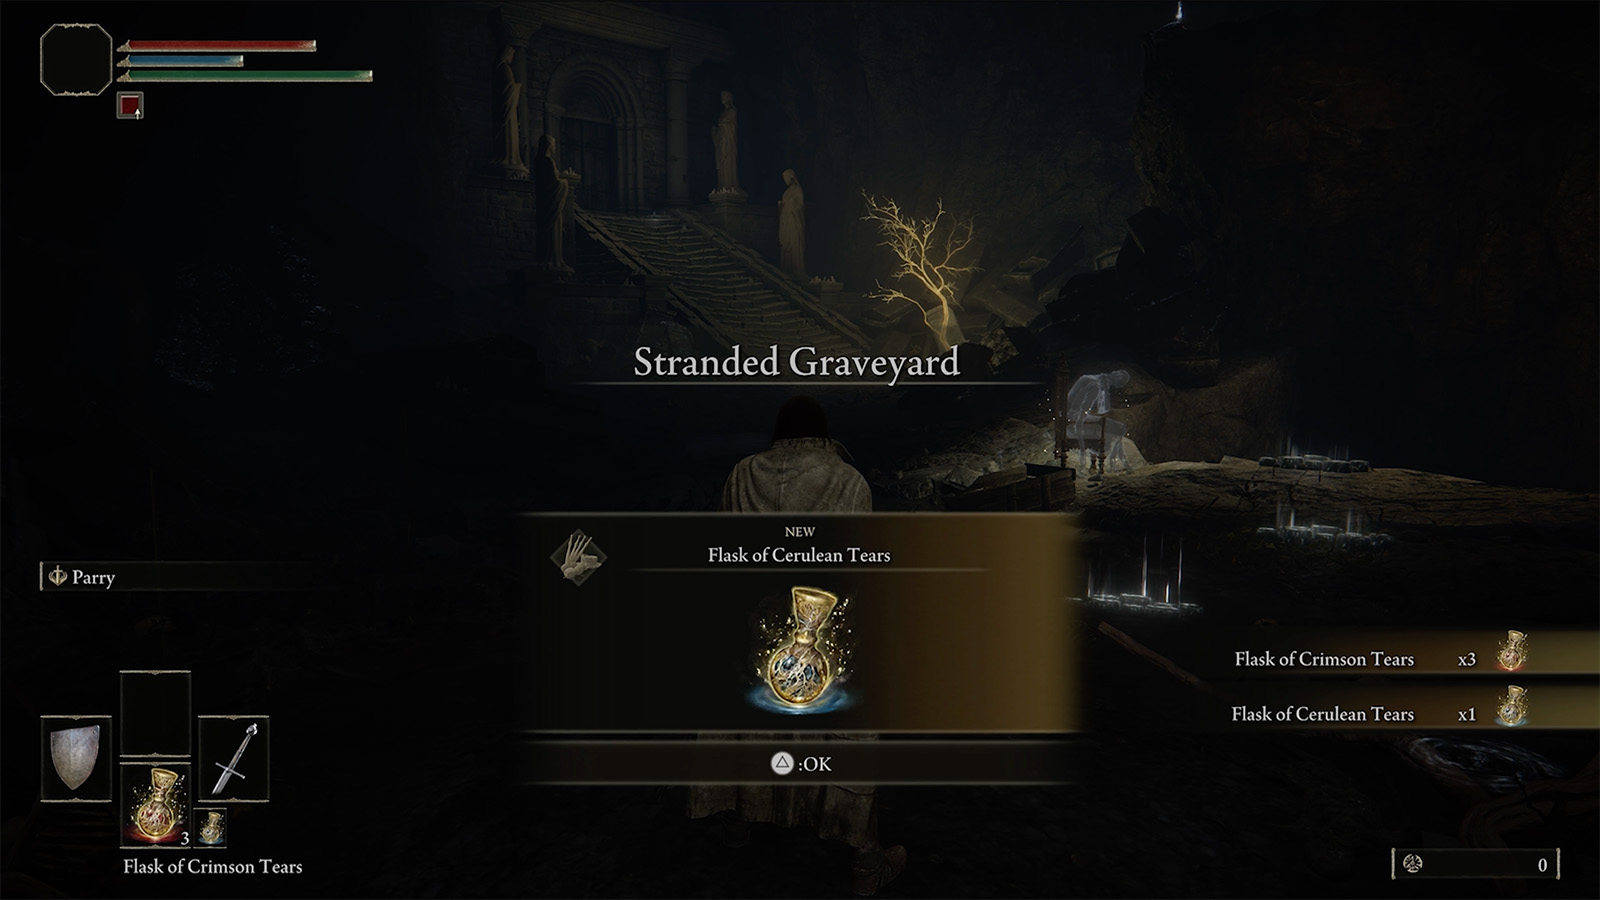
When you arrive at the Stranded Graveyard, skip the staircase in front of you. Instead, jump into the pit to your right, next to the ghost. This drops you into the game’s tutorial. Follow the path forward and read the messages on the floor, they outline basic mechanics that you’re going to need to learn to survive in the Lands Between.
Keep following the tutorial through, defeating all enemies along the way, until you reach a large golden fog door. Going through the fog door leads into a cave opening, and the Soldier of Godrick boss – a boss you can actually defeat.
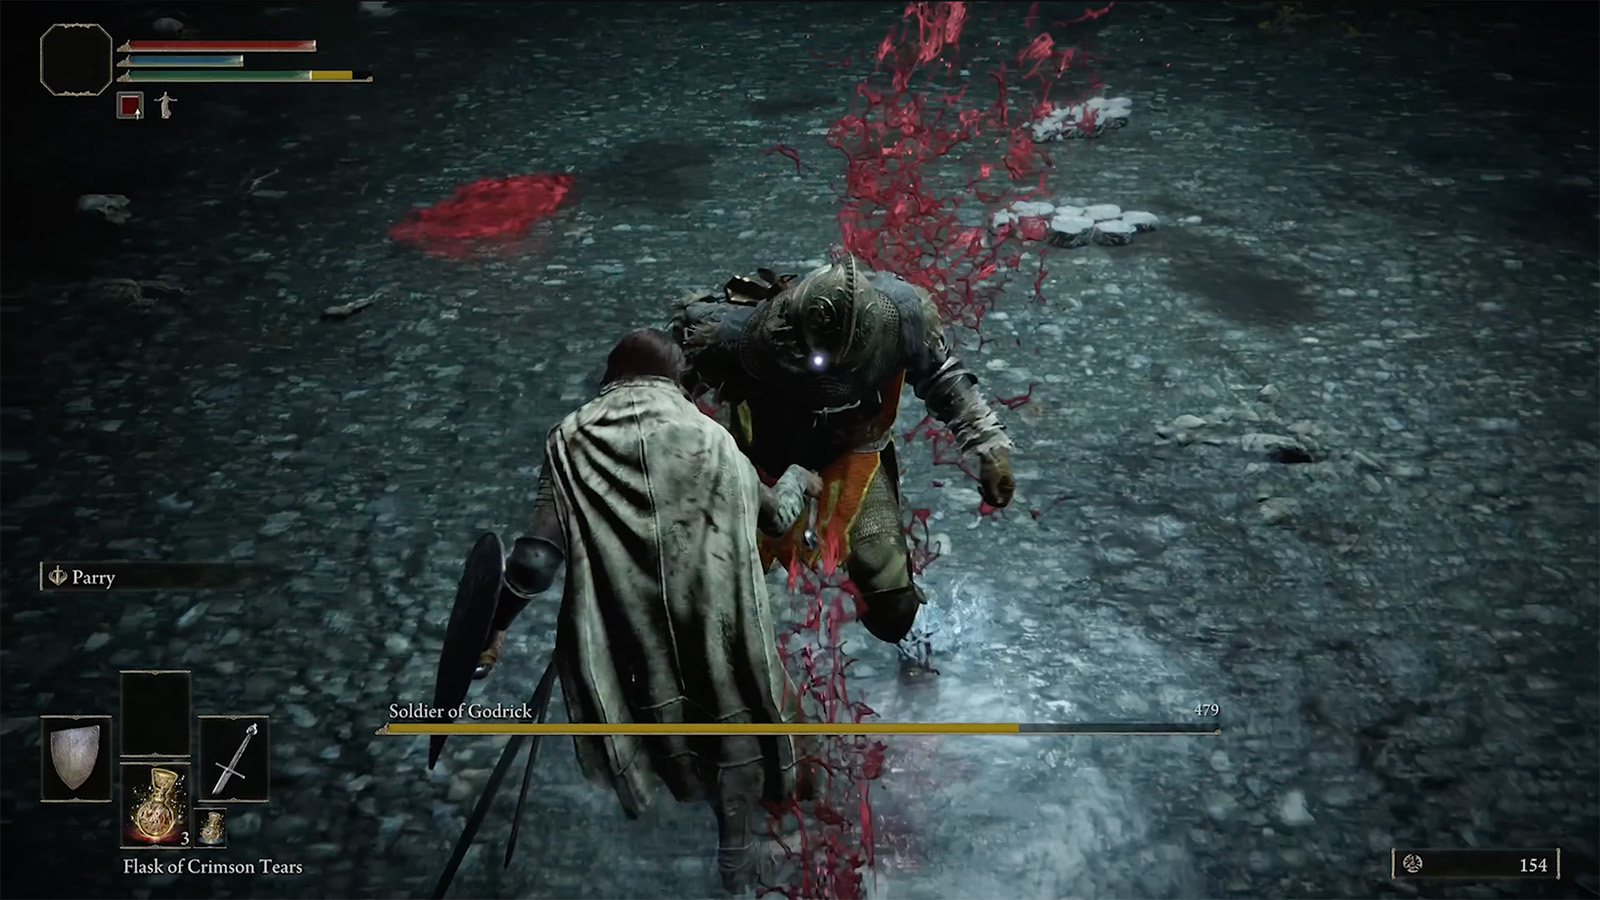
He’s simple and easy to take down. The best way to do is is to block his attack with your shield, follow up with a counter to stagger him, then land a critical hit to finish him off. Collect your Runes, and then continue through the cave.
Unlocking Limgrave and speaking to your first NPC
You’ll reach a ledge overlooking the hall your first spawned in before dropping down the pit into the tutorial area. Follow the cliff and grab the Strength emote, and then jump down and climb the stairs to take the lift up. This puts you in Limgrave, the game’s first open area, and where your first hour properly begins.
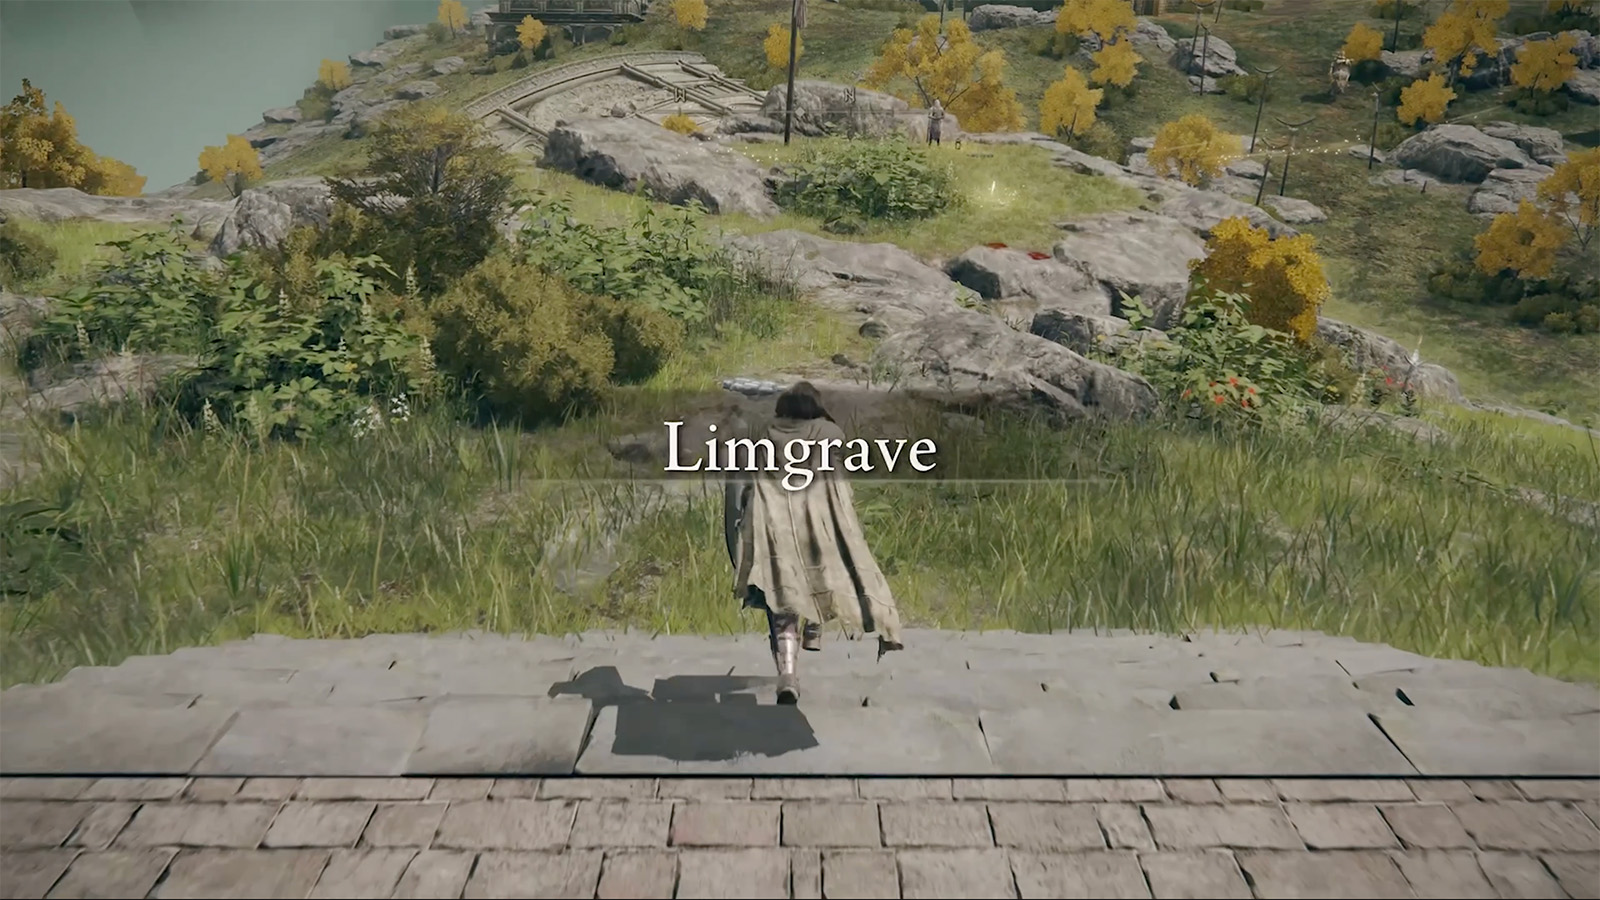
After opening the door, you’ll see an NPC standing on a small hill beside a Site of Grace. Head there and speak with him, who introduces himself as Varre. Run through all of his dialogue options. During it, he’ll point you towards Stormveil Castle, located in the far distance behind Varre on a large cliff.
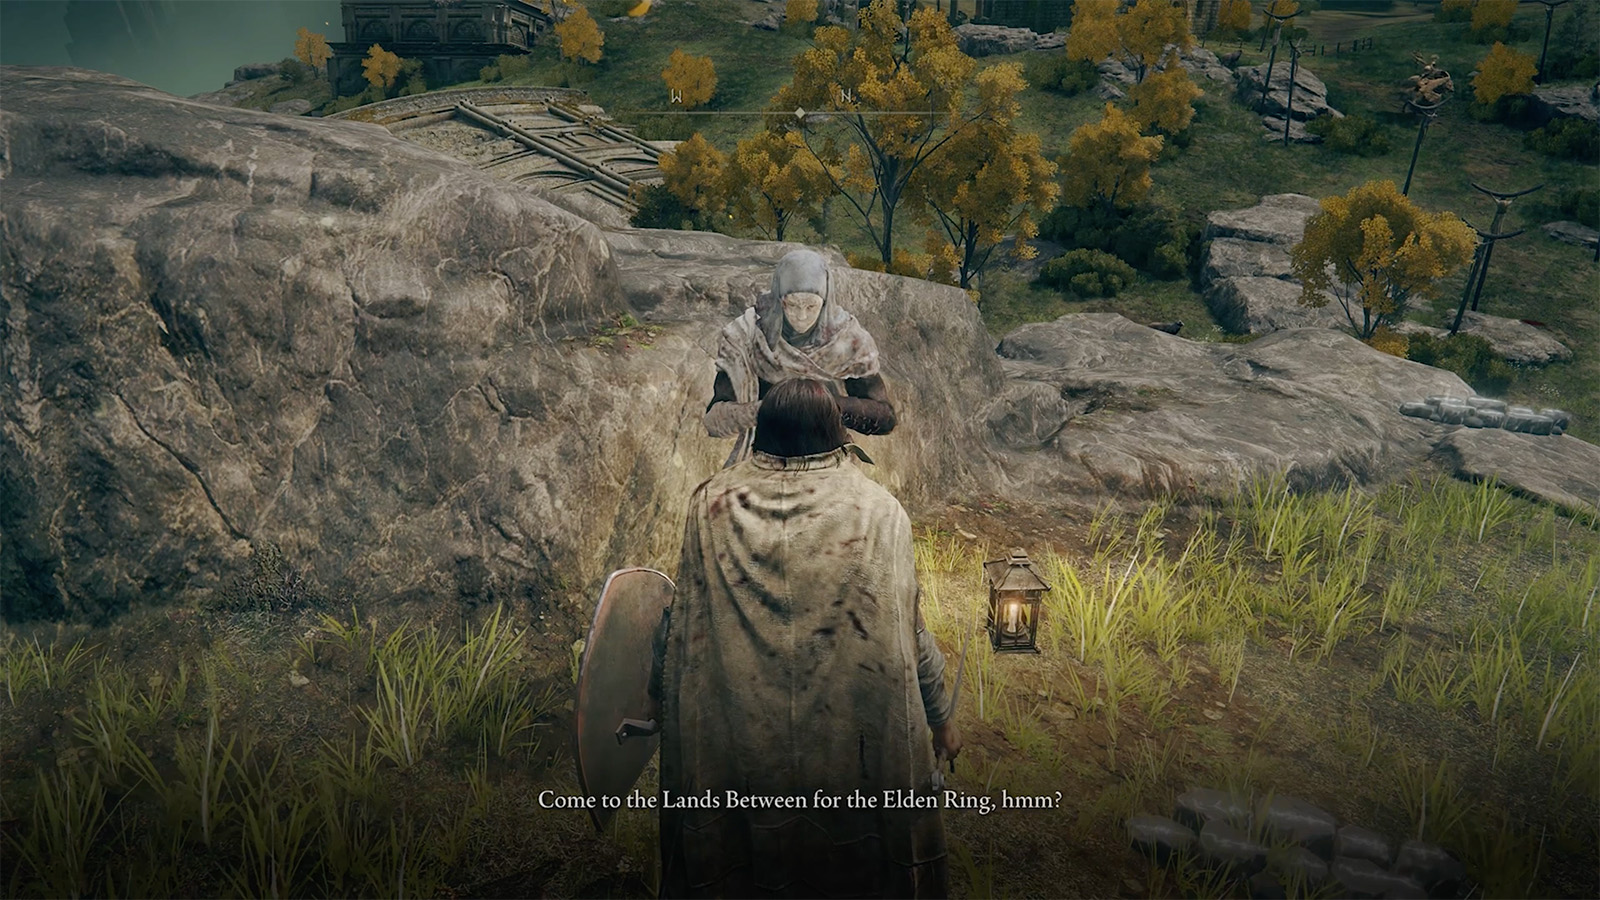
One of the game’s main story bosses – known as a Shardbearer – is located there, but you’re far too weak to start that journey. Instead, head down the cliff towards the Church of Elleh.
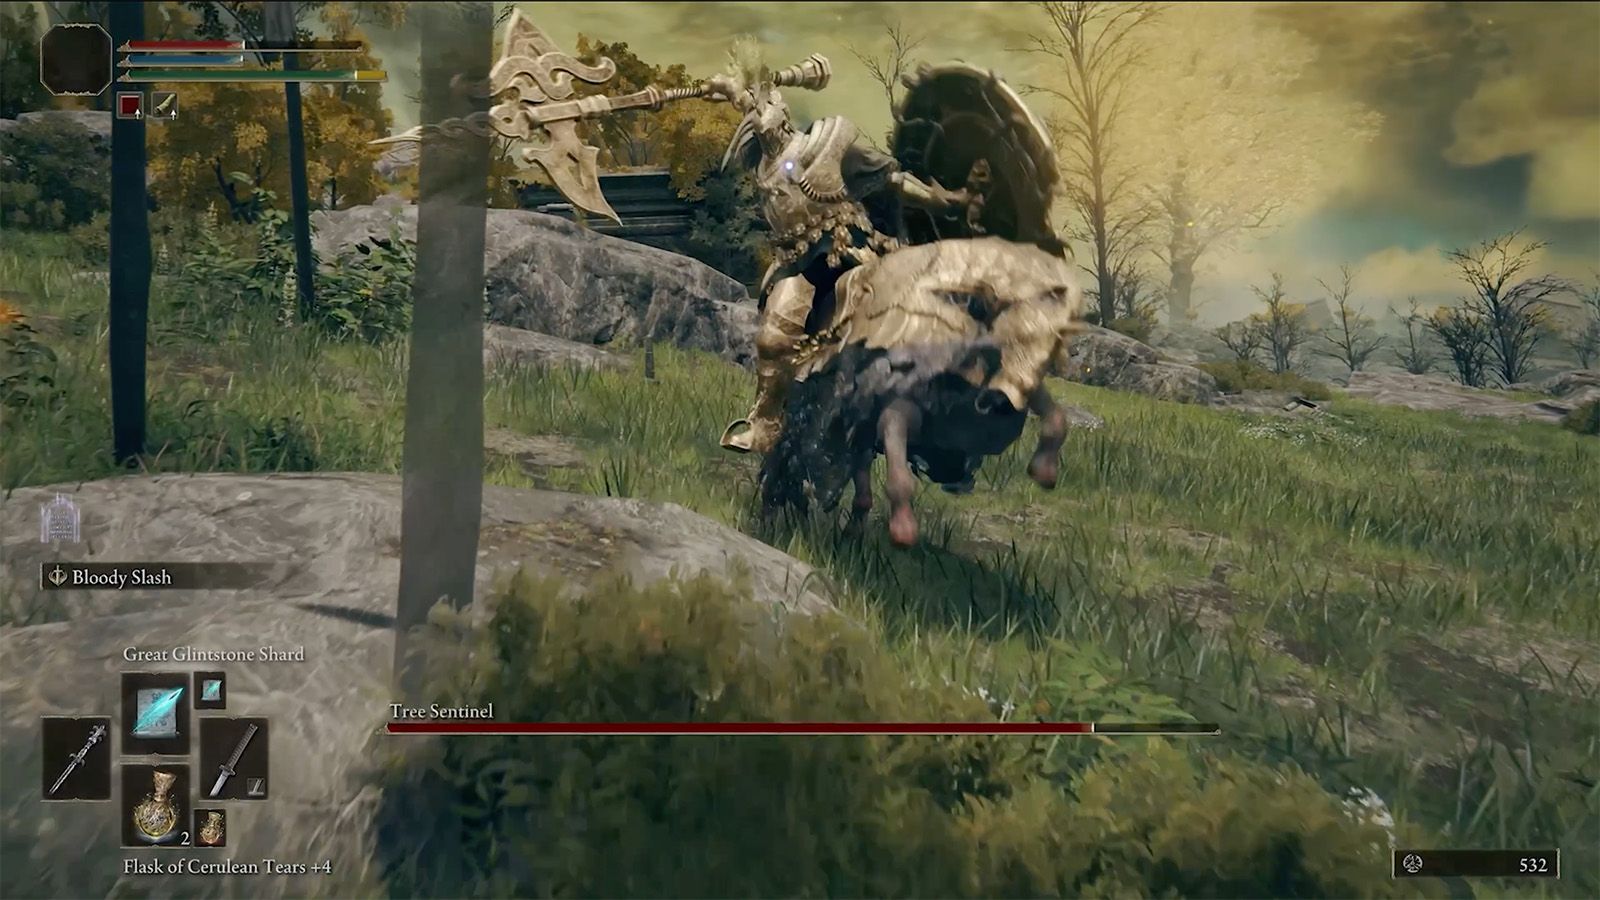
On the way, you’ll spot a large golden knight on horseback. This is the Tree Sentinel, a field boss. You’ll come across lots of field bosses in the game. Steer well clear of him as he’s incredibly strong and was placed here to throw new players off. If you want to defeat him, you’ll need to come back much later.
Merchant Kale and Your First Purchases
At the Church of Elleh, speak to Merchant Kale. Use the Runes you earned from the tutorial and for defeating the Soldier of Godrick to buy the crafting kit, which unlocks the game’s crafting mechanic for the rest of the game.
While playing, grab any and every resource you can find, and keep an eye out for any crafting books that unlock new recipes. These can be bought, found or looted off bodies across the game.
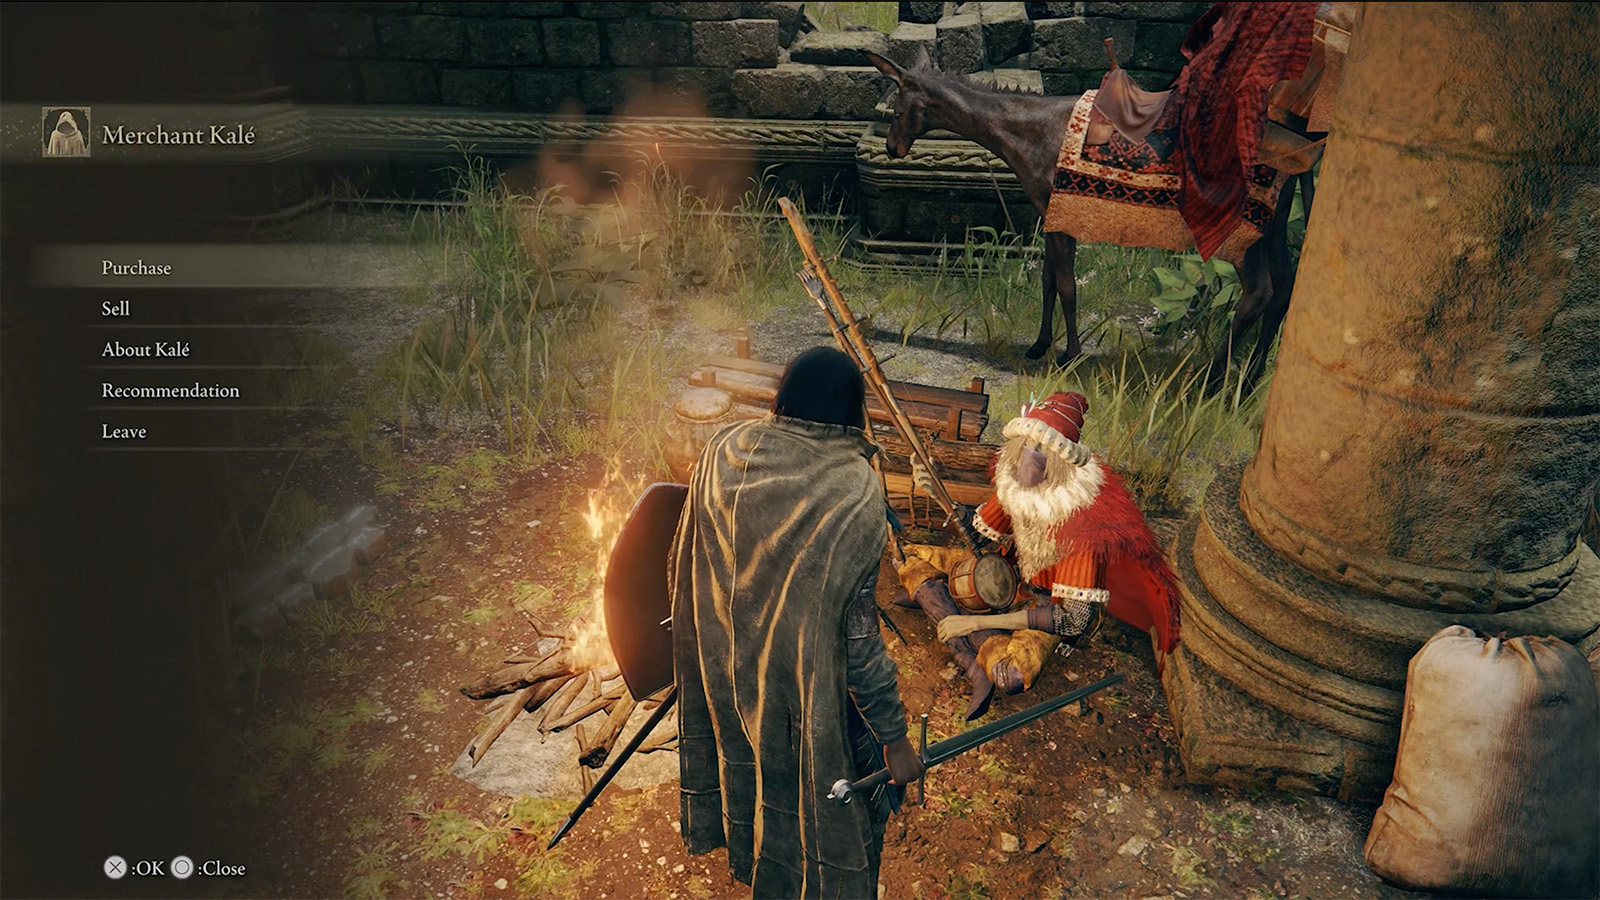
Once you’ve bought the crafting kit, grab the Smithing Stone sitting on the anvil beside Kale, these materials will be used to upgrade your weapons once you’ve unlocked the Roundtable Hold, but more on that later.
Unlocking Torrent and Levelling Up
Push on through the bushes ahead, going North. Take out a few of the Godrick soldiers as you go, but don’t get too close to the camp to your east just yet. Skirt around the top of it instead and rest at the Gatefront Ruins Site of Grace.
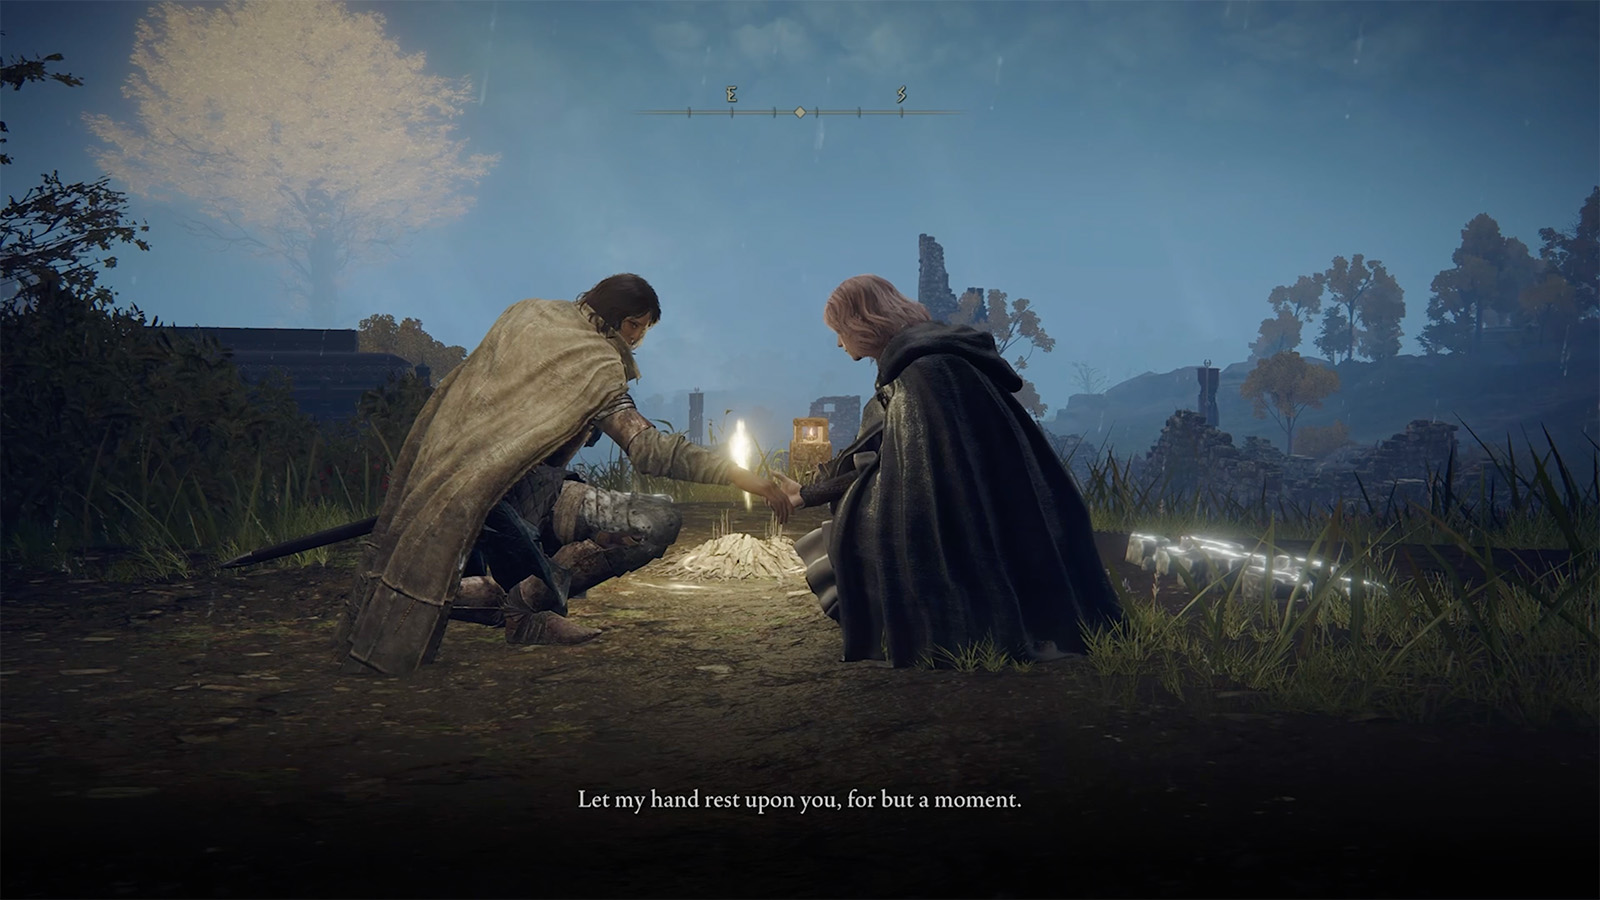
You’ll trigger a cutscene where you meet an NPC named Melina and unlock both levelling up through Melina and Torrent, your spectral steed that can be used for faster traversal across the game’s massive world.
Clearing the Soldier Camp
Now go back and clear that camp properly, working clockwise around it. Loot the two carriages on the north and south sides of the camp for the Flail and Lordsworn’s Greatsword, both of which require different attributes – test them if you have the right stats, they may be better than your starting weapon.
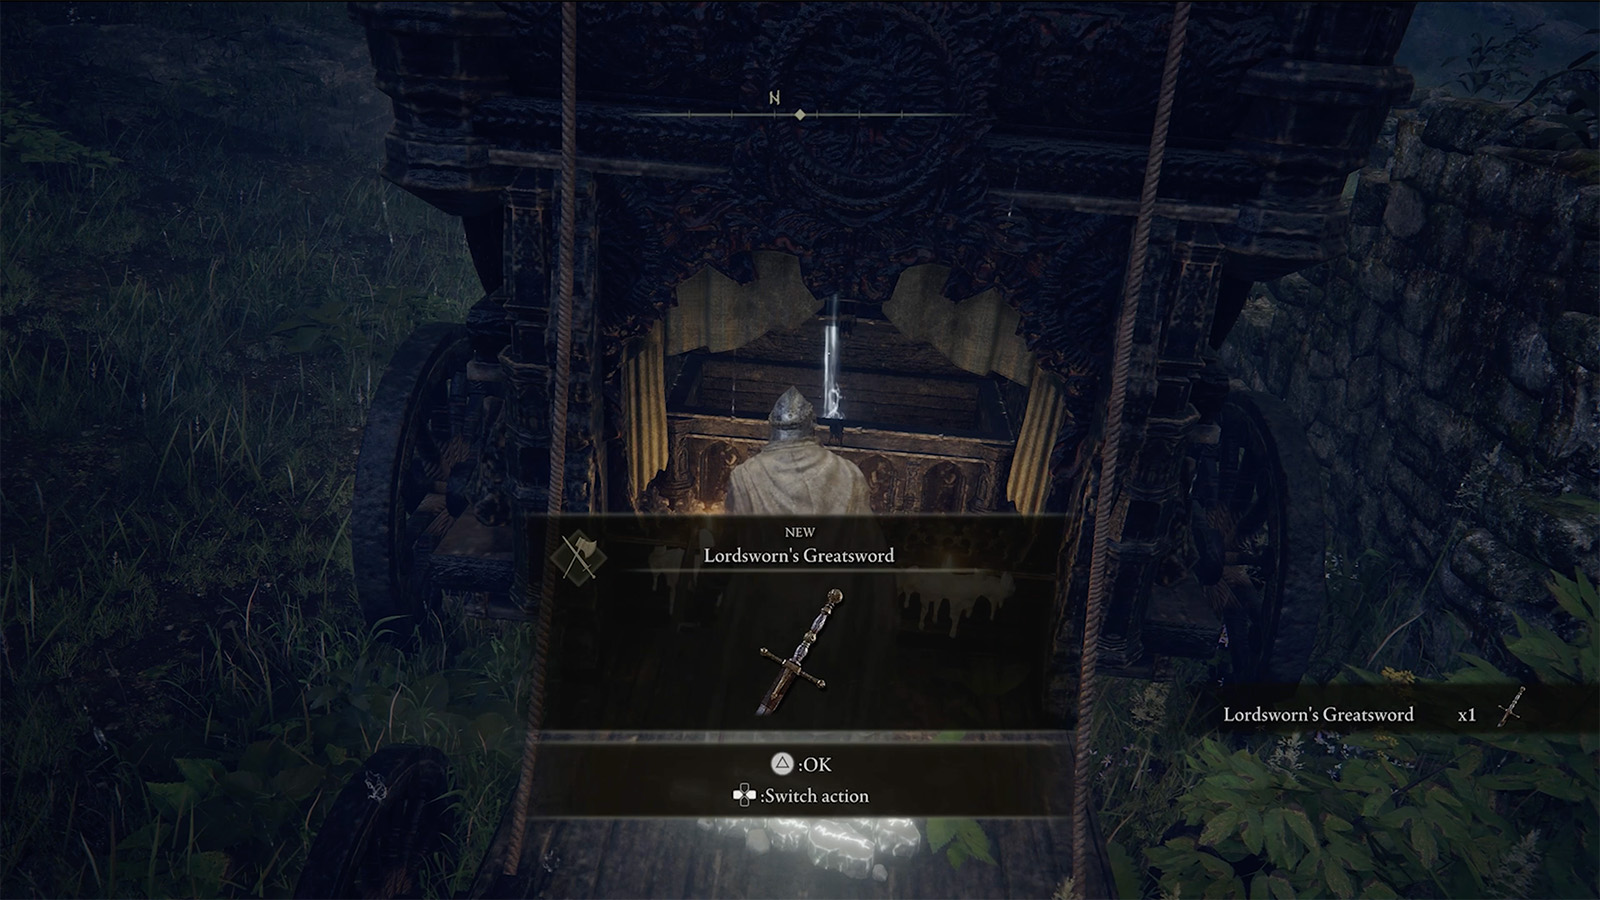
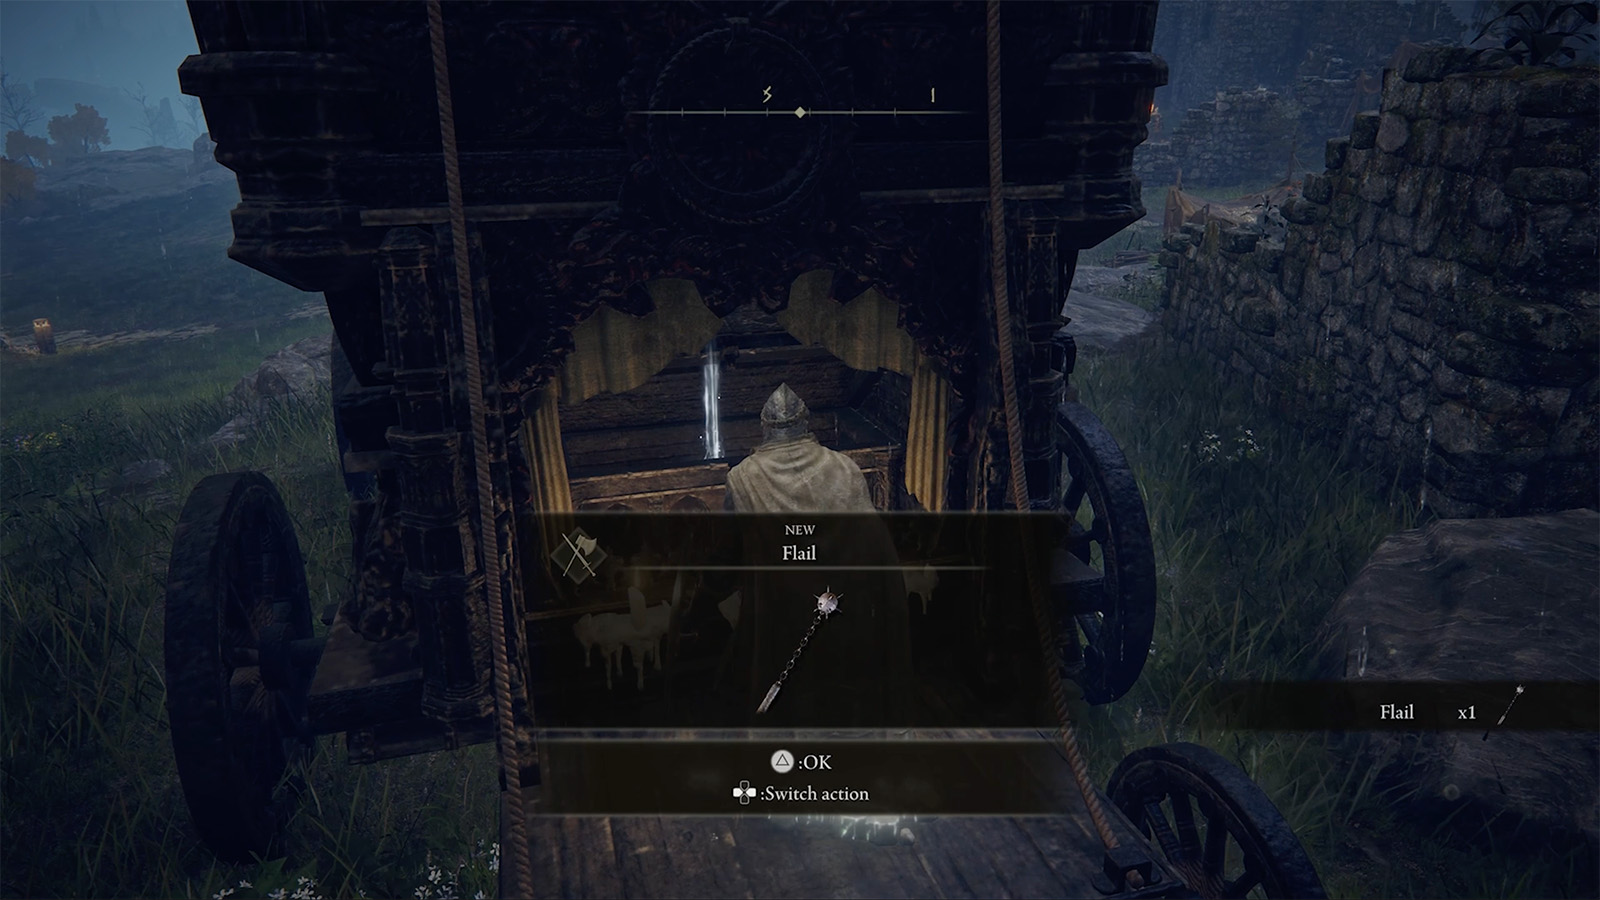
Take down the large Godrick Knight in the centre, then grab the Limgrave West map fragment nearby.
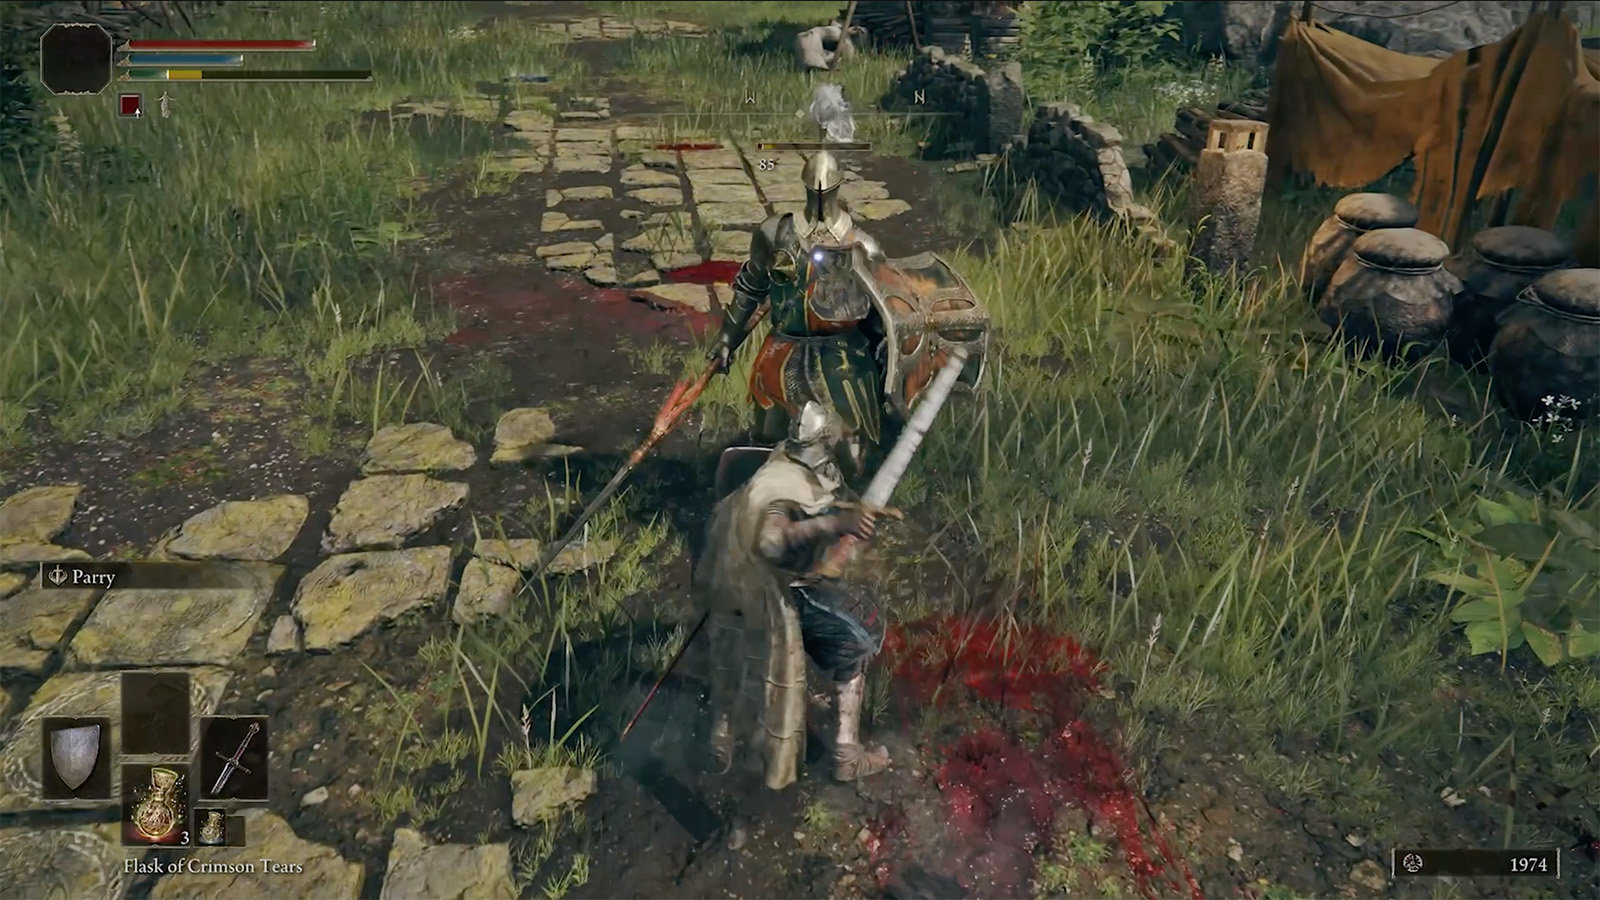
On the west side of the camp is a secret staircase that leads to a chest containing the Whetstone Knife, which lets you attach Ashes of War (weapon skills) to your gear at the Roundtable Hold and at Sites of Grace.
Meeting Renna
Once night falls, fast travel back to the Church of Elleh. This is when Renna appears. She’s a key NPC who hands you the Spirit Calling Bell and the Lone Wolf Ashes, your first proper Spirit Ash summon.
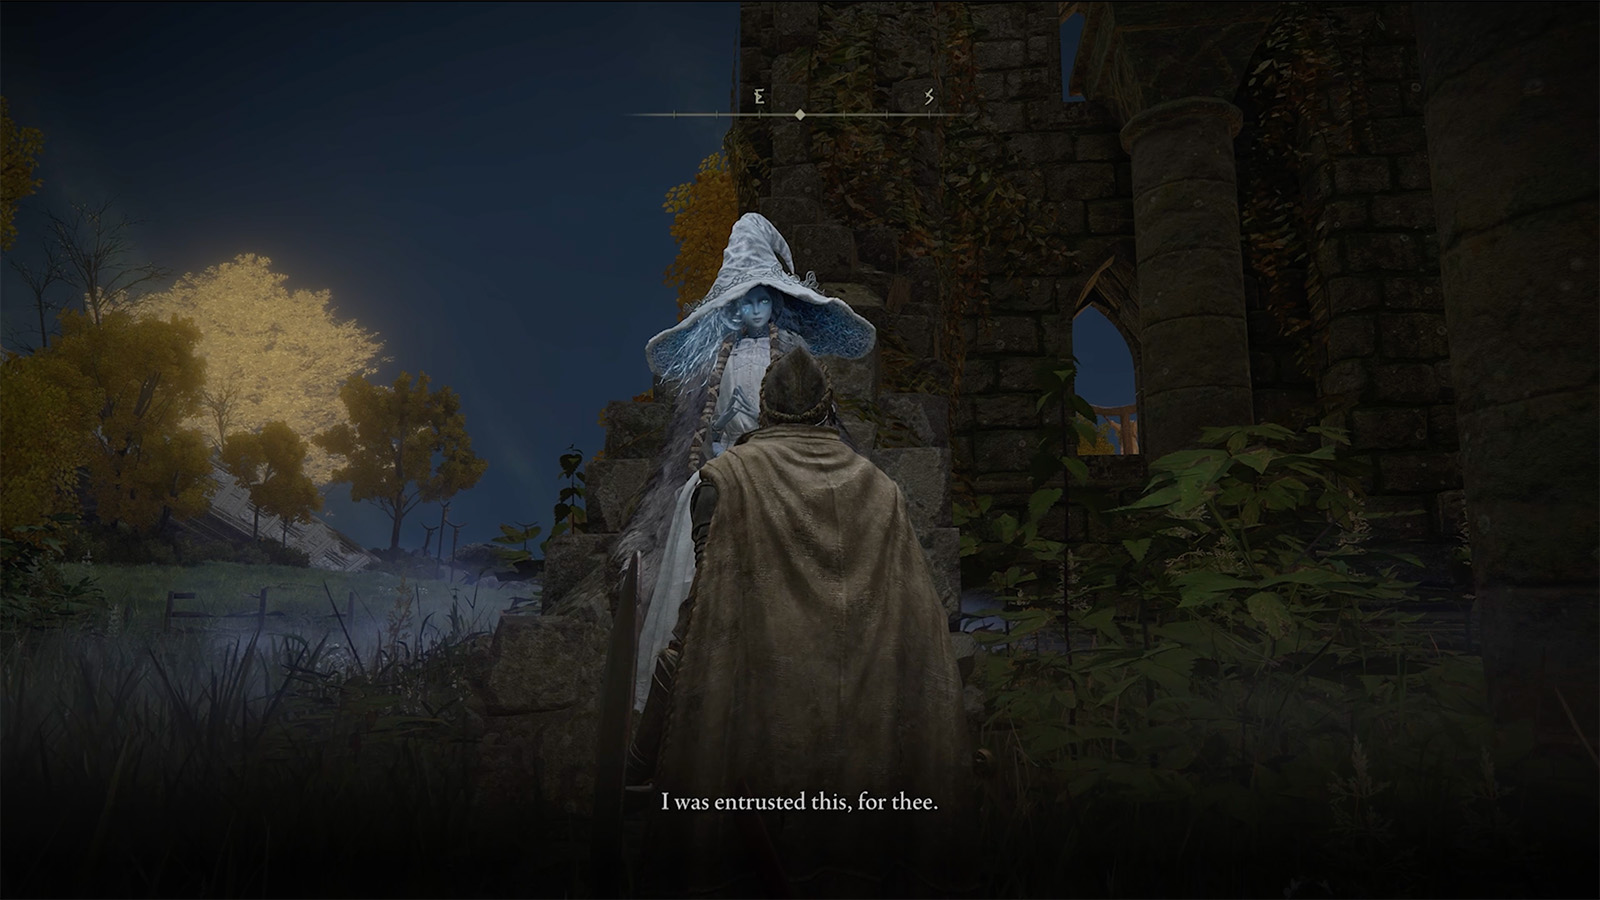
Spirit Ashes are the spirits of enemies and some bosses that aid you in combat. They require FP to summon and can be upgraded to strengthen them, but they can only be summoned at specific points in the game, such as during boss encounters or in select areas in the open world, usually when facing hordes of enemies or slightly tougher elite enemies.
Into Stormhill and Stormhill Shack
Once you’ve done that, fast travel back to Gatefront Ruins, and then ride north, avoiding any enemies you meet, including a giant troll that jumps from a cliff above. At the top of the hill you’ll enter Stormhill. Ride past the golden tree on your right to grab your first Golden Seed, items that upgrade the number of charges on your Flask of Crimson Tears and Flask of Cerulean Tears.
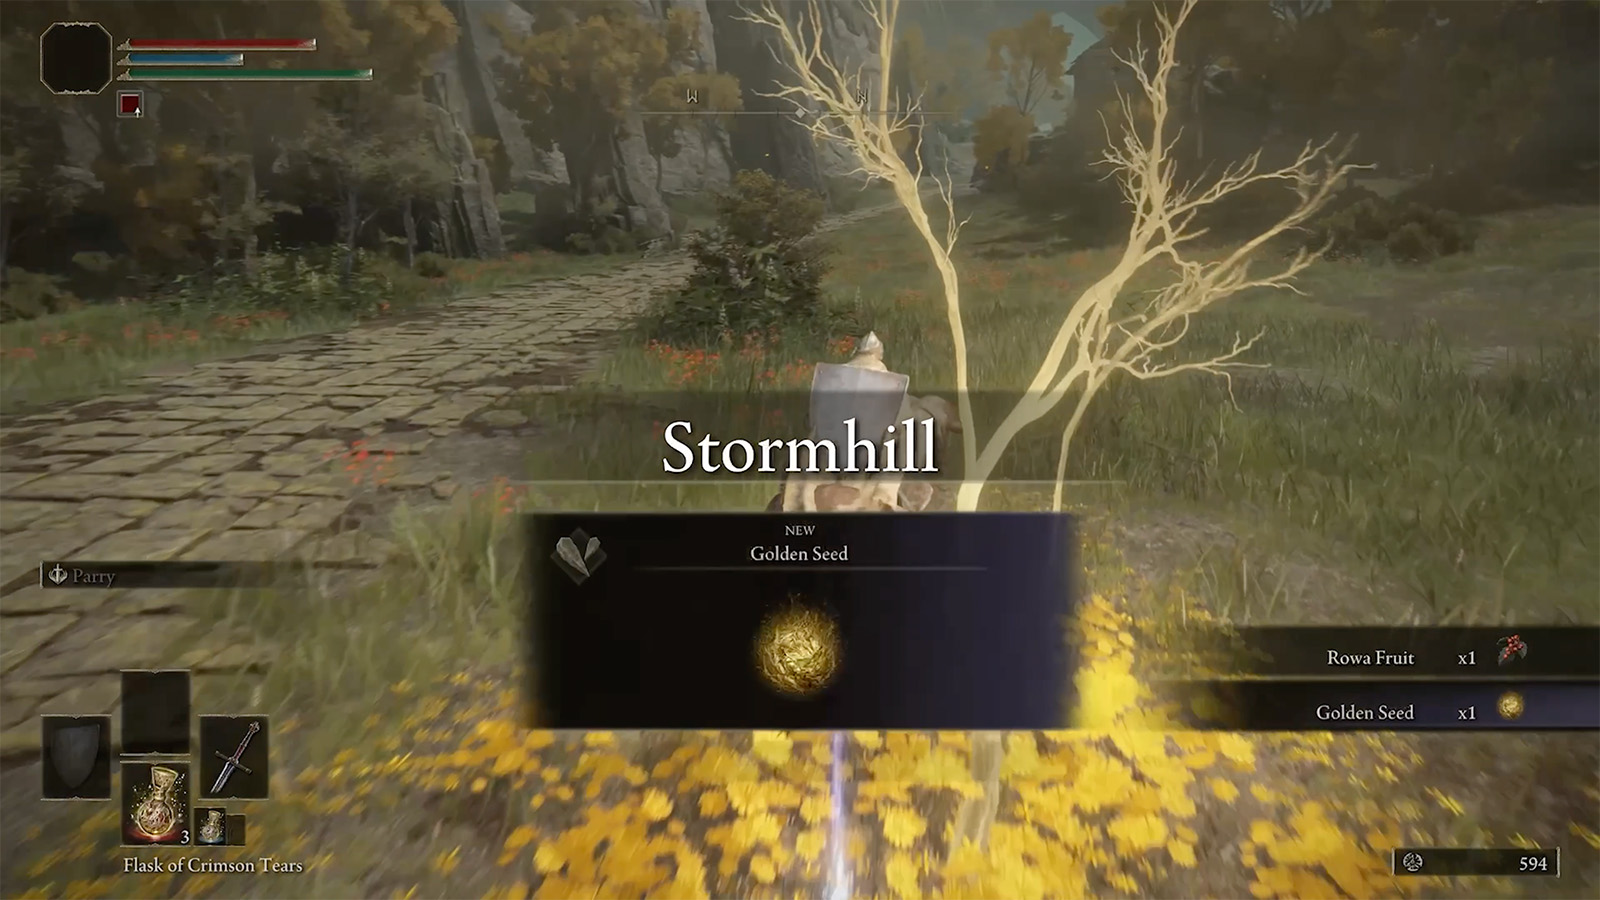
Follow the path on your right to reach Stormhill Shack. Inside, you’ll find Roderika, another crucial NPC. Talk to her and run through her full dialogue to kick off her questline. She’ll give you the Spirit Jellyfish Ashes, the Sitting Sideways emote, and the Chrysalids’ Memento quest item, which you’ll need when entering Castle Stormveil.
Summonwater Village
Once you’ve depleted her dialogue, continue riding east. You’ll cross a bridge patrolled by a Pumpkin Head enemy and pass a cluster of graves where you’ll meet D, Hunter of the Dead. Talk to him and exhaust his dialogue before moving on.
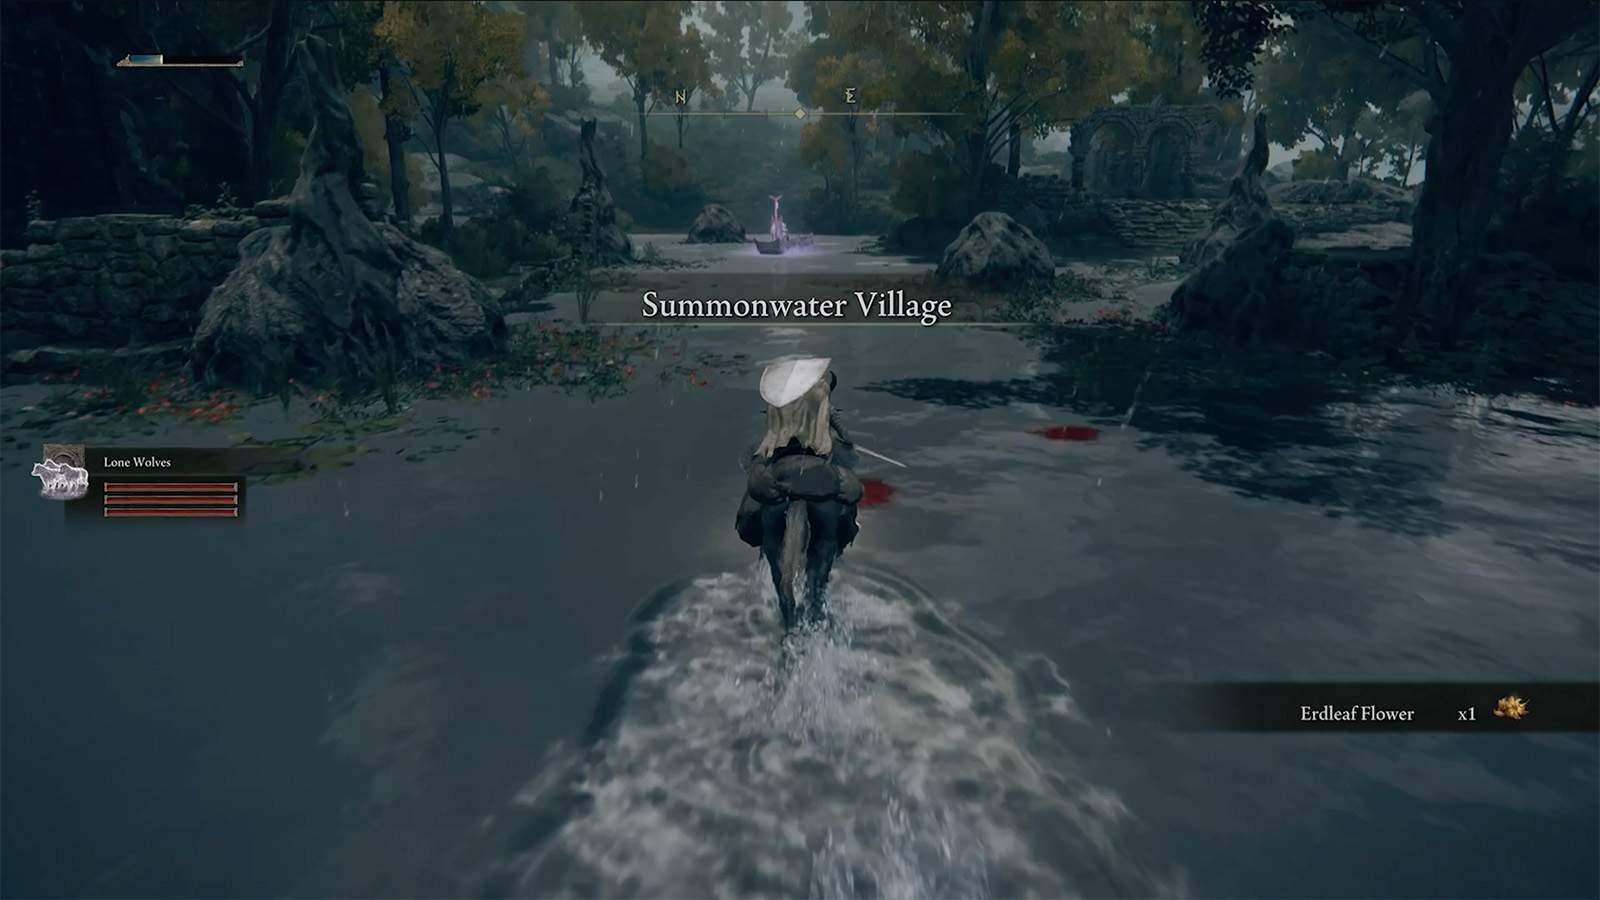
Push into Summonwater Village and take on the Tibia Mariner boss, calling on either of your Spirit Ashes if you need the help. Defeating the Mariner will reward you with some nice Runes, and explore the village to find a locked secret staircase leading to a chest with the Green Turtle Talisman. You’ll need a Stonesword Key to unlock the barrier.
The Smoldering Church and Entering Caelid
Past Summonwater Village, you’ll spot a church up on a hill. Follow the path but stay to the left, well away from the Smoldering Church itself. Getting too close spawns an invader — Anastasia, Tarnished-Eater — who is far too strong to fight this early.
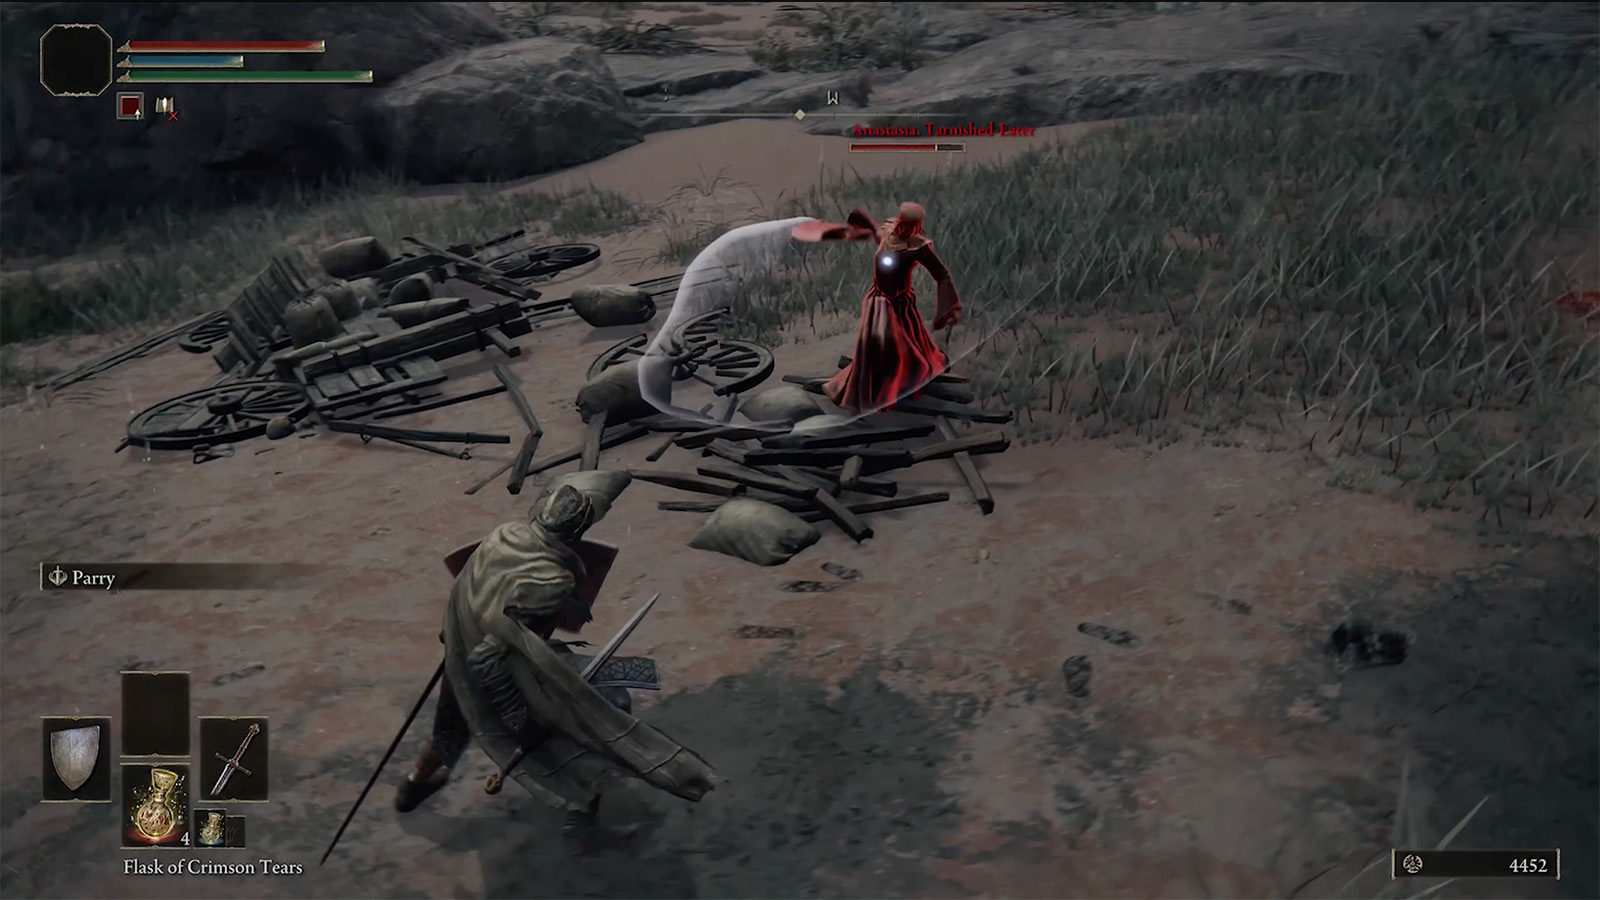
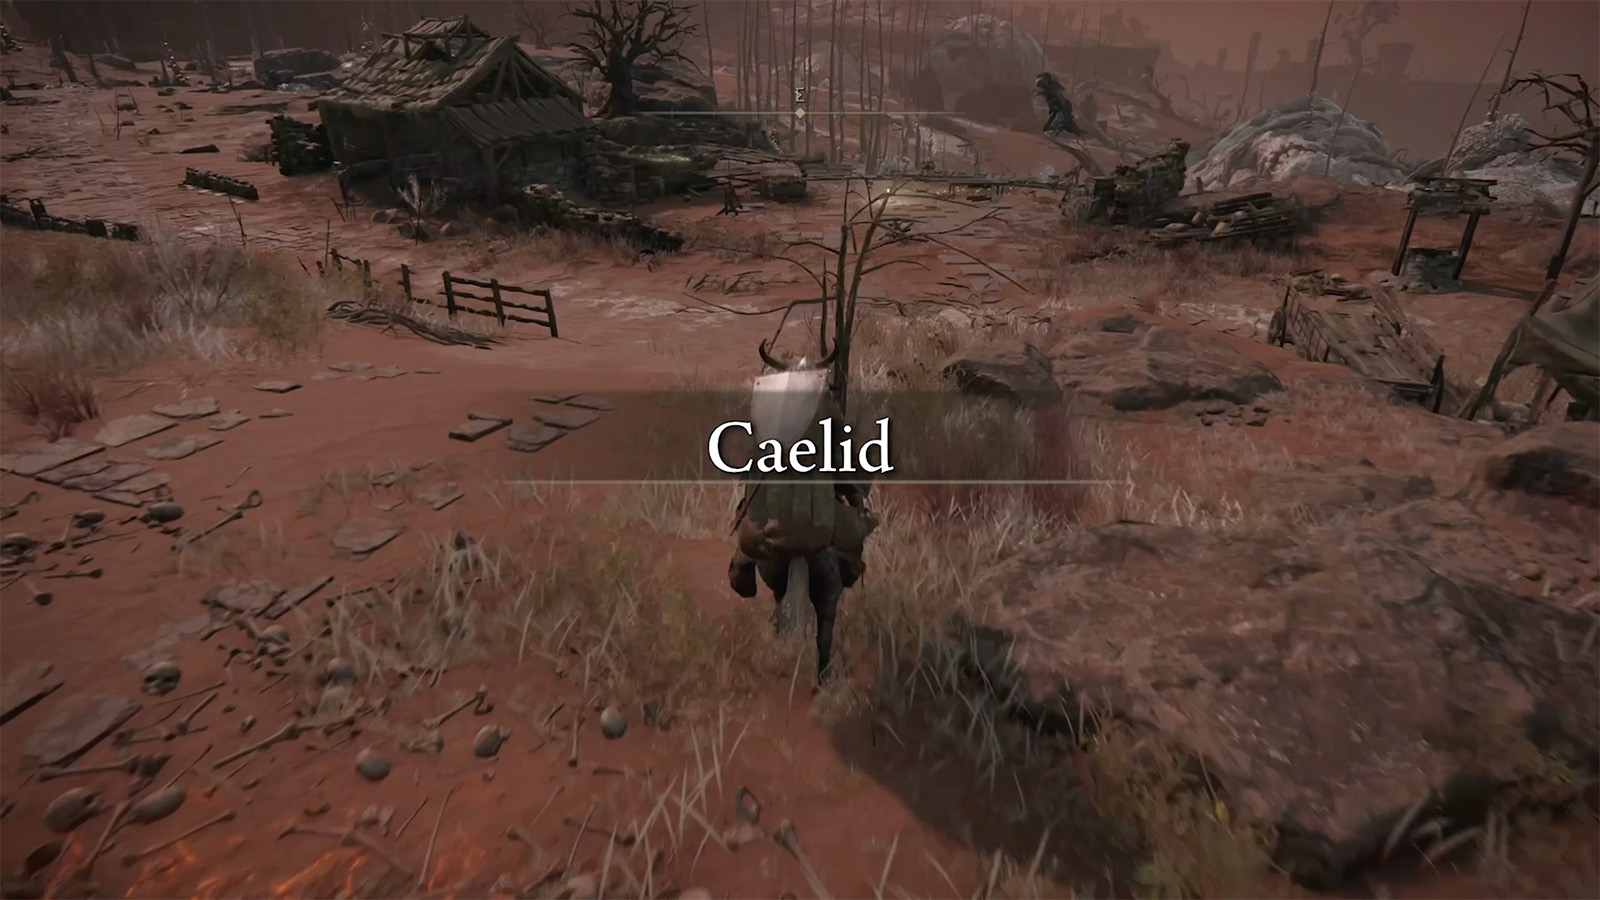
Jump the small fiery wall ahead and you’ll cross into Caelid, one of the game’s most hostile regions. Rest at the Rotview Balcony Site of Grace next to the shack (the giant bird overhead won’t attack you, so don’t panic) and you’ll trigger a cutscene that unlocks fast travel to the Roundtable Hold.
The Roundtable Hold
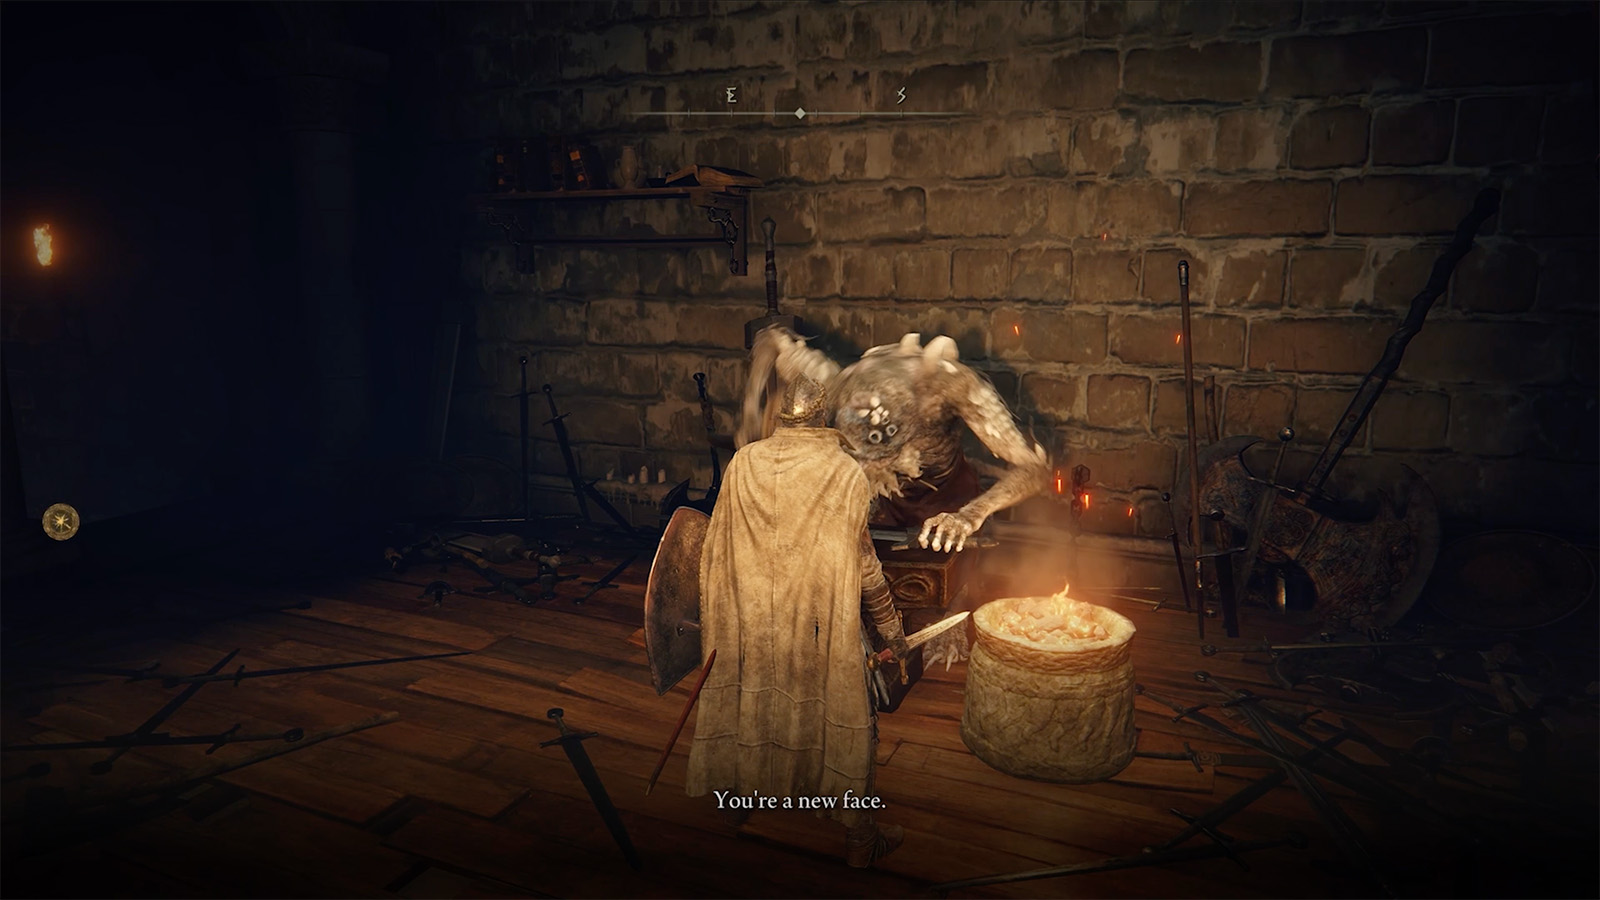
Head to the Roundtable Hold now and speak to everyone in the main room; Gideon Ofnir, Diallos, and D, Hunter of the Dead. Then follow the west corridor to find Smithing Master Hewg, who upgrades weapons using any Smithing Stones you’ve collected.
What now?
From here, fast travel back to Limgrave and start exploring properly. There’s a huge amount waiting for you, from bosses and catacombs to caves, and unique weapons and Runes scattered everywhere.
Before pushing north to Stormveil Castle though, it’s worth heading south first to grab the Weeping Peninsula map fragment and tackle your first proper dungeon, Castle Morne.
That’s your first hour sorted. All of this should give you a decent head start on the Lands Between, but if you’re still stuck, don’t be afraid to reach out!