Horizon Forbidden West – ‘The Embassy’ Walkthrough
‘The Embassy’ is a main mission in Horizon Forbidden West that sees Aloy, once she’s ended the work stoppage in Chainscrape, attend the Embassy between Carja and Tenakth. When things go wrong, it’s up to Aloy and allies to defend the Embassy from enemy forces. Completing this main quest will finally provide you with access to the game’s Western part of the map. Find out how to complete the mission below with our in-depth guide.
| Mission Name | Recommended Level | New Tools | Machines | Rewards |
| The Embassy | 7 | Glider | Chargers Bristlebacks | 1,500 XP |
Visit Barren Light
Once you’ve completed ‘To The Brink’, it’s time to make a start on the Embassy, giving Aloy passage into the Forbidden West. Your first objective will be to make your way to Barren Light, where the Embassy will take place. A side objective, override a machine and ride it to the settlement, will be available. Leave Chainscrape to the west and head towards a nearby Charger site. Override one of the machines, mount it, and then ride it towards Barren Light.
When you get to Barren Light, feel free to explore and check for new weapons or armour. Before proceeding to the next objective, we suggest you access your Stash and restock all resources, and then craft as much ammunition as you can.
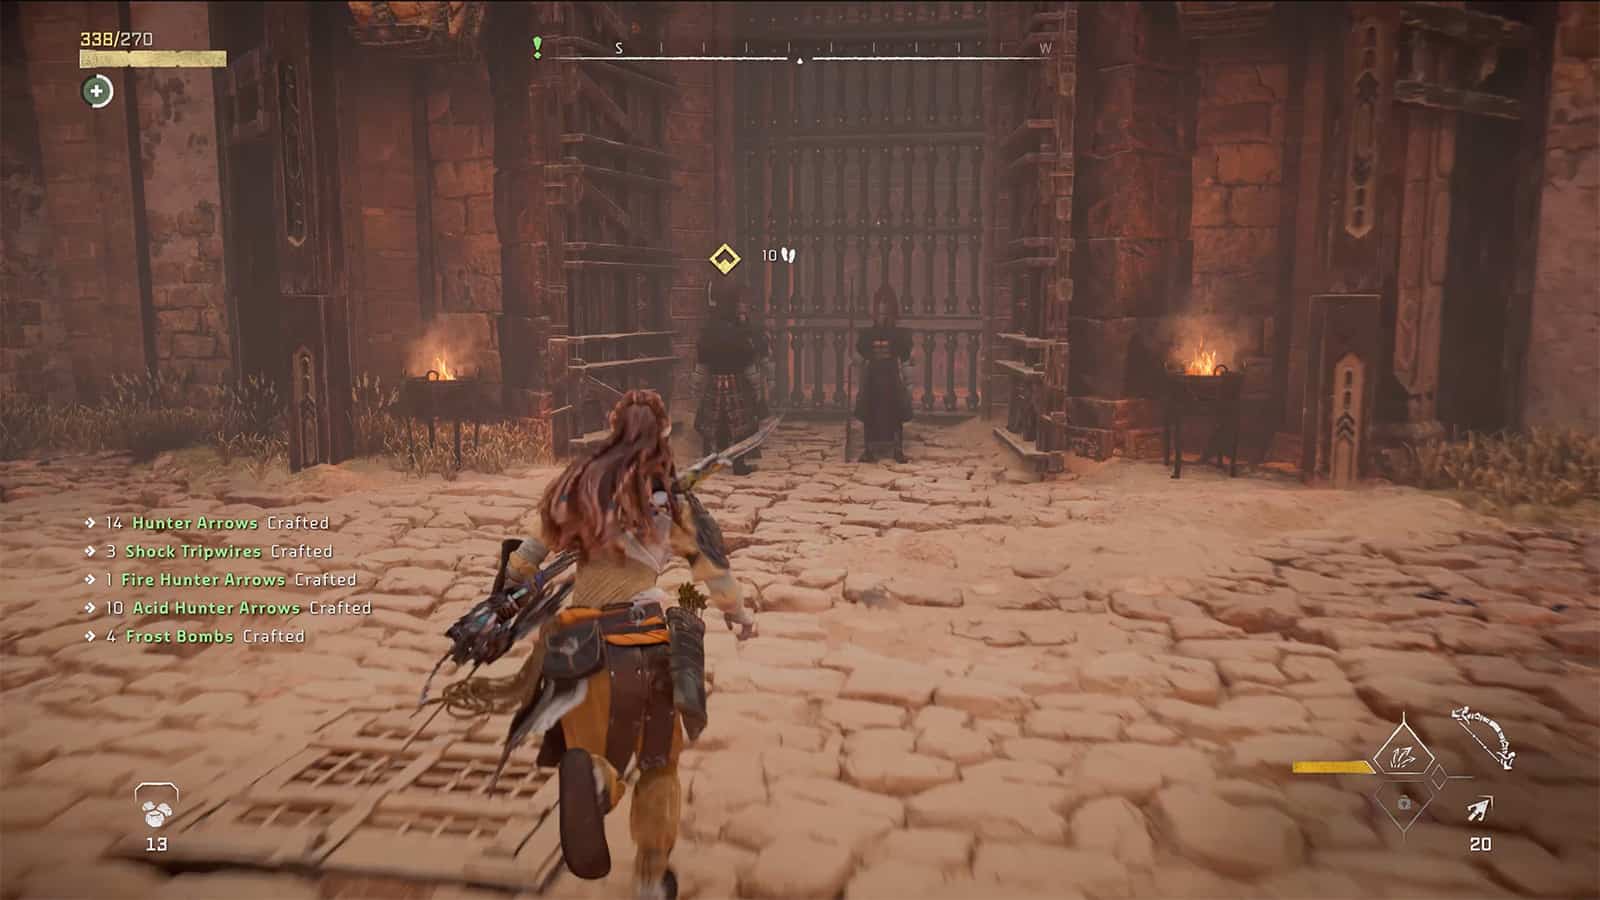
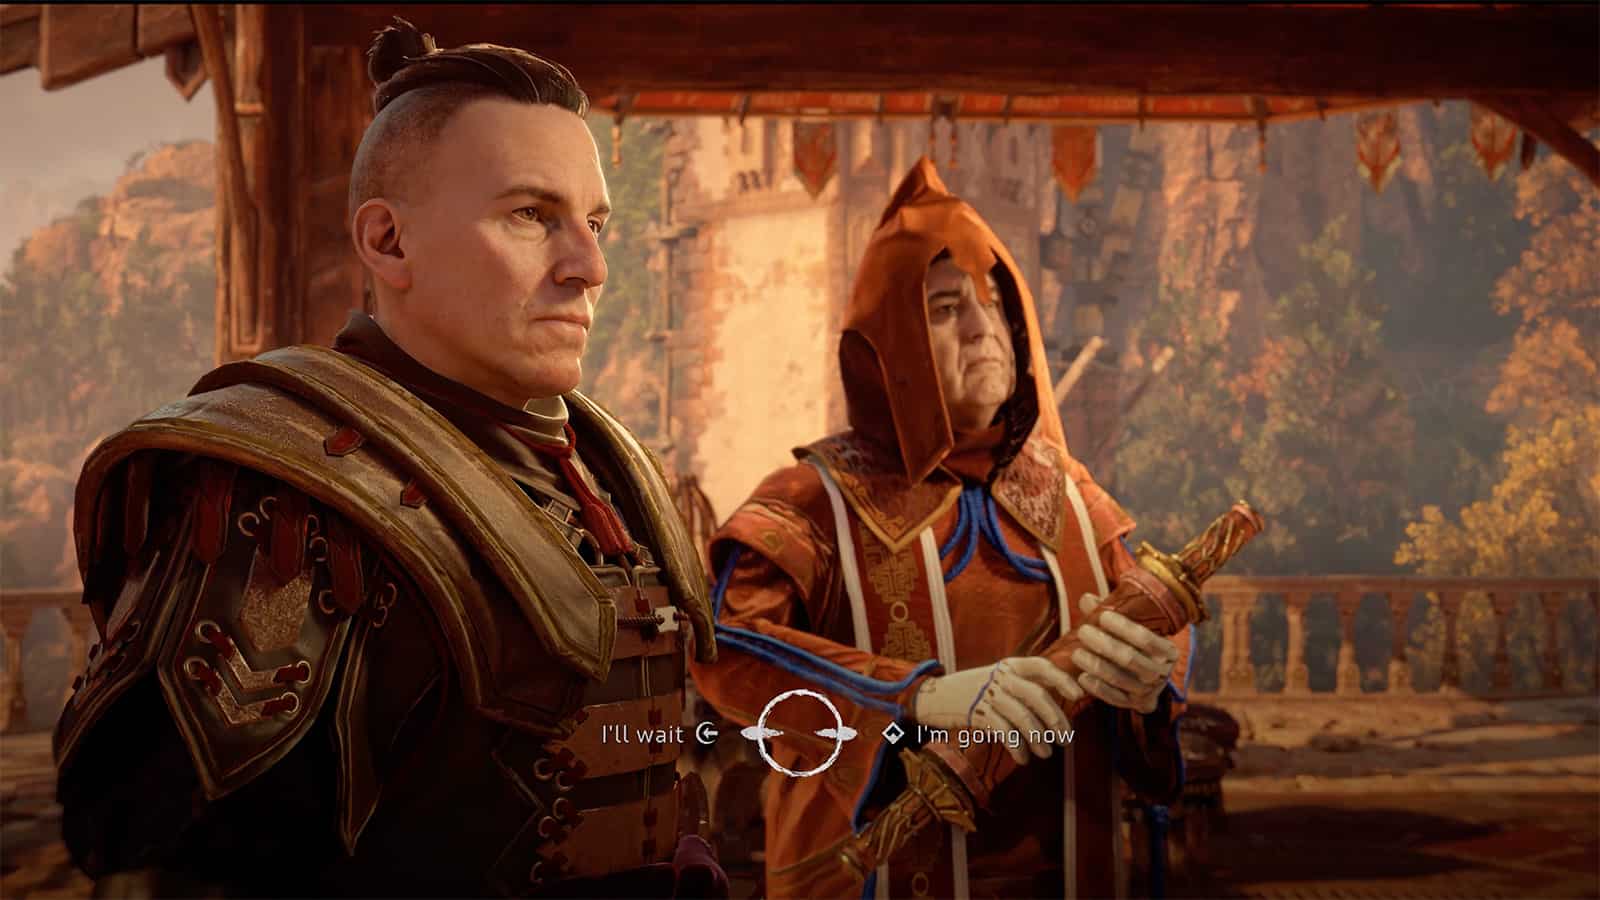
Once you’ve done that, follow the objective and head down a set of stairs towards two guards positioned at the gate to the Forbidden West. You’ll pass a very drunk Erend, speak with him for some optional dialogue, and then speak with the guards to meet Lawan.
Unfortunately, until the Embassy is over, no one can cross the border of the Forbidden West, and the Tenakth are taking their time to show up. Once the cutscene ends, follow Lawan along the ramparts to the top of the gate, where you’ll meet Commander Nozar and come across Studious Vuadis.
Attending The Embassy
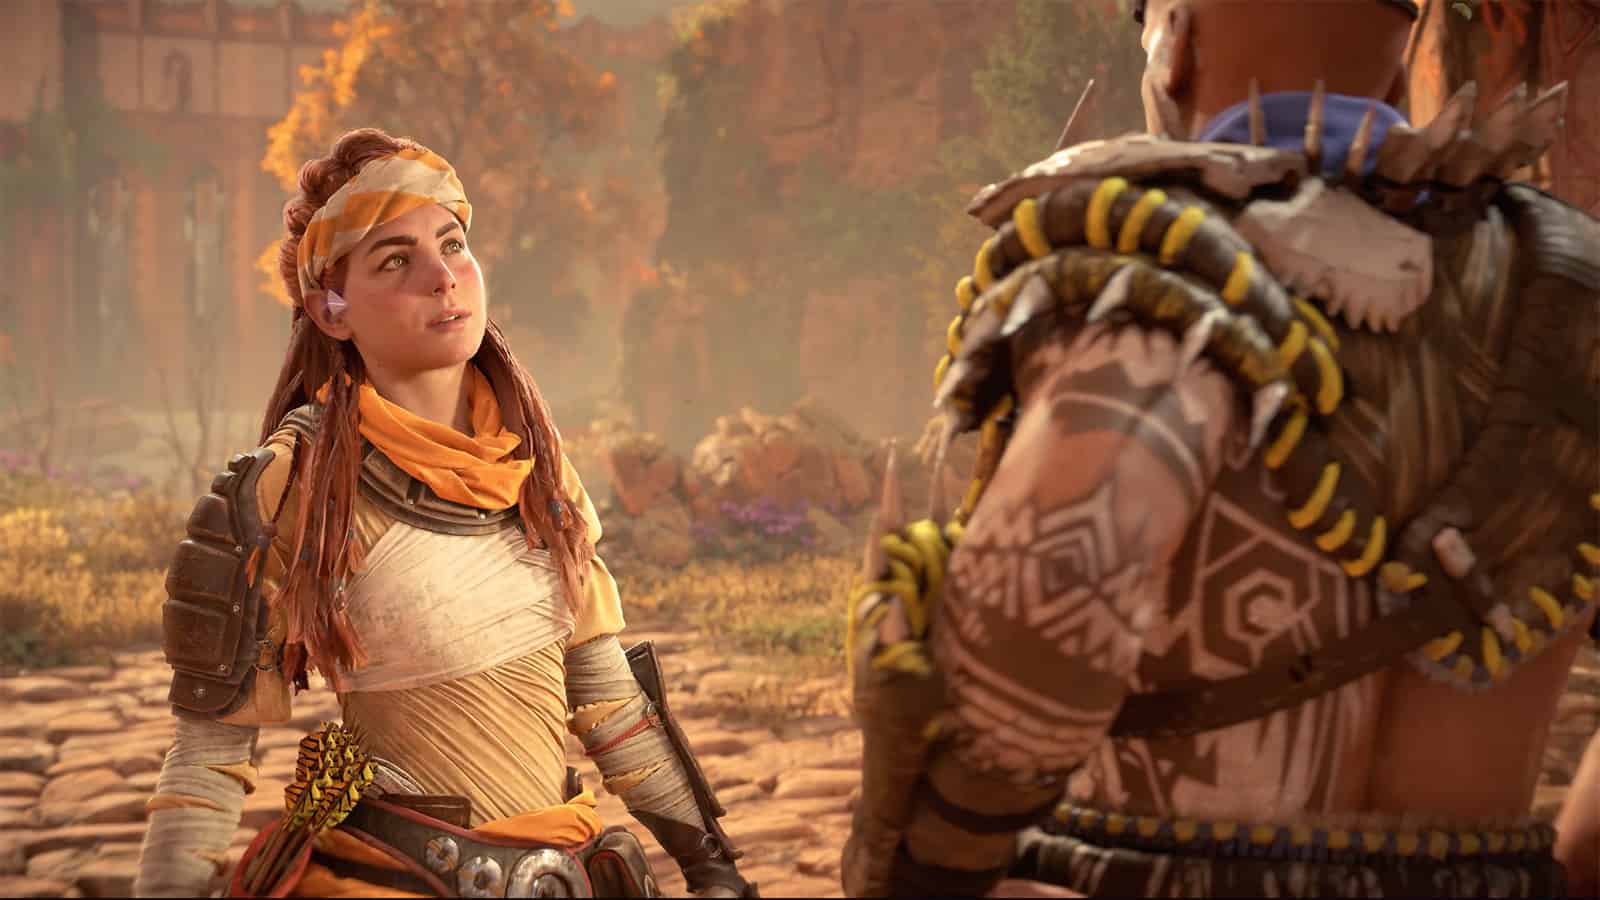
After the cutscene in which Aloy’s friends help out, follow your next objective; go to the Embassy location with Varl and speak with the Tanakth Marshals, and Fashav. Throughout the cutscene, you can learn more about Fashav through optional dialogue, including how he joined the Tenakth and his feelings on returning to Carja territory.
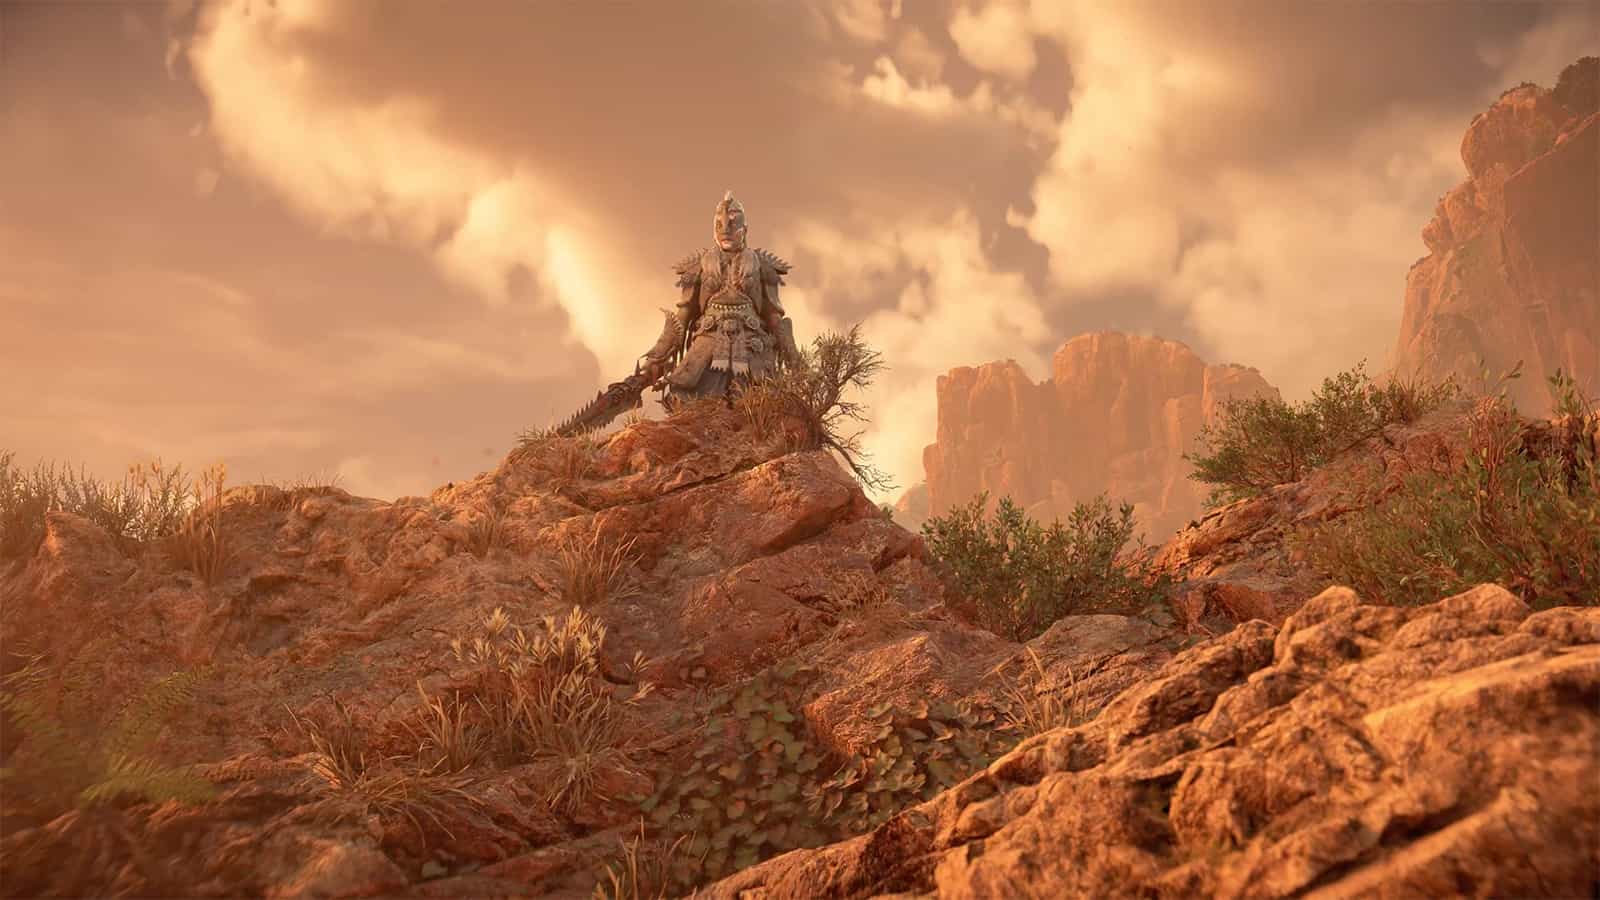
After Aloy receives a dagger giving her the right of passage into Tenakth lands, a cutscene will play in which the final Tenakth clan arrives and the Embassy can begin, but it all goes wrong when Regalla appears.
Defend The Embassy
Following the cutscene, only Aloy, Varl, and a handful of Tenakth Marshals remain. Your next objective will be to kill the rebels riding acid Bristlebacks and Chargers. Use your focus to check for weak points and chain reactions on the machines, and use all of the ammo, traps, and tools at your disposal to defeat them.
If you managed to pick up fire and acid elemental arrows before starting the mission, use them on machines. Remember; yellow machine canisters trigger a chain reaction with fire arrows, while green machine canisters trigger a chain reaction with acid ammunition. The Chargers are weak to electrical damage, so lay some traps and tripwires to stun them and get some easy hits in, while the Bristlebacks are weak to frost damage.
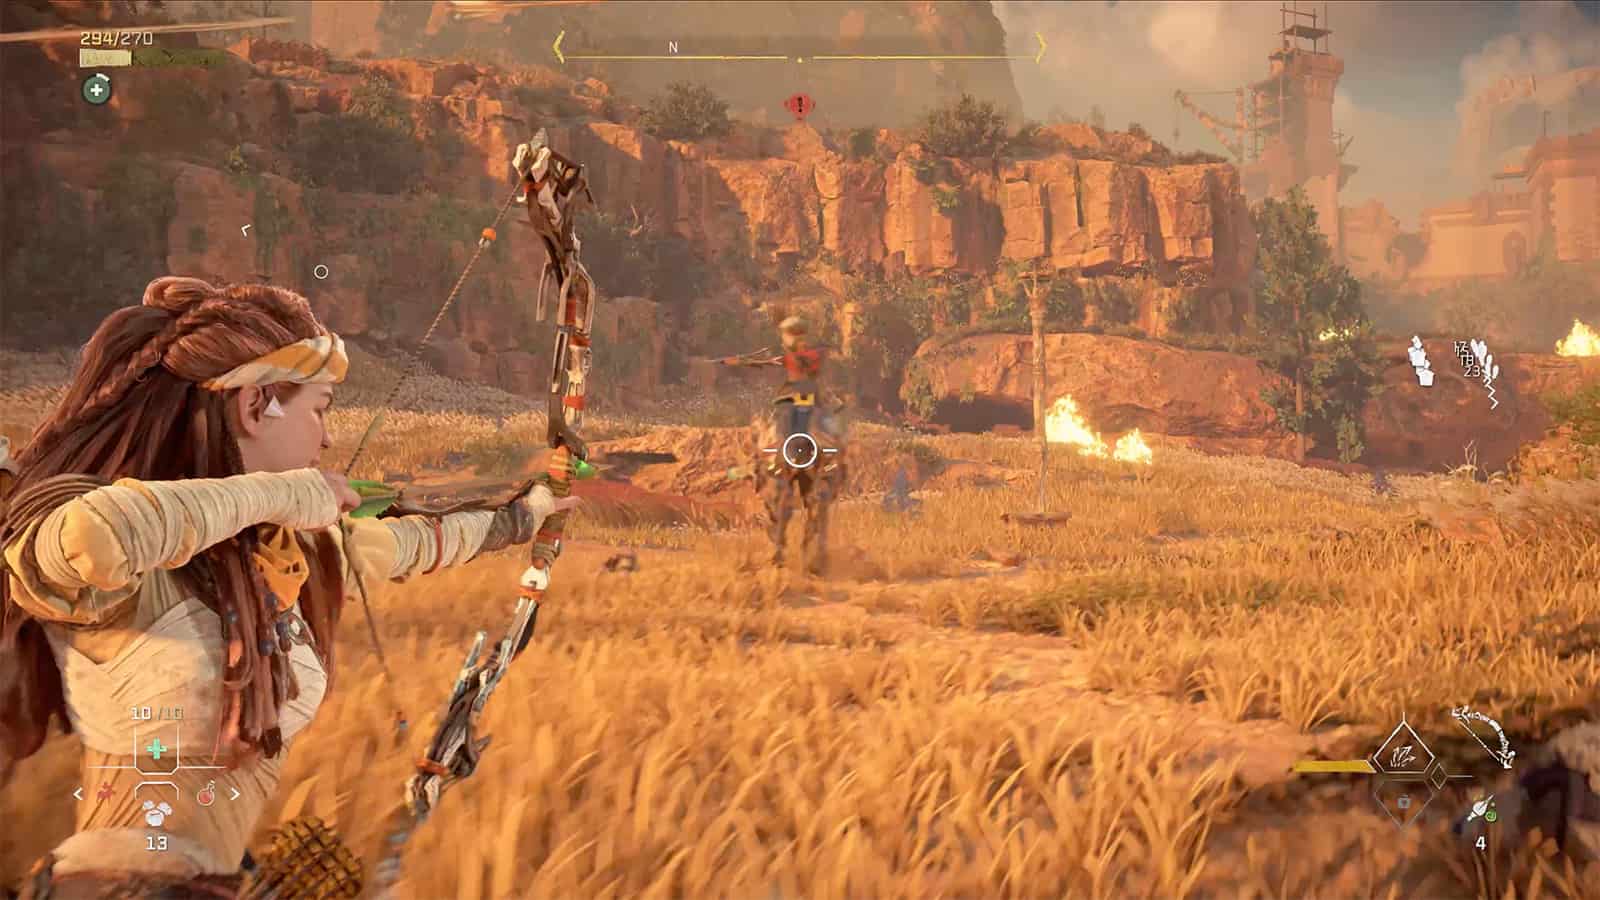
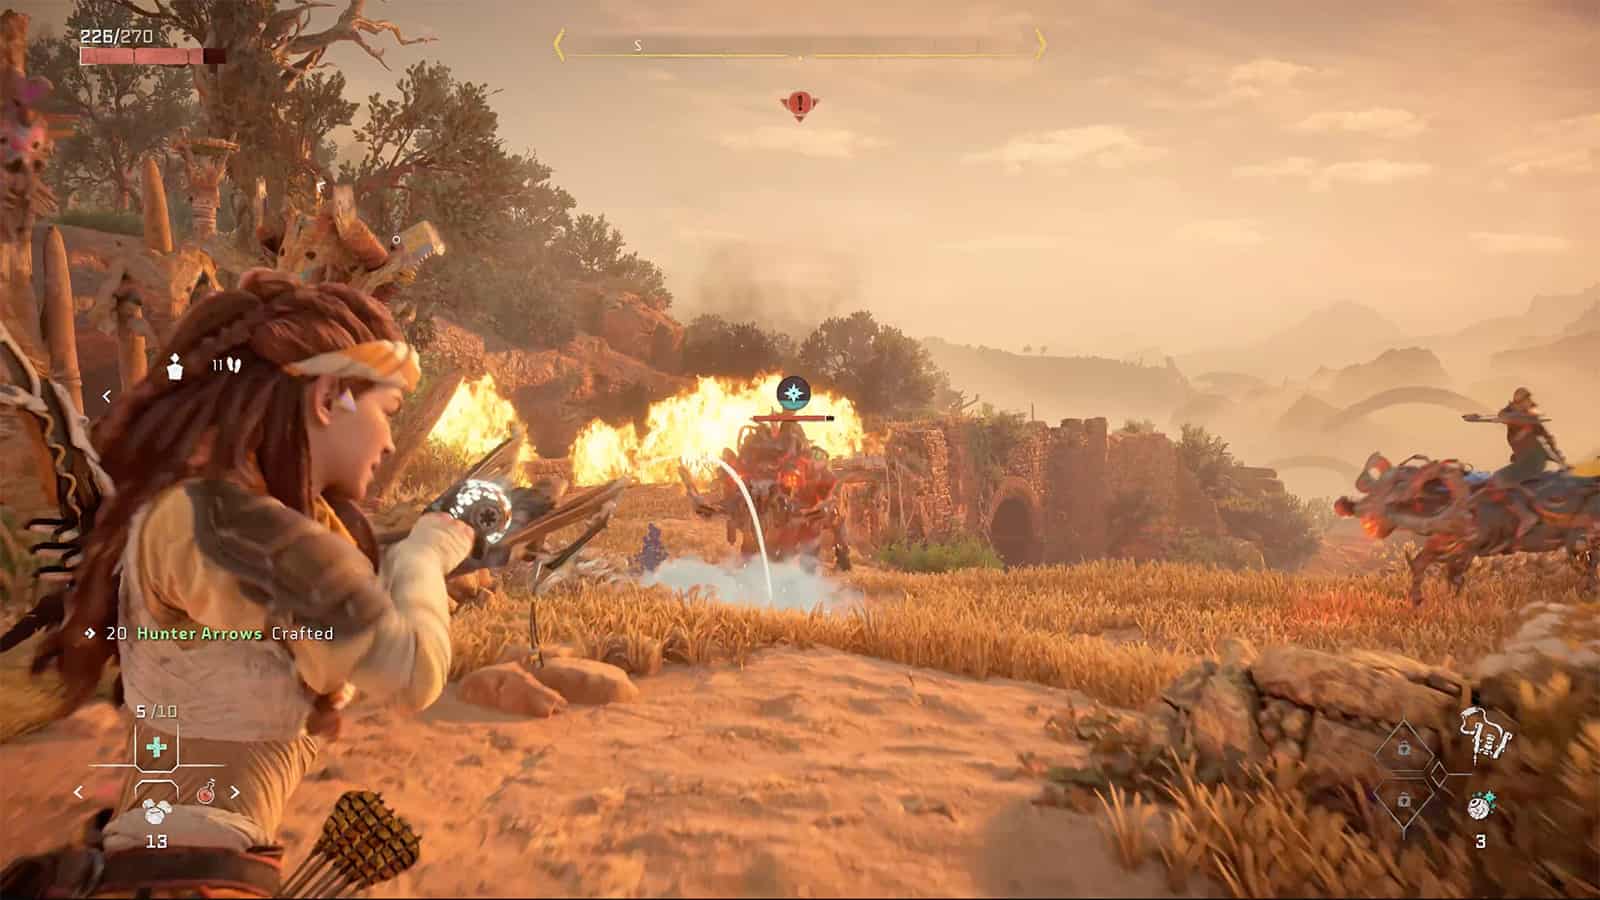
When you’re fighting the human rebels, try to aim for their heads to knock armour off and then hit with head shoots to kill them quickly. Although it might be tempting to attack Regalla and the rebels at the top of the cliff like we did, it’s pointless. Focus on the machines and rebels on the ground and take all of them out.
Once you’ve defeated all of the rebels and the machines, a cutscene will play in which one of Regalla’s toughest warriors, Grudda, challenges Aloy.
Defeat Grudda
Grudda uses a shield during the boss fight, making it hard for you to get any hits in. However, if you’re quick enough, you may be able to shoot arrows at Grudda as his melee animations finish by aiming to the left side of his body. This can be incredibly useful when Grudda performs his slam attack that unleashes electrical surges across the ground. This attack has a long wind-up animation and Grudda will usually pause at the end of it, giving you time to shoot arrows or perform some melee attacks.
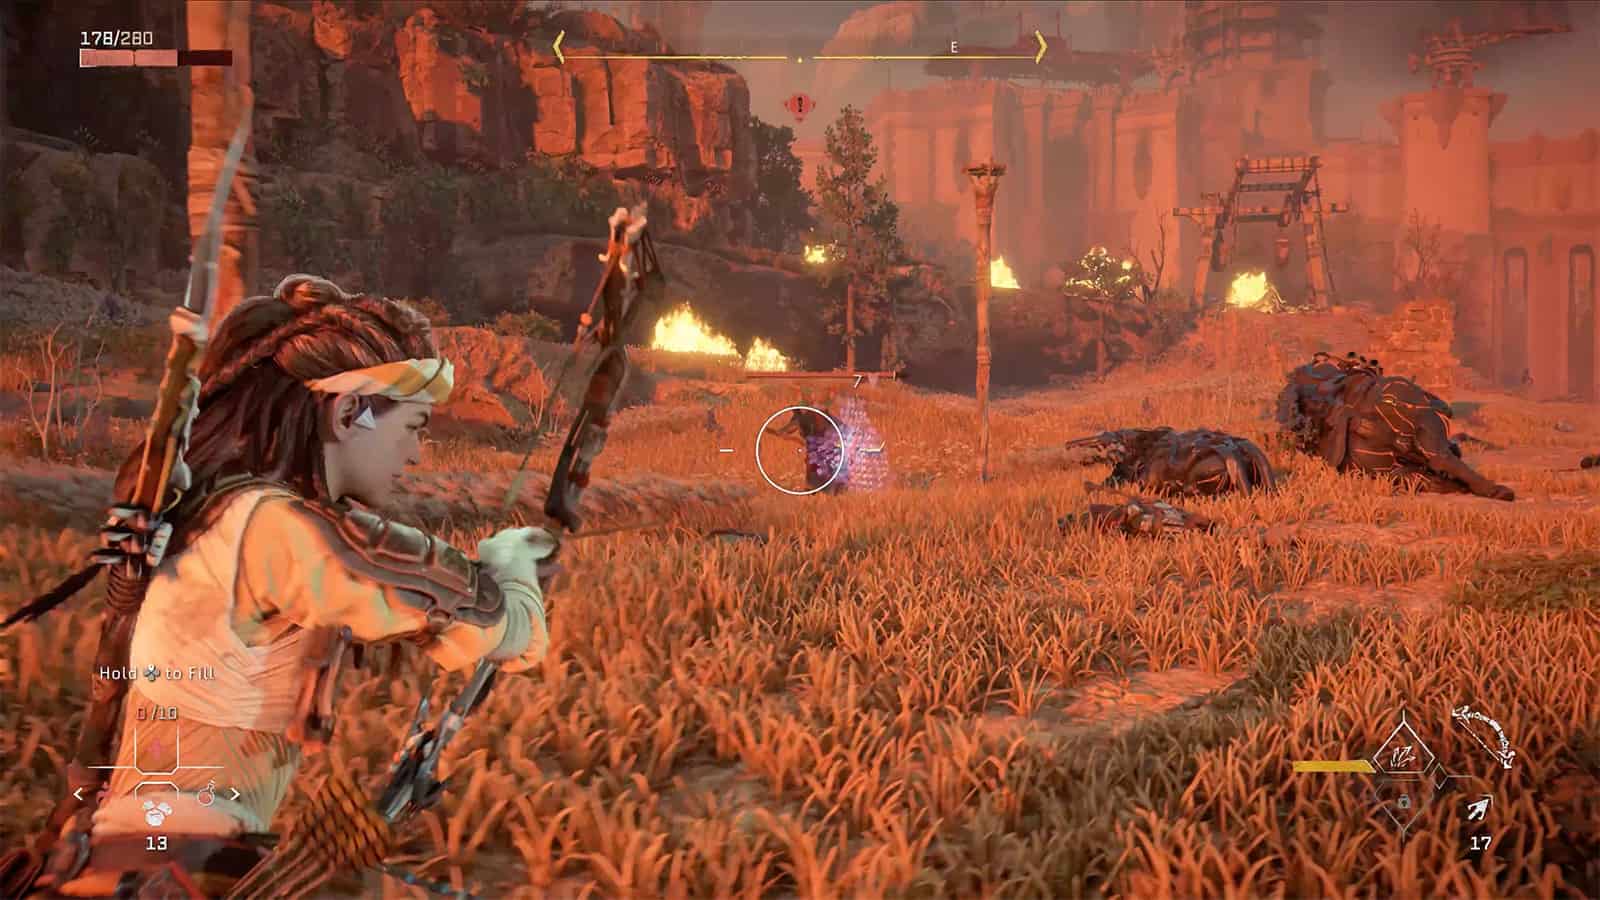
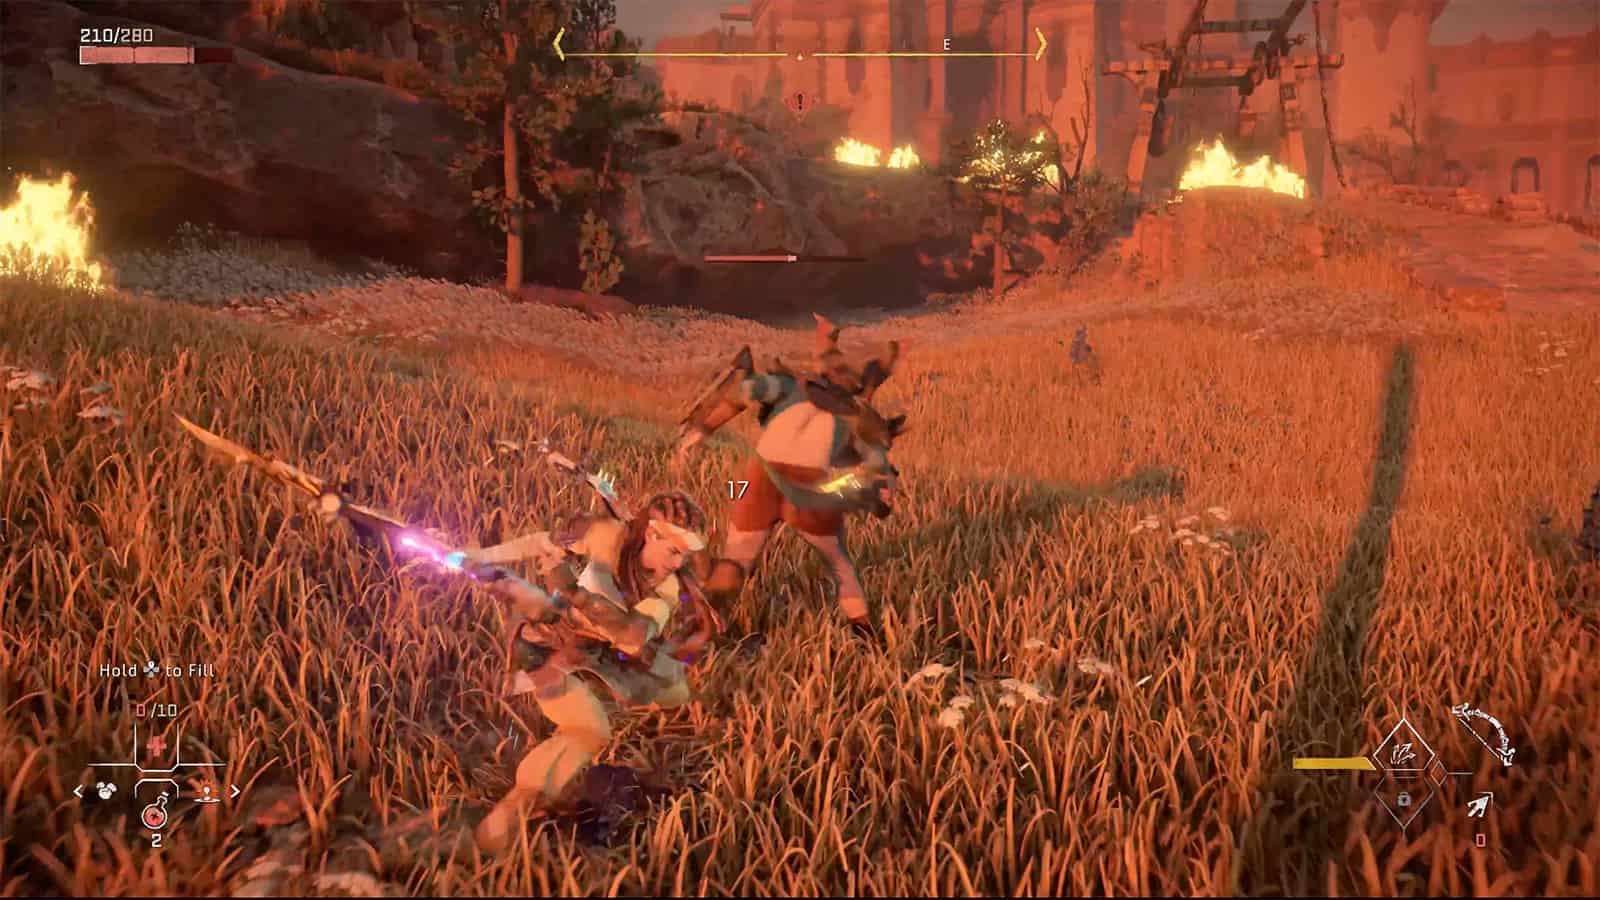
Eventually, Grudda’s shield will power down, usually after he performs the slam attack, and you can easily run up to Grudda and perform several melee combos. Repeat this process and deal as much damage as you can whenever Grudda’s shield powers down. We found it easier to stay close to Grudda and bait his slam attack for more opportunities to deal damage.
Eventually, you’ll kill Grudda and a cutscene will play, ending the mission. The next morning, Aloy will acquire Grudda’s shield and transform it into a glider, and will speak with Commander Lawan to finally gain entry into the Forbidden West. The next mission ‘Death’s Door’ will follow.
Previous mission: ‘To The Brink’
Back To: Horizon Forbidden West Mission List
Next mission: ‘Death’s Door’

