
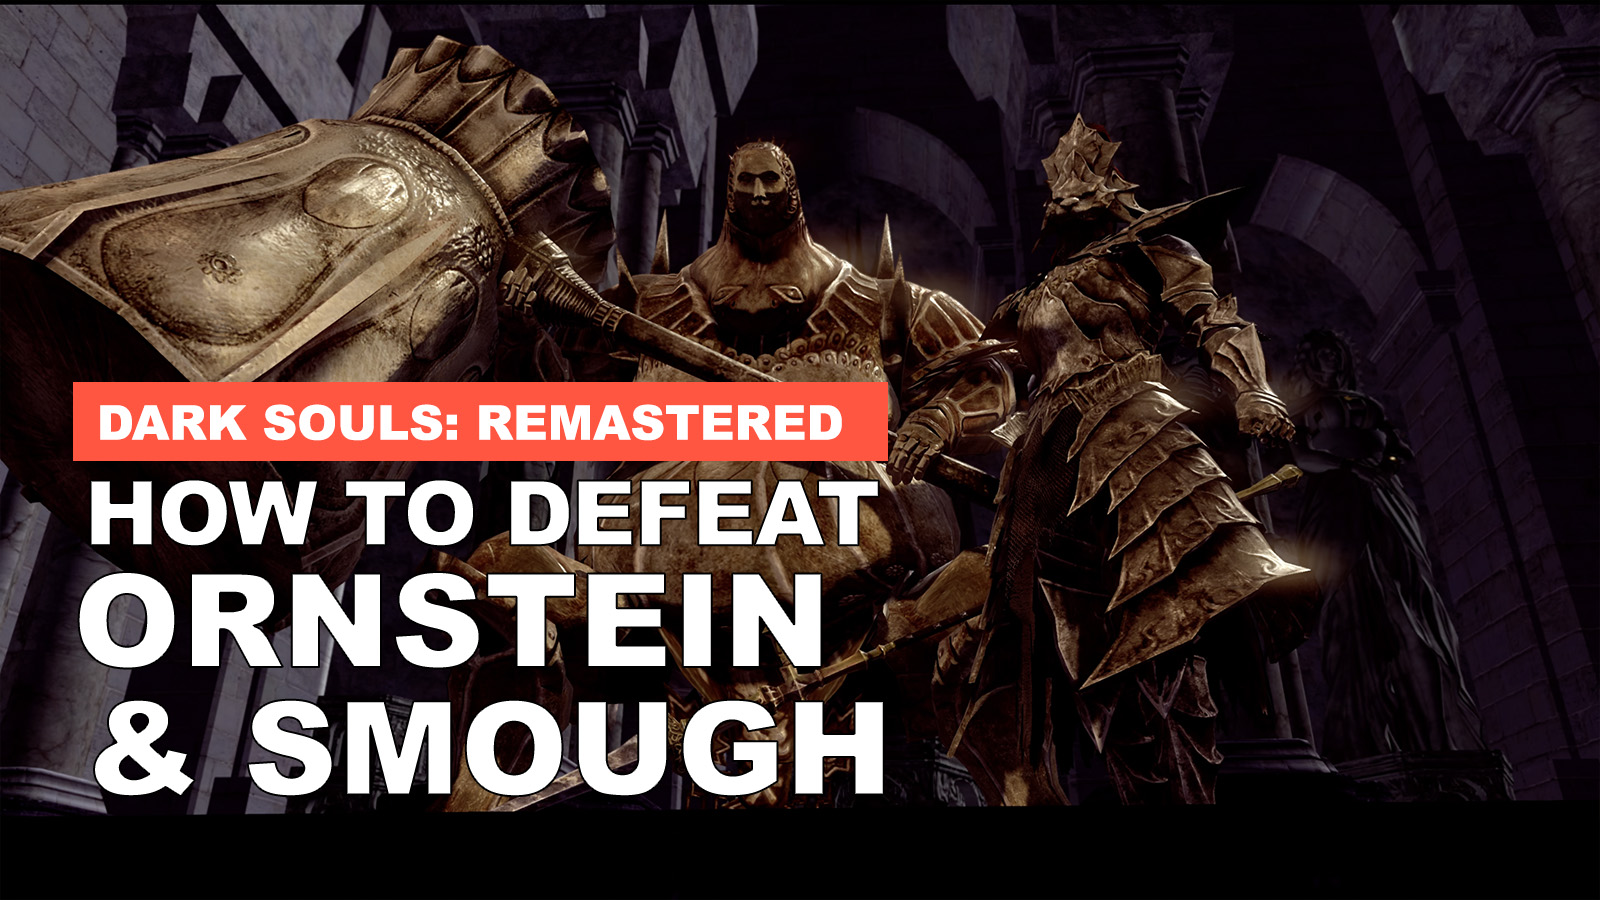
How to defeat Ornstein and Smough in Dark Souls: Remastered
Ornstein and Smough form one of the hardest boss fights in Dark Souls: Remastered, and it’s a mandatory one too. Defeating the duo boss fight unlocks the second half of the game, but doing so can be a challenge due to Ornstein’s dexterity and Smough’s strength. If you’re struggling with the fight and want some guidance or tips, you’ve come to the right place!
How To Reach Ornstein And Smough
Ornstein and Smough are located in Anor Londo, which can only be accessed after defeating the Iron Golem atop Sen’s Fortress.
The duo boss fight is found inside the Anor Londo cathedral, which you access by making your way around the large building and climbing its buttress’ before fighting your way past numerous Silver Knights, Mimics, Gargoyles, Demons, and other enemies.
You can reach the boss fight from one of two bonfires; the bonfire within the cathedral once it’s been fully explored or the one at the start of the Anor Londo area. To reach the boss from either bonfire:
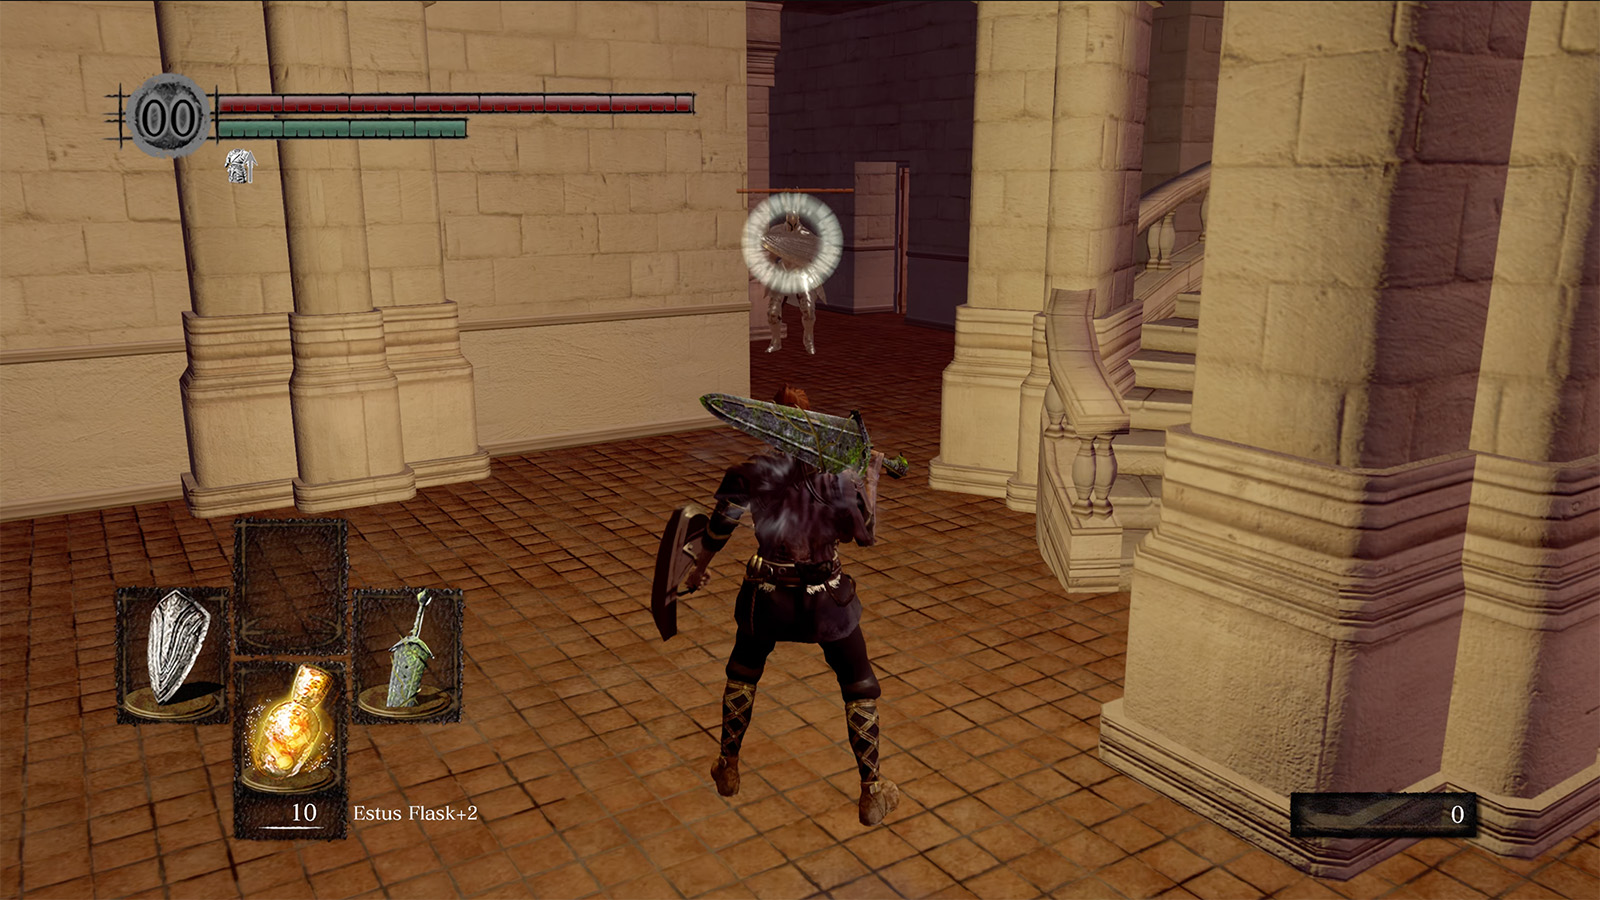
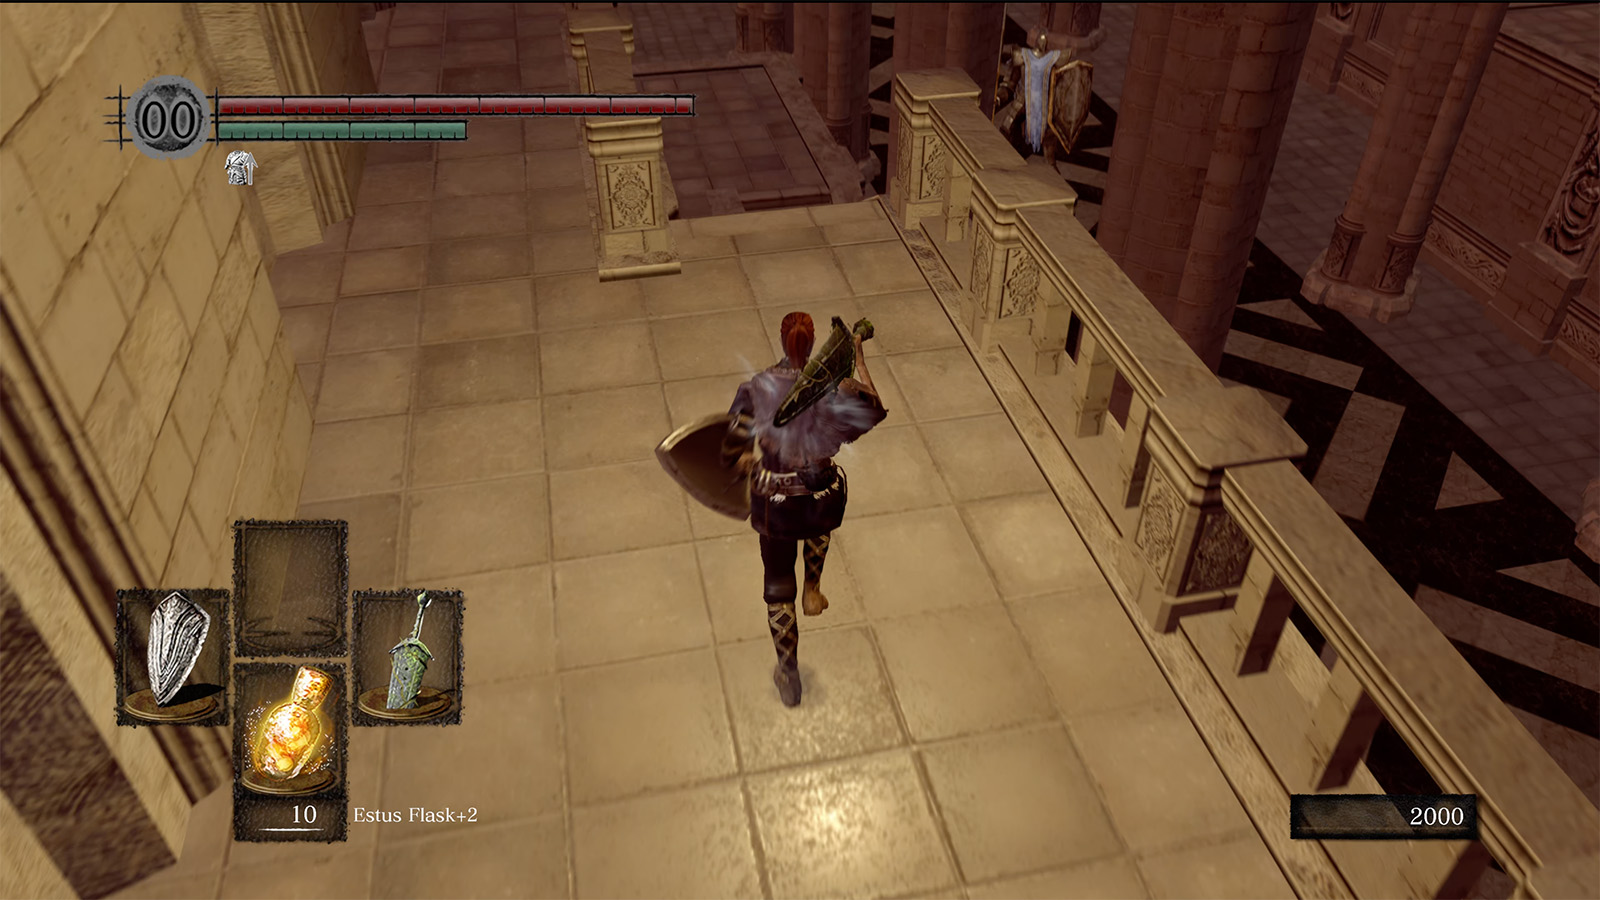
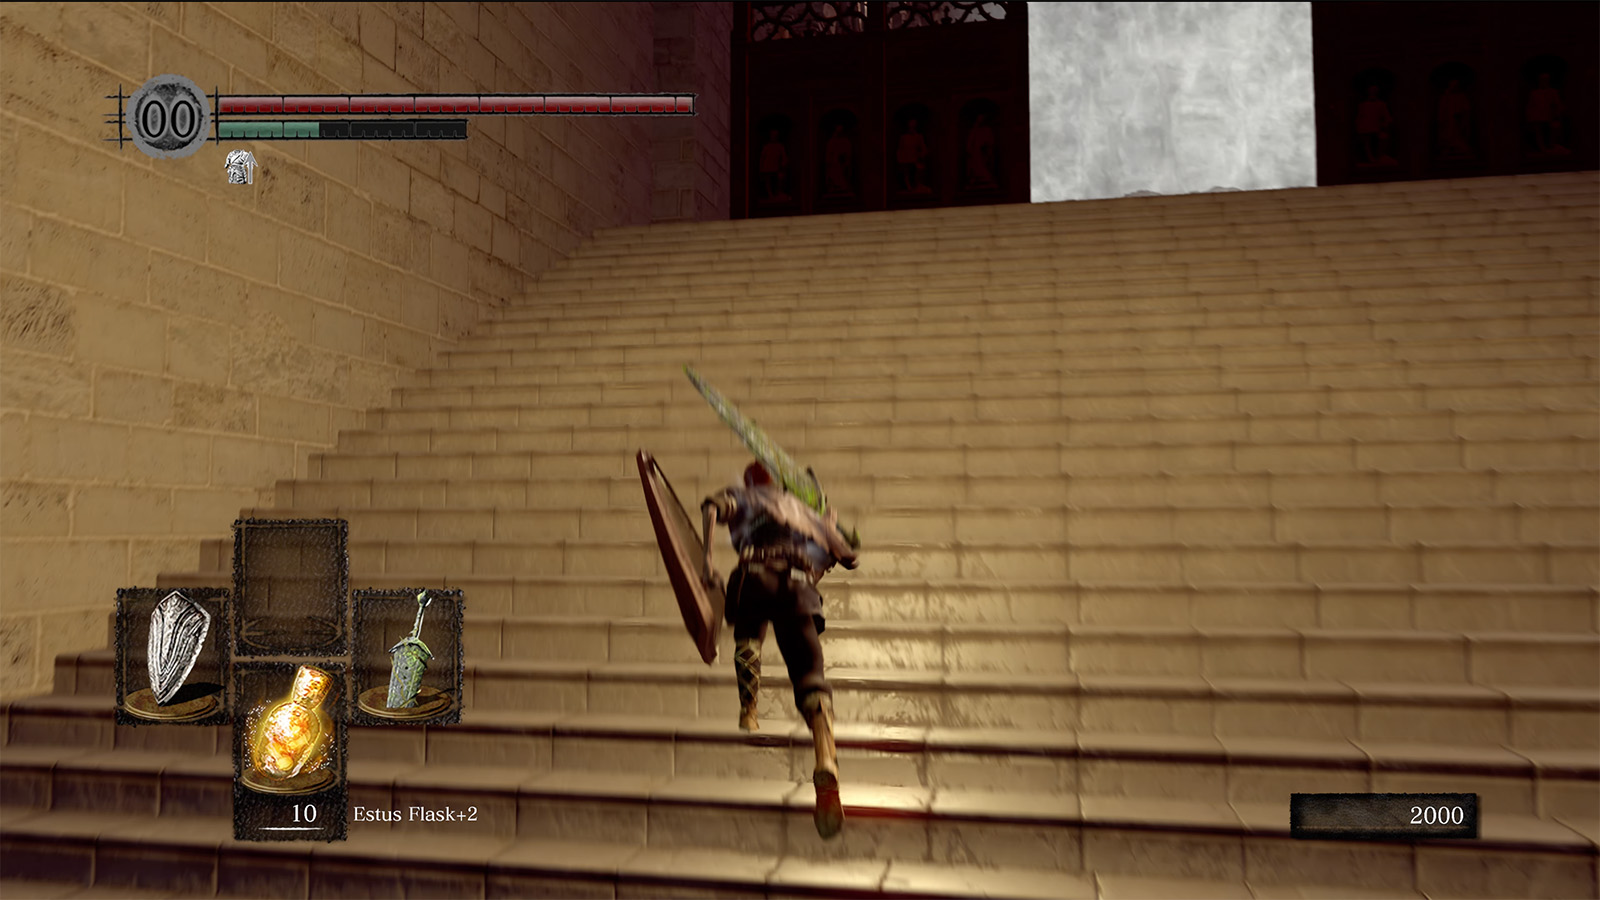
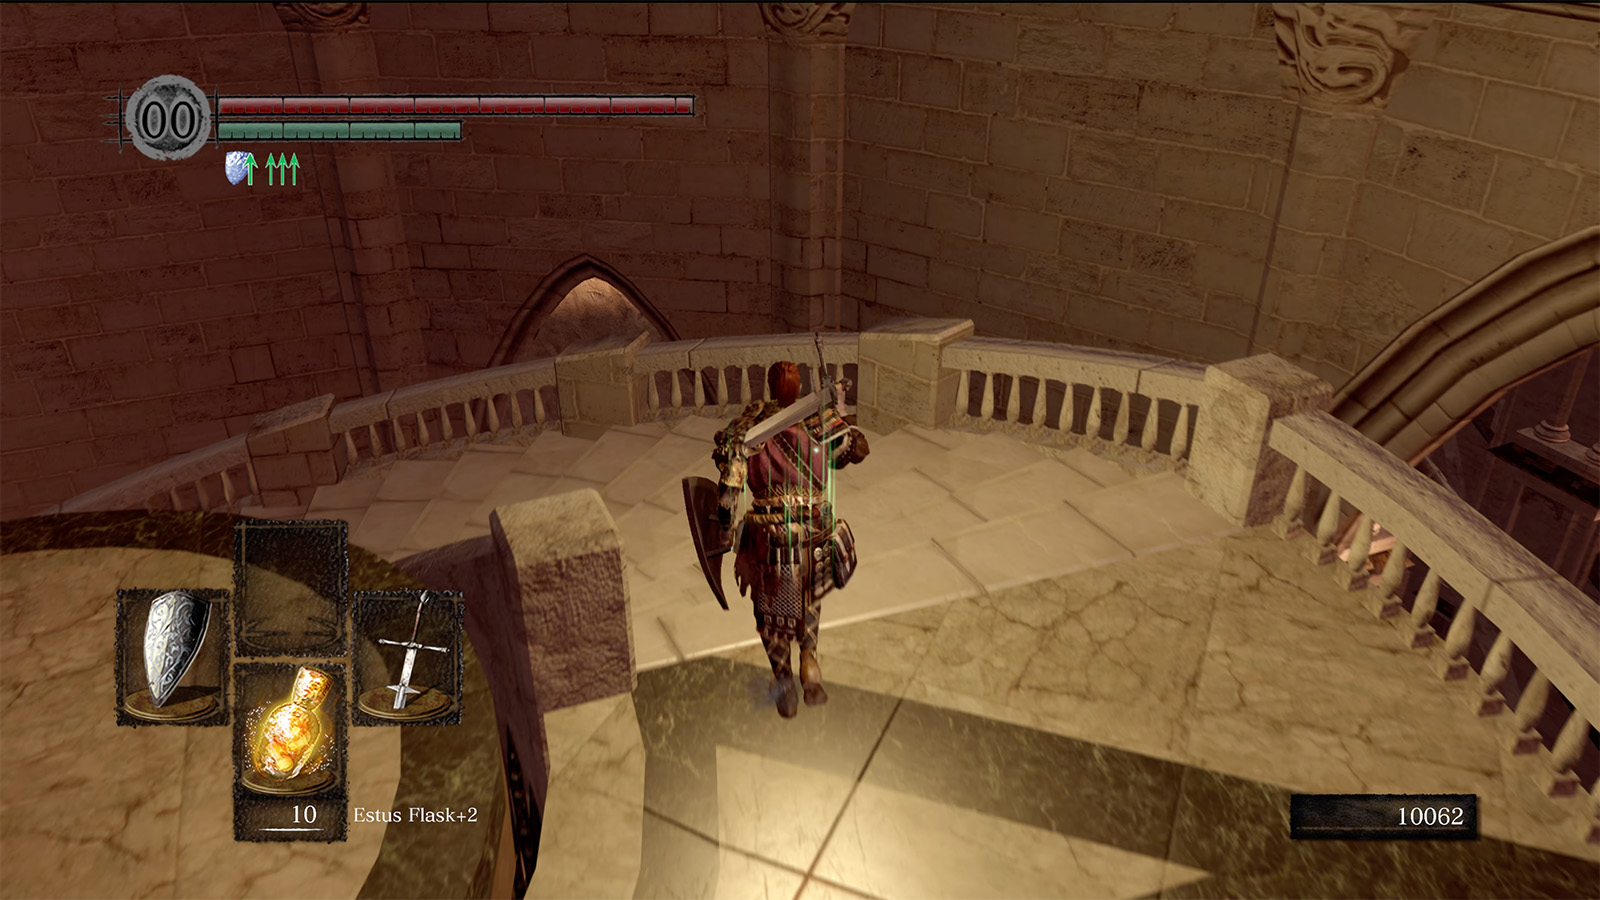
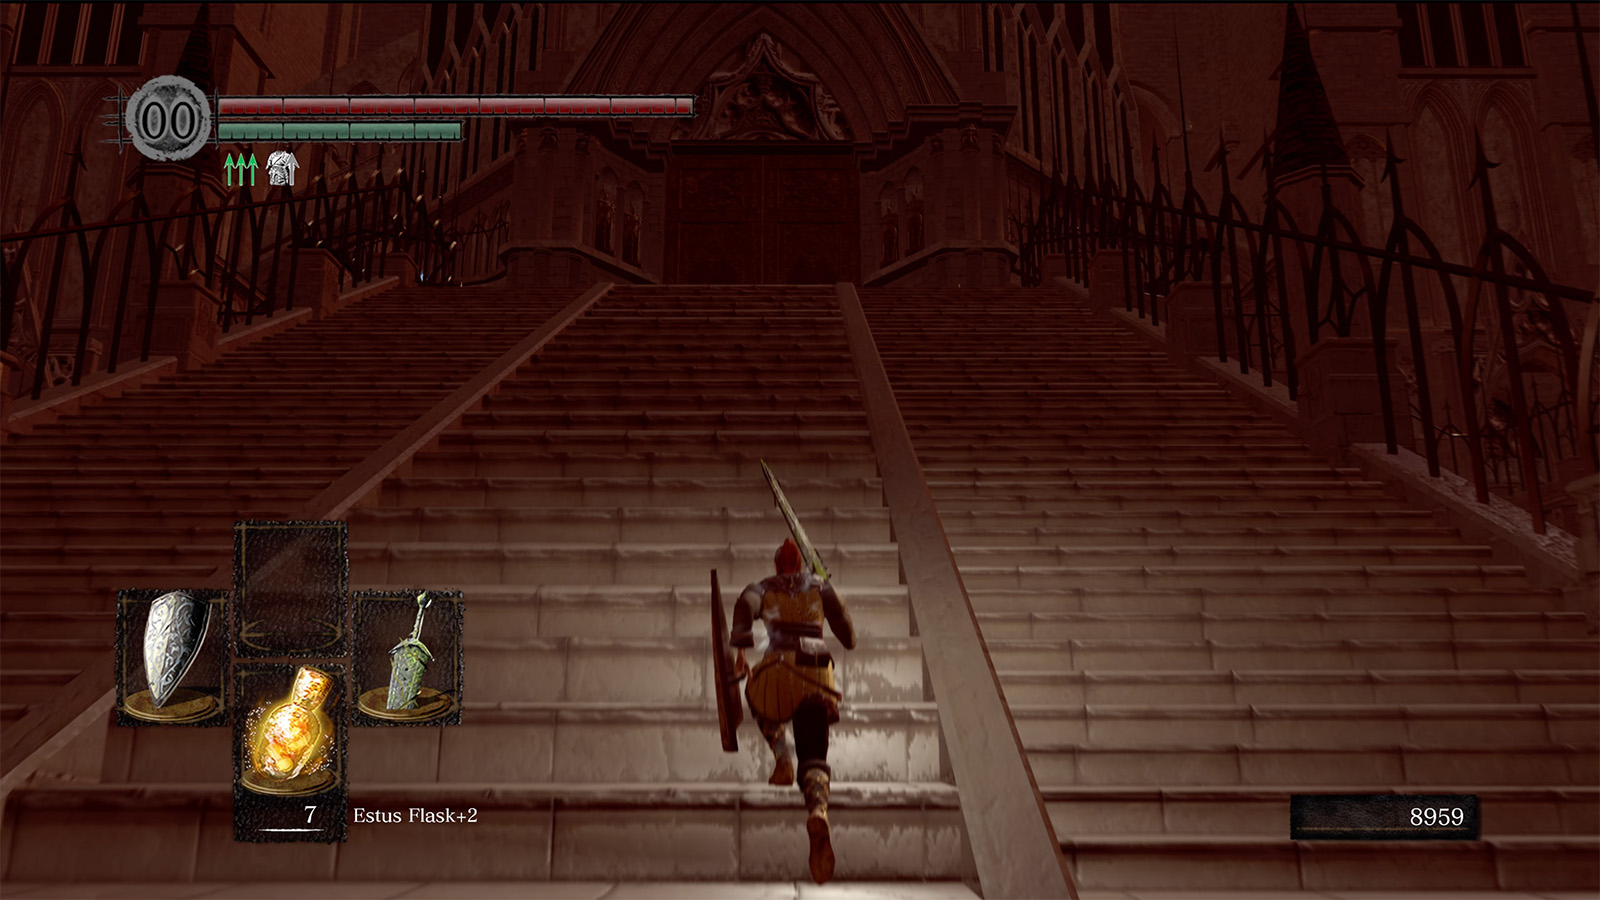
- From the cathedral bonfire: Leave the room and head along the hall towards the staircase. Defeat the approaching Silver Knight, and then continue forward. Turn right at the next doorway, but do not enter. You should alert another Silver Knight, and defeat it. Enter the room, and to avoid alerting the second Silver Knight in the room, stick and follow the walls and then climb the staircase until you exit the room. Follow the hallway and then climb another staircase, emerging into the entrance hall of the cathedral. Carefully drop down the stairs, avoiding the Silver Knight’s arrows from the other side of the room, and then run towards the Ornstein and Smough boss fog door at the centre of the hall, avoiding the two Sentinels along the way.
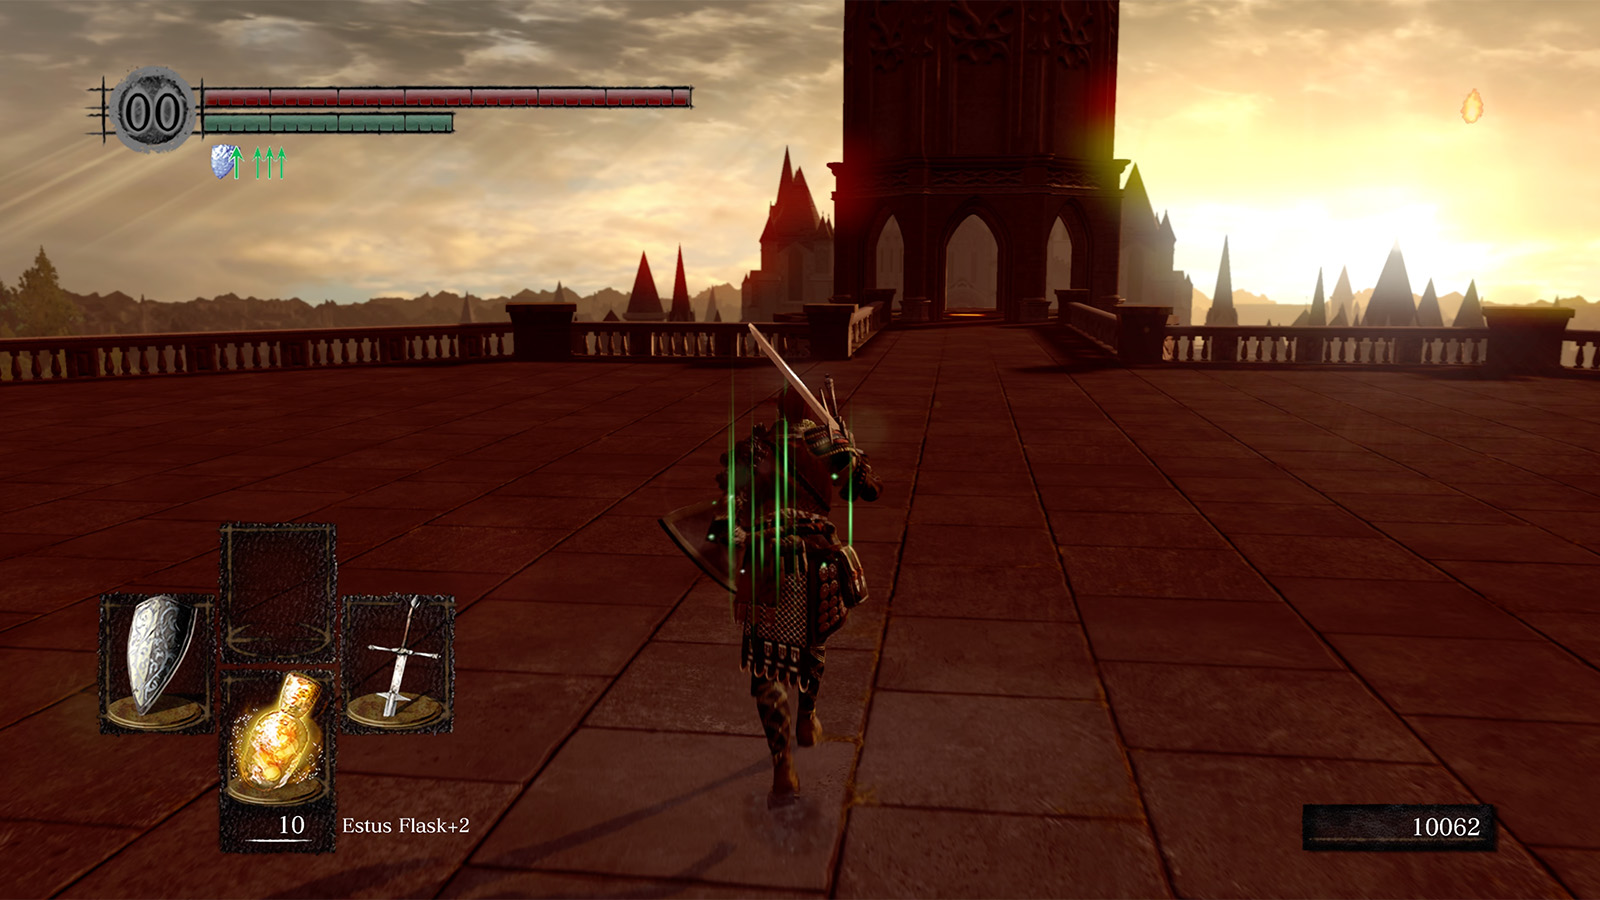
- From the Anor Londo beginning bonfire: Leave the bonfire room and run across to the bridge directly ahead. Use the elevator down, descend the curved staircase, and then run across the bridge until you reach the staircase leading towards the cathedral. Climb it, avoiding the two Sentinels guarding the entrance hall, and then run straight through to the fog door – make sure to avoid the Silver Knight archer and the two Sentinels guarding the fog door.
The journey towards the Ornstein and Smough boss fight can be difficult, and you’ll likely get attacked by some enemy, whether it’s the Sentinels or the Silver Knights – make sure to have levelled up your bonfire before rushing to the boss fight, as you’ll need as many Estus Flasks as possible!
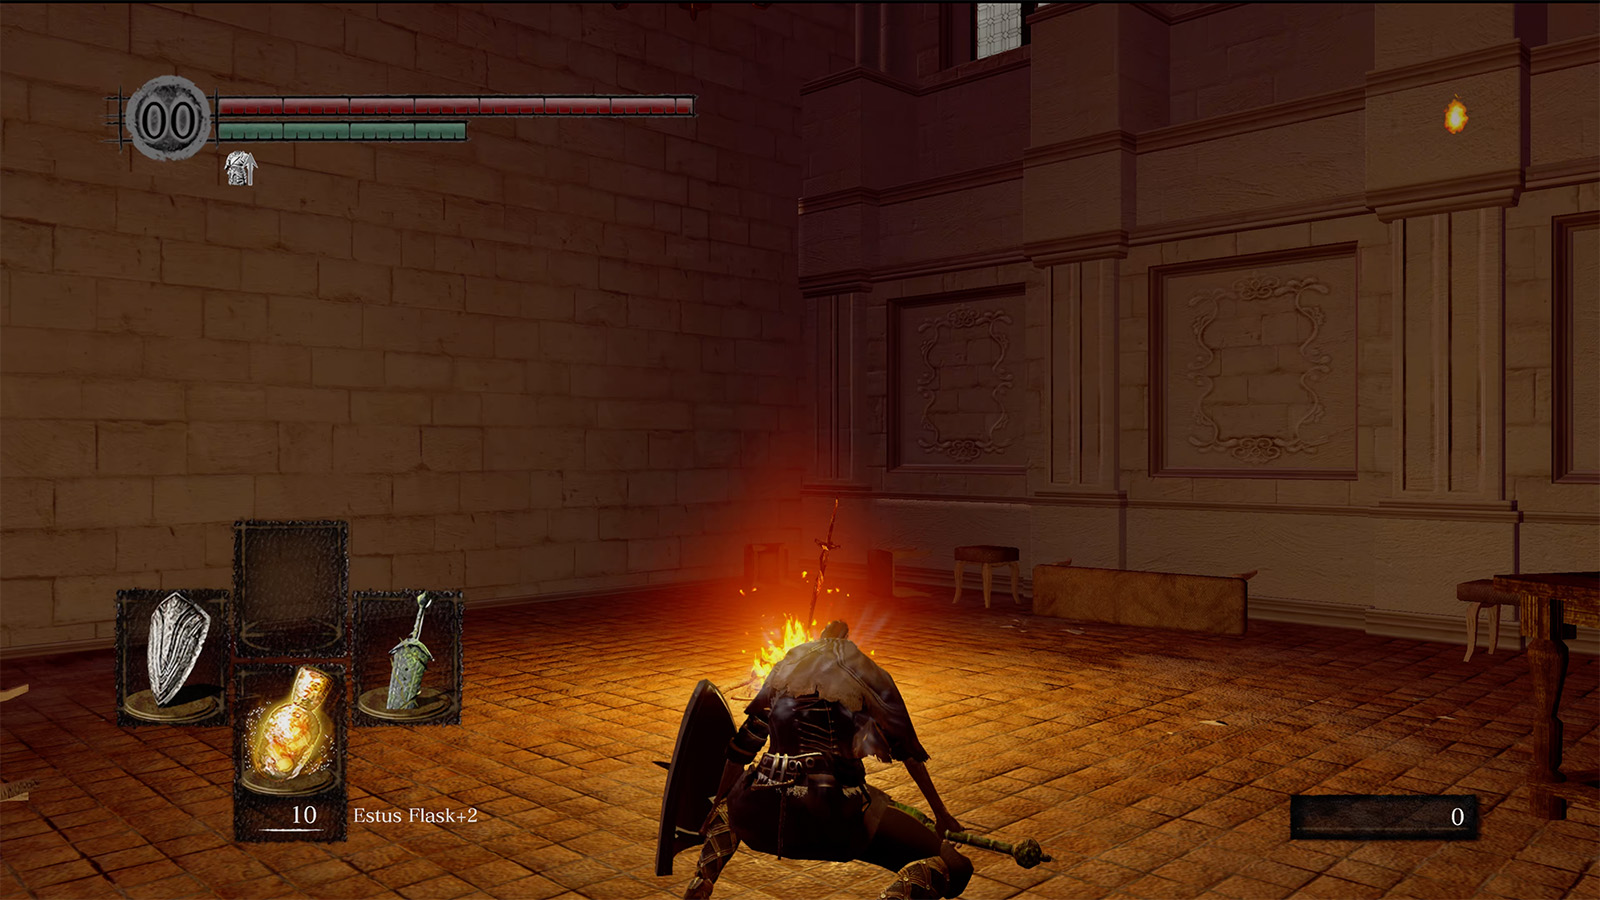
When you pass through the fog door, you’ll trigger a cutscene that starts the fight.
How To Defeat Ornstein And Smough: First Phase
Weaknesses:
• Fire (Ornstein)
• Fire and Lightning (Smough)
Rewards:
• 50,000 Souls (Both)
• Soul Of Ornstein / Smough
• Leo Ring (Ornstein)
• Purchasable Ornstein / Smough armour set (Both)
Unfortunately, my capture card screwed up and I lost all footage of my fight against the duo boss. But I’ve done my best putting together this guide for one of the hardest boss fights in the game!
Before anything, it’s important you understand that the boss fight requires you to fight both the fast-paced Ornstein who deals lightning damage as well as the slow-moving Smough who hits hard.
There are two phases to the boss fight, and defeating either Ornstein or Smough triggers the second phase, with a super-charged version of the last boss standing, who regains all health if any had been depleted in the first phase.
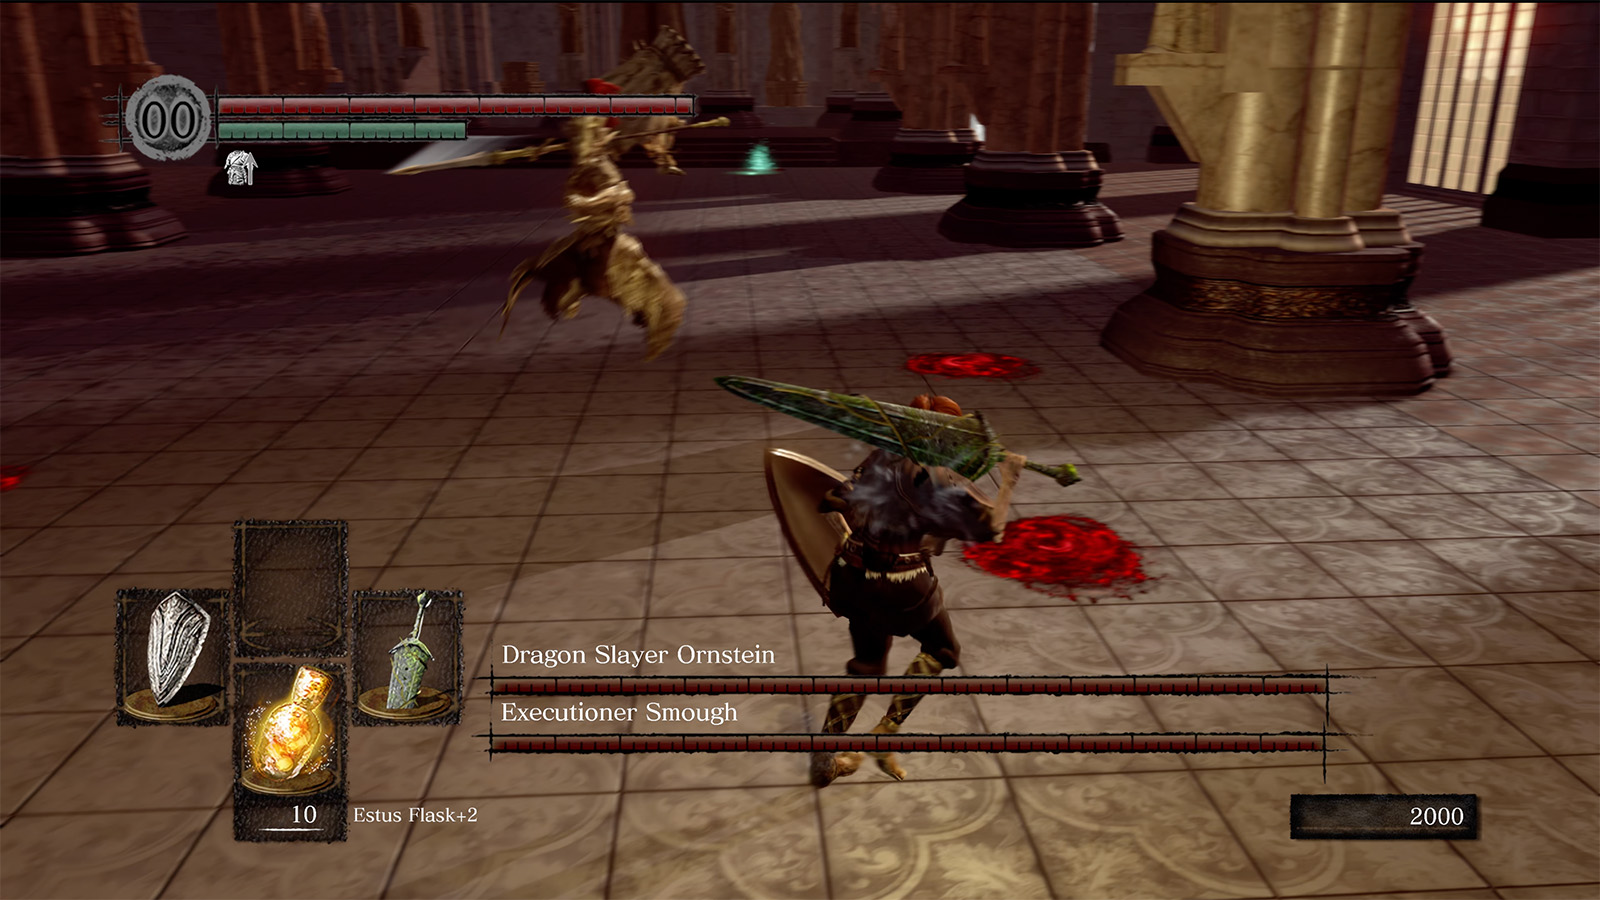
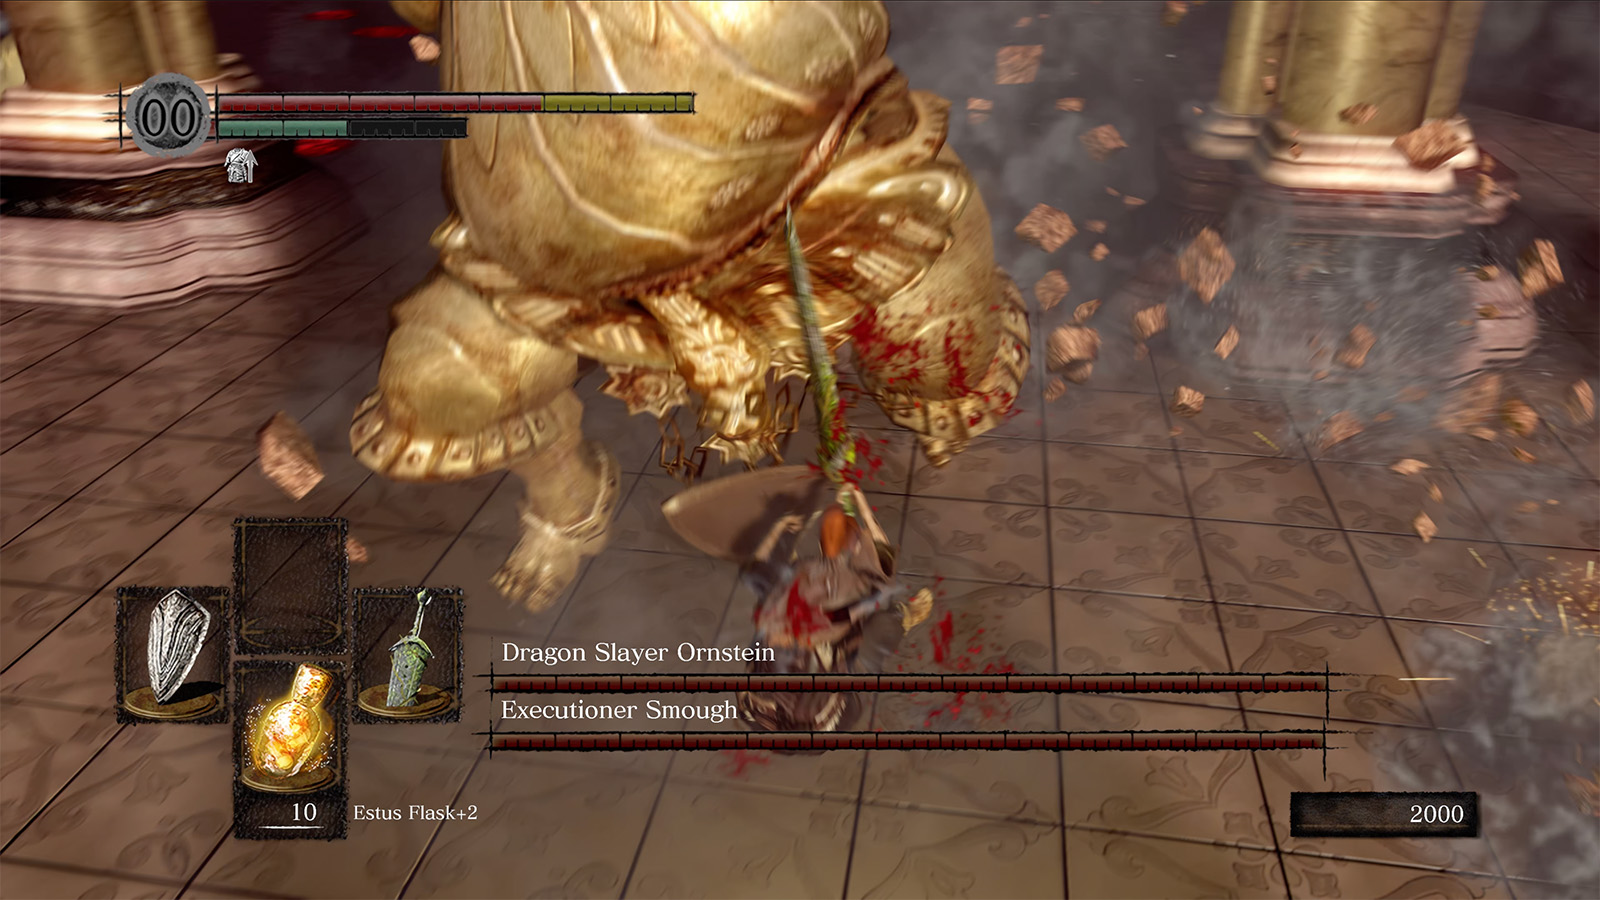
The first phase can be challenging, as you’ll need to handle both enemies, dodge their attacks, and find windows to inflict damage. This can drag out the boss fight as you’ll slowly have to chip away damage.
The best way to complete the first phase of the fight is by deciding on which boss you want to defeat first, and bait them around the arena to attack when you can. Ornstein is weak to fire in both phases, and Smough is weak to lightning in the first phase and then fire in the second but resistant to lightning.
The attacks you’ll need to avoid during the first phase of the fight include:
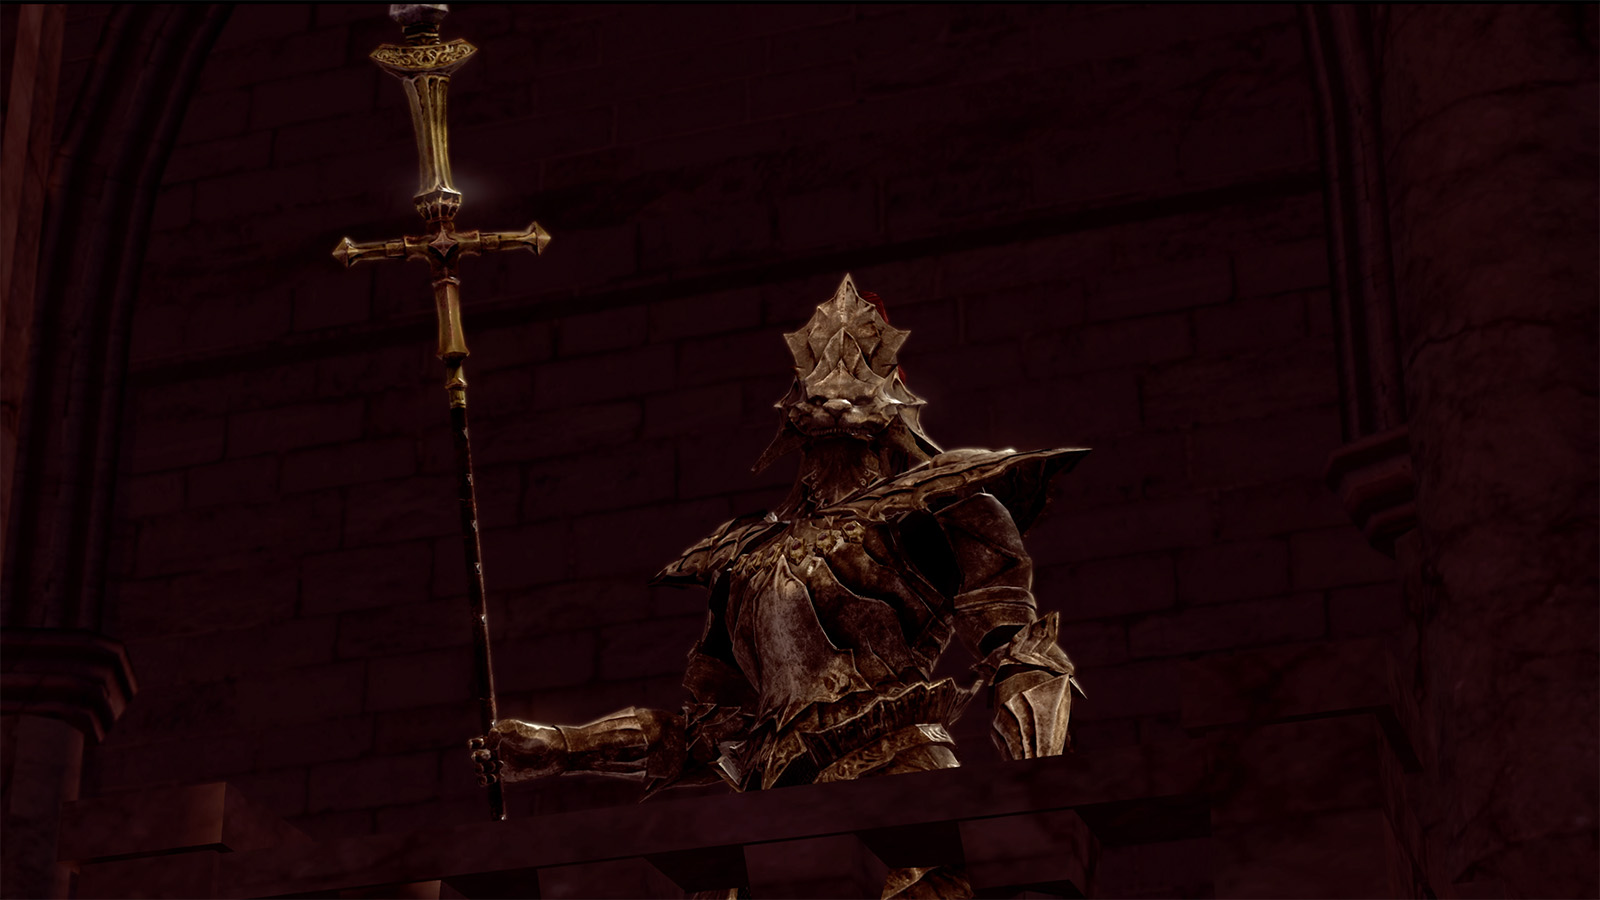
Ornstein
- Spear swing: Ornstein will swing his spear several times but this can easily be blocked
- Slam: Ornstein will jump and perform a slam attack into the ground in front of him. You can dodge it by rolling to either side
- Stab: Ornstein will glide across the arena and perform a stab. He sometimes performs this attack as soon as you enter the room. It only goes so far, so either keep your distance or block or dodge it
- Lightning ball: Ornstein will throw a tracking ball of lighting at you. Avoid it by guiding the ball into the pillars
- Lightning stab: Ornstein will occasionally perform a stab attack with lightning damage. You can avoid it by rolling or blocking
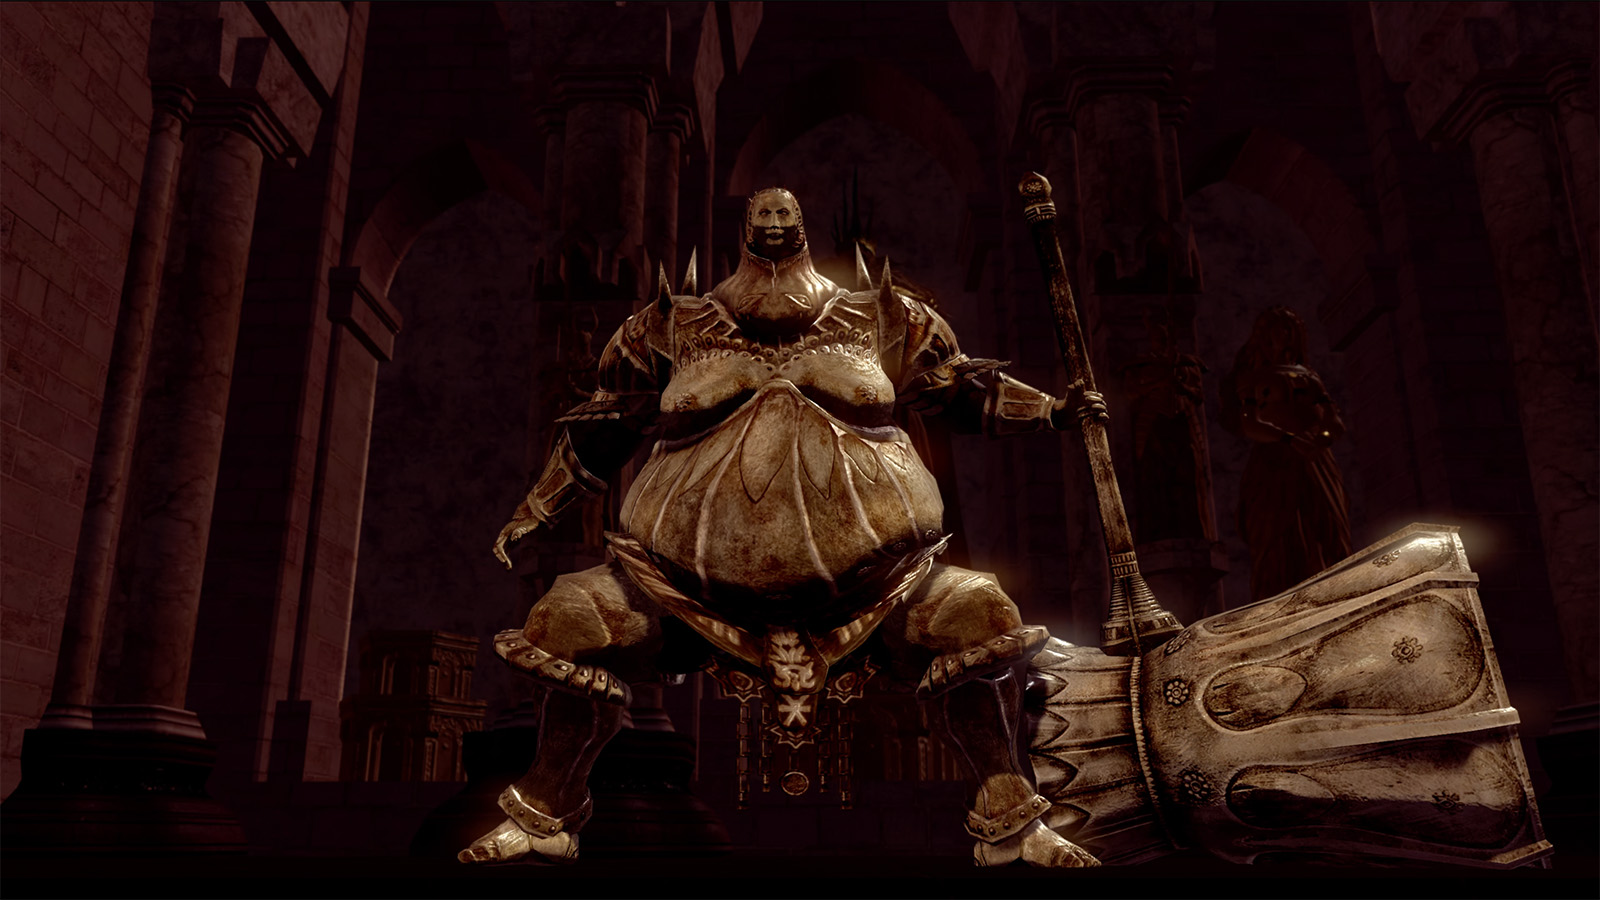
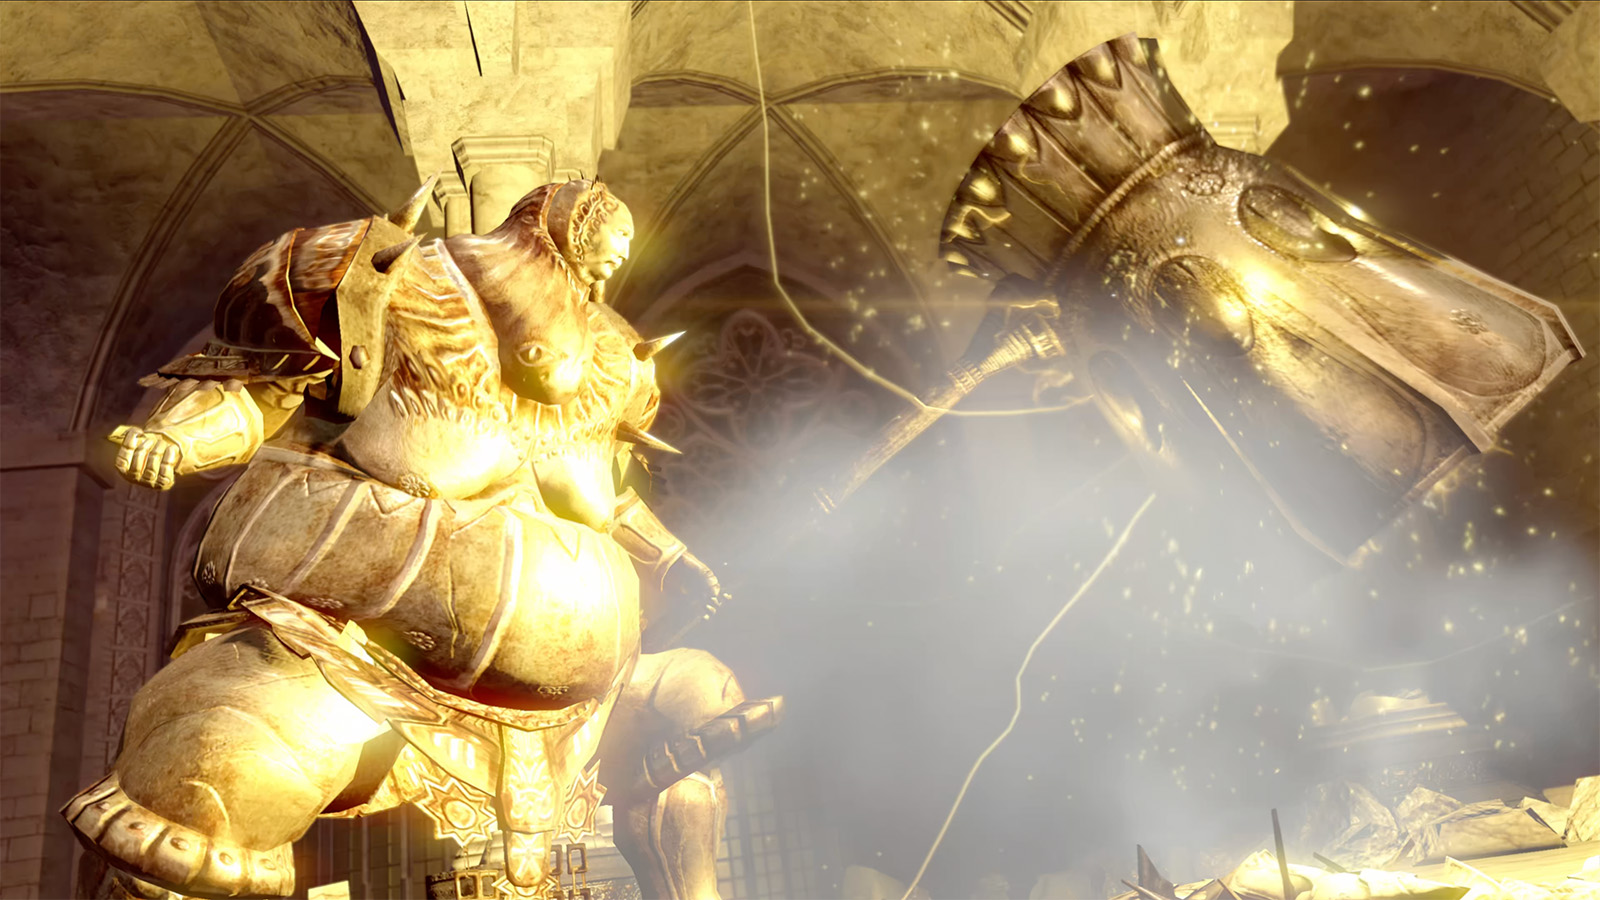
Smough
- Smash: Smough will smash his giant hammer into the ground. You can dodge this, but as the attack is slow, rolling too early can see you roll directly into the attack
- Jump smash: Smough will occasionally jump into the air and perform a smash attack with his hammer. Roll out of the way or keep your distance when you see him pounce
- Swing: Smough can swing his giant hammer either once or twice. You’ll want to keep away from Smough or dodge the attack
- Charge: Smough will perform a charge attack across the arena. It can deal a lot of damage, so either keep your distance or use the pillars to break the charge and Smough’s line of sight
- Body slam: Smough will perform a little jump and slam his backside into the ground, similar to the Asylum Demon! Roll out of the way before his behind meets the ground
It can be difficult dodging both Ornstein and Smough’s attacks, but you can use the arena’s pillars to split the duo and evade their attacks. Just note their position, as it can be easy to get stuck on the columns when running around, leaving you open to attacks.
Many of Ornstein’s attacks are baitable and easily dodged, such as the gliding attack that draws him closer to you and offers a small window to attack. Smough’s attacks, meanwhile, are slow, and always provide you with opportunities to attack if you can avoid Ornstein while doing so. You’ll need to recognise these short windows, usually after most attacks, and quickly deal one or two hits when possible.
Who Should You Defeat First?
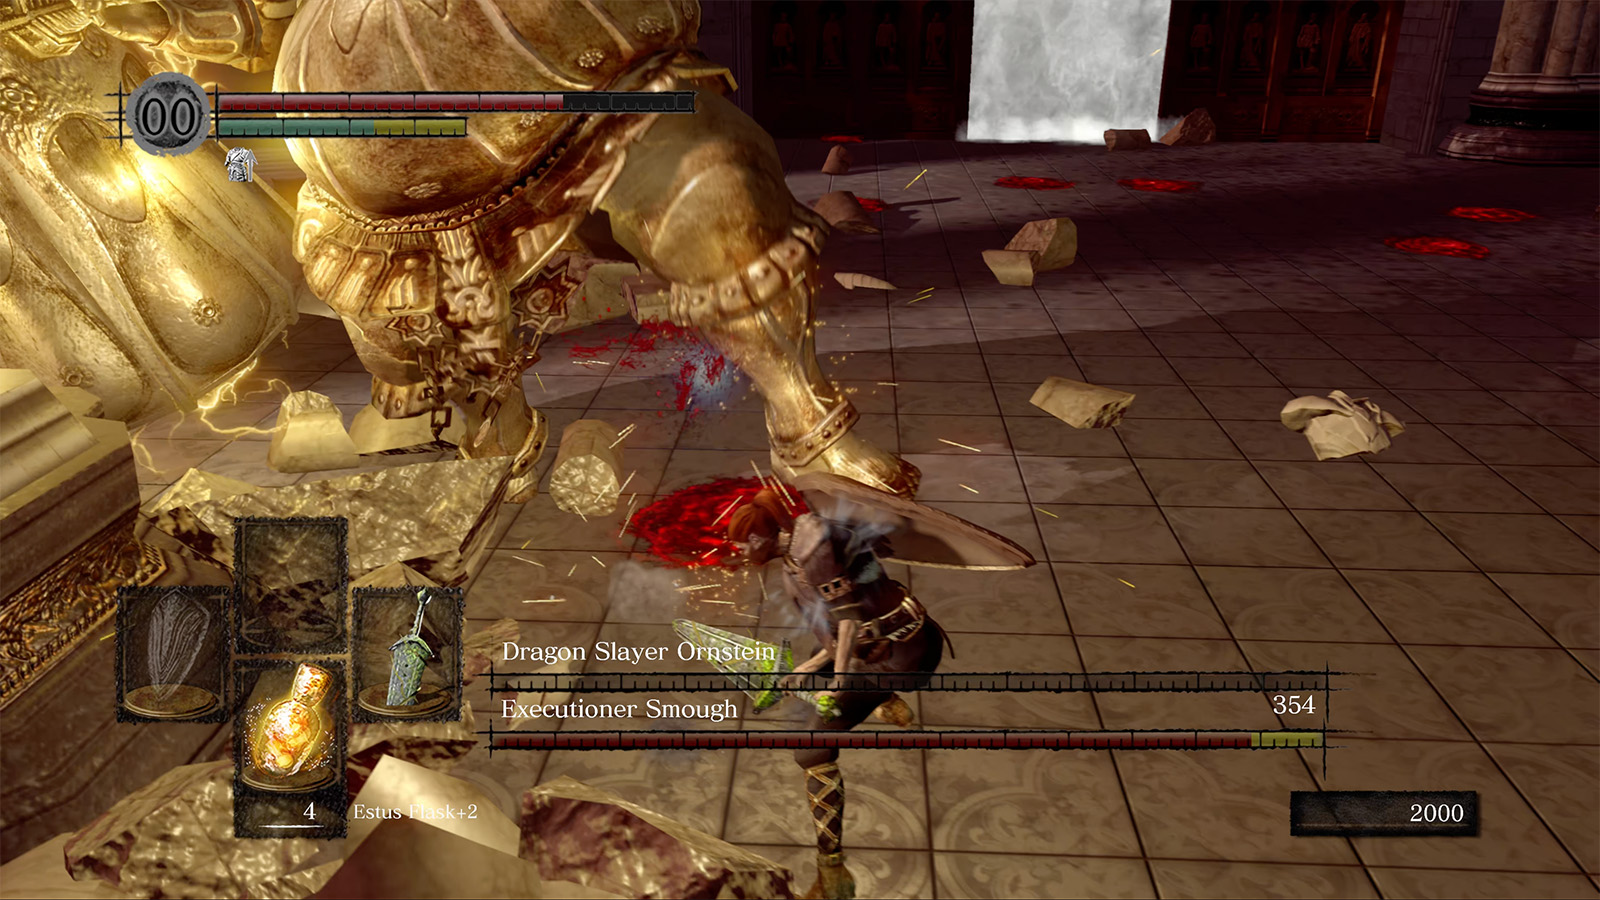
At the start of the second phase, the surviving boss absorbs the fallen boss’ abilities. Ornstein will grow in size but becomes slower while Smough takes on Ornstein’s lightning attacks.
The difficulty of the second phase will depend on which boss you find more difficult to face. Defeating either allows you to purchase their armour from Domhnall Of Zena, but defeating Ornstein last rewards you with the Leo Ring.

There’s no doubt that this fight will take multiple attempts, so try and work out which enemy you find easier to attack, whether or not you want the Leo Ring, and whose armour you’d prefer to help in your decision-making through the fight.
The Second Phase
The second phase of the fight will be different depending on whether you’re facing super-charged Ornstein or Smough.
The attacks of both enemies will be different, but the strategy essentially remains the same; use the arena to slow the enemy down and chip away at their health slowly when their attack animations end.

The attacks in this round, include:
Second Phase Ornstein
- Spear spin: Ornstein will spin his spear around, which you can dodge by rolling under it
- Jump sweep: Ornstein will jump and sweep the ground with his spear. You can dodge this by running under him
- Slam: Similar to the stab attack from the first phase. You can dodge it by rolling under it or to the side, although the weapon is larger and the dodge can be a little more difficult to time
- Stab: Similar to the glide stab from the first phase, but can be prevented by sticking close to Ornstein
- Lightning explosion: Ornstein can jump into the air and unleashes a large explosion of lightning, which can deal a lot of damage and kill you if low on health. Avoid this by running away from Ornstein as soon as he leaps into the air
- Lightning stab: Ornstein will charge his spear, stab you with lightning damage, and then throw you across the arena. This can inflict a lot of damage, but you can avoid it by rolling to the side or back
Smough Second Phase
- Hammer slam: Smough will slam his hammer into the ground in front of him or can jump and slam the hammer, both of which can be dodged by rolling back or to the side
- Hammer sweep: Smough will sweep at the ground around him with his hammer in one direction. He can occasionally do this a second time, bringing it back in the opposite direction. Avoid this by moving back or directly under him.
- Charge: Like in phase one, Smough can perform a charge attack that deals lots of damage and tramples over you. If low on health, this can kill you, but you can avoid it by directing Smough’s attack into a pillar
- Body slam: Like in phase one, Smough will perform a jump and slam his bum into the ground. You can roll out of the way to avoid the attack
All of Smough’s attacks deal lightning damage as he’ll have absorbed Ornstein’s ability to attack with lightning, making him all the more deadly.
Try to stay under either super-charged enemy as much as possible and attack their ankles – this should help you avoid most attacks, but always remember to keep an eye on their attacks to avoid anything that can still inflict damage.
If you’re having issues fighting the two enemies, you want to summon some help. Solaire can be summoned for the fight and found beside the archer within the cathedral entrance, while player summons can usually be found by the stairs leading up to the fog door – just be careful with the nearby sentinels!
Do not feel ashamed in summoning an NPC or other players. The Ornstein and Smough boss fight is incredibly difficult and there’s no shame in seeking help if needed.
Once you’ve defeated both Ornstein and Smough, you can take one of the two nearby elevators on either side of the arena to reach the next bonfire, level up, and save your progress.