Horizon Forbidden West – ‘The Dying Lands’ Walkthrough
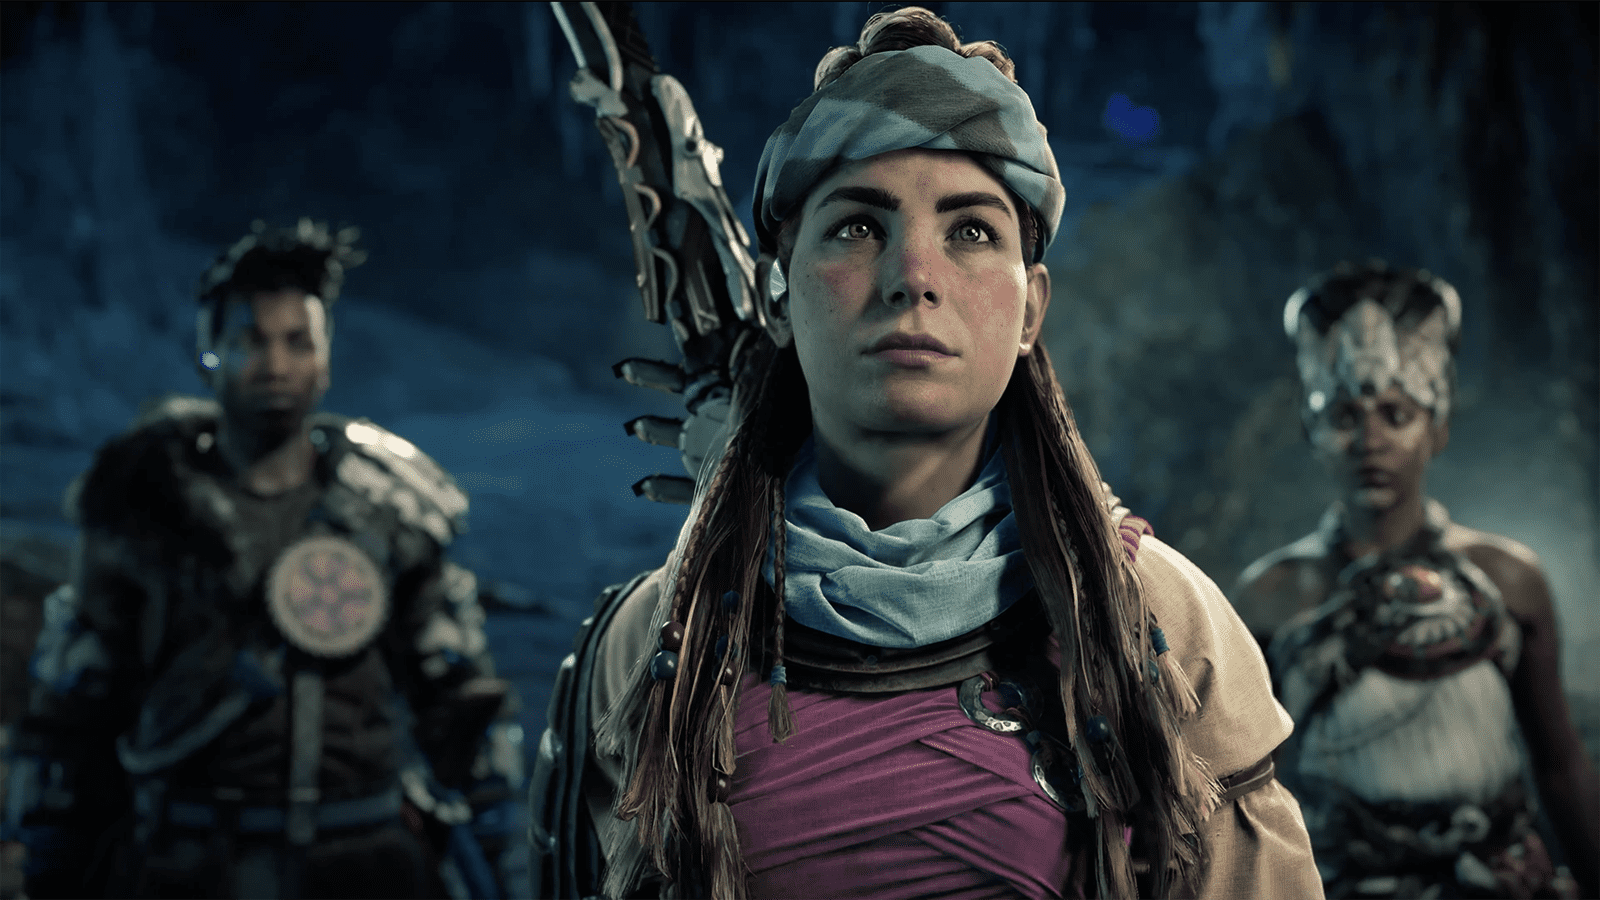
The Dying Lands is the sixth mission in Horizon Forbidden West and it sees Aloy, Zo, and Varl venture into a cauldron in the hopes of locating and capturing Minerva, one of GAIA’s sub-functions.
| Mission Name | Recommended Level | New Tools | Machines | Rewards |
| The Dying Lands | 15 | None | Scroungers Leaplashers Clawstriders Longlegs Grimhorns | 9,000 XP 2 Skill Points Utaru Whisperer Face Paint |
Head To Plainsong
Immediately after ending the previous missions Death’s Door, your new objective will be to meet Varl and Zo at Plainsong. When you reach the settlement, speak with them and watch the cutscene in which you’ll learn more about the Chorus and the nearby Sacred Cave – a cauldron where machines are repaired. After speaking with Varl and Zo, you’ll receive a new objective; met Zo and Varl outside the Chorus located at the top of Plainsong.
Before doing so, we suggest you head to the local workbench and stock up on ammunition and upgrade your weapons. When you’re ready, speak with your allies and a cutscene will trigger in which Aloy, Zo, and Varl ask the Chorus for permission to enter the Sacred Cave. When the cutscene ends, you’ll be at the base of Plainsong and must rush towards the Sacred Cave as a wave of machines attack the settlement and its surrounding areas.
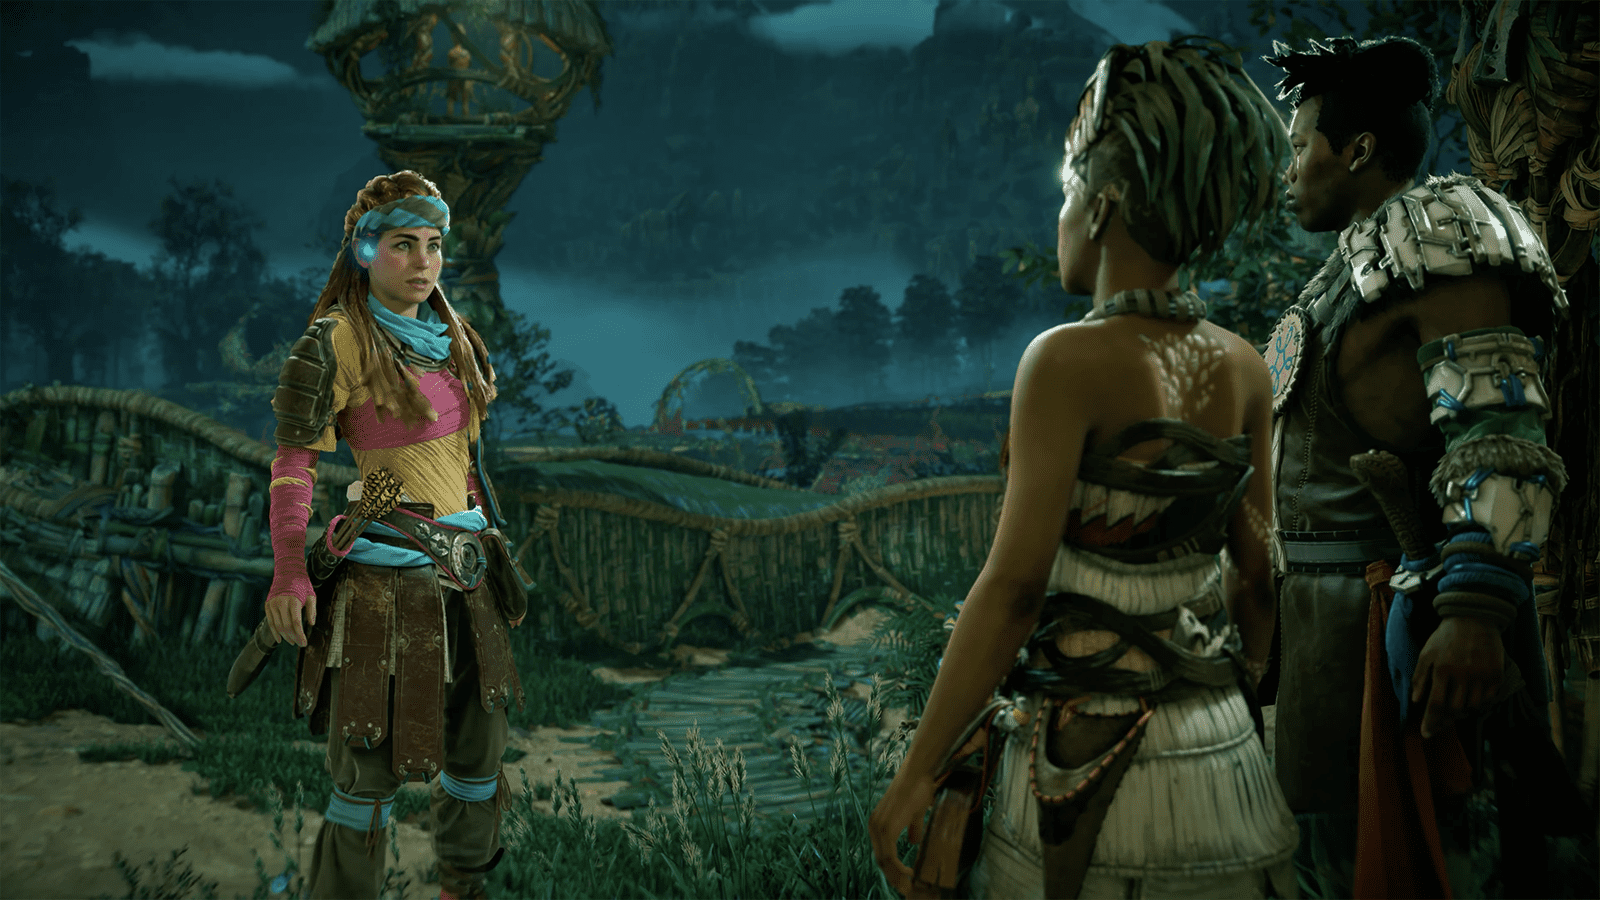
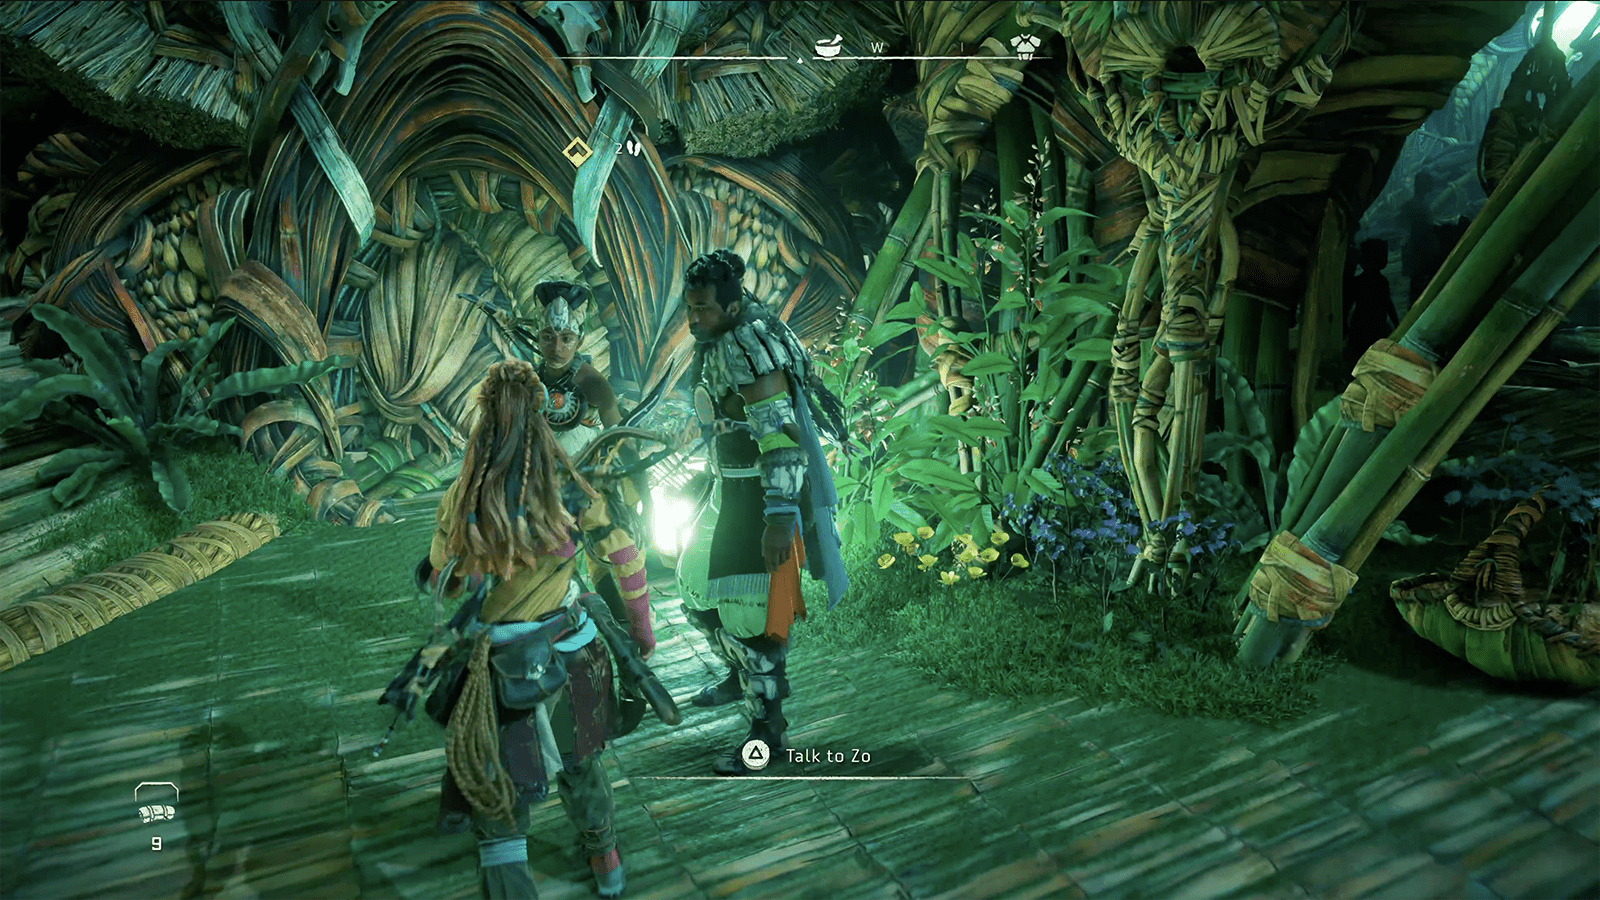
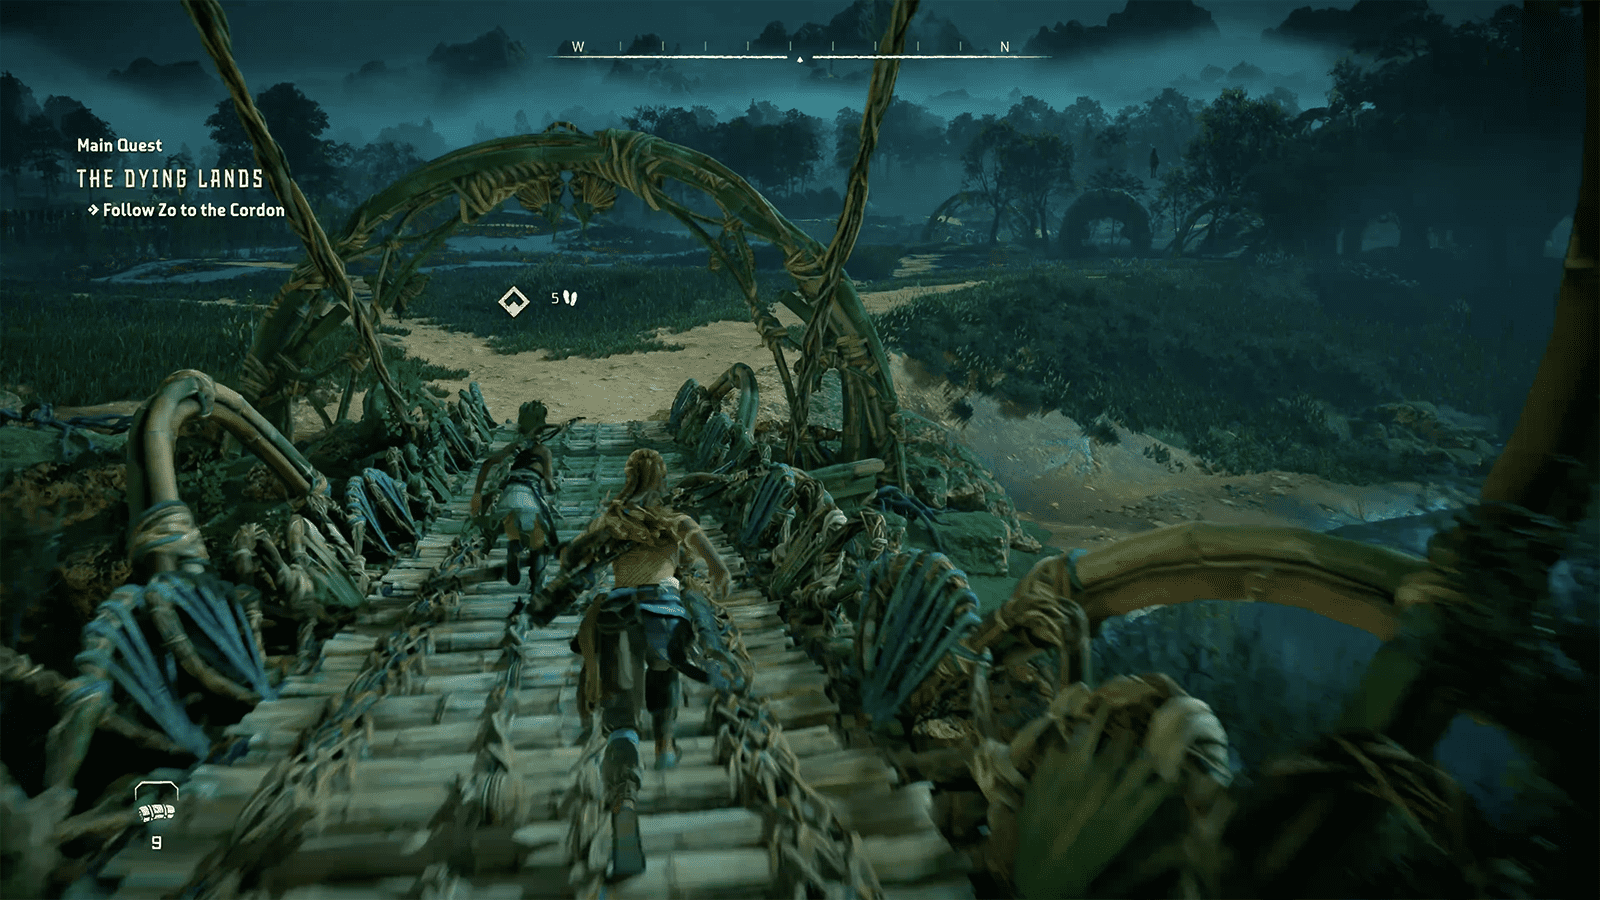
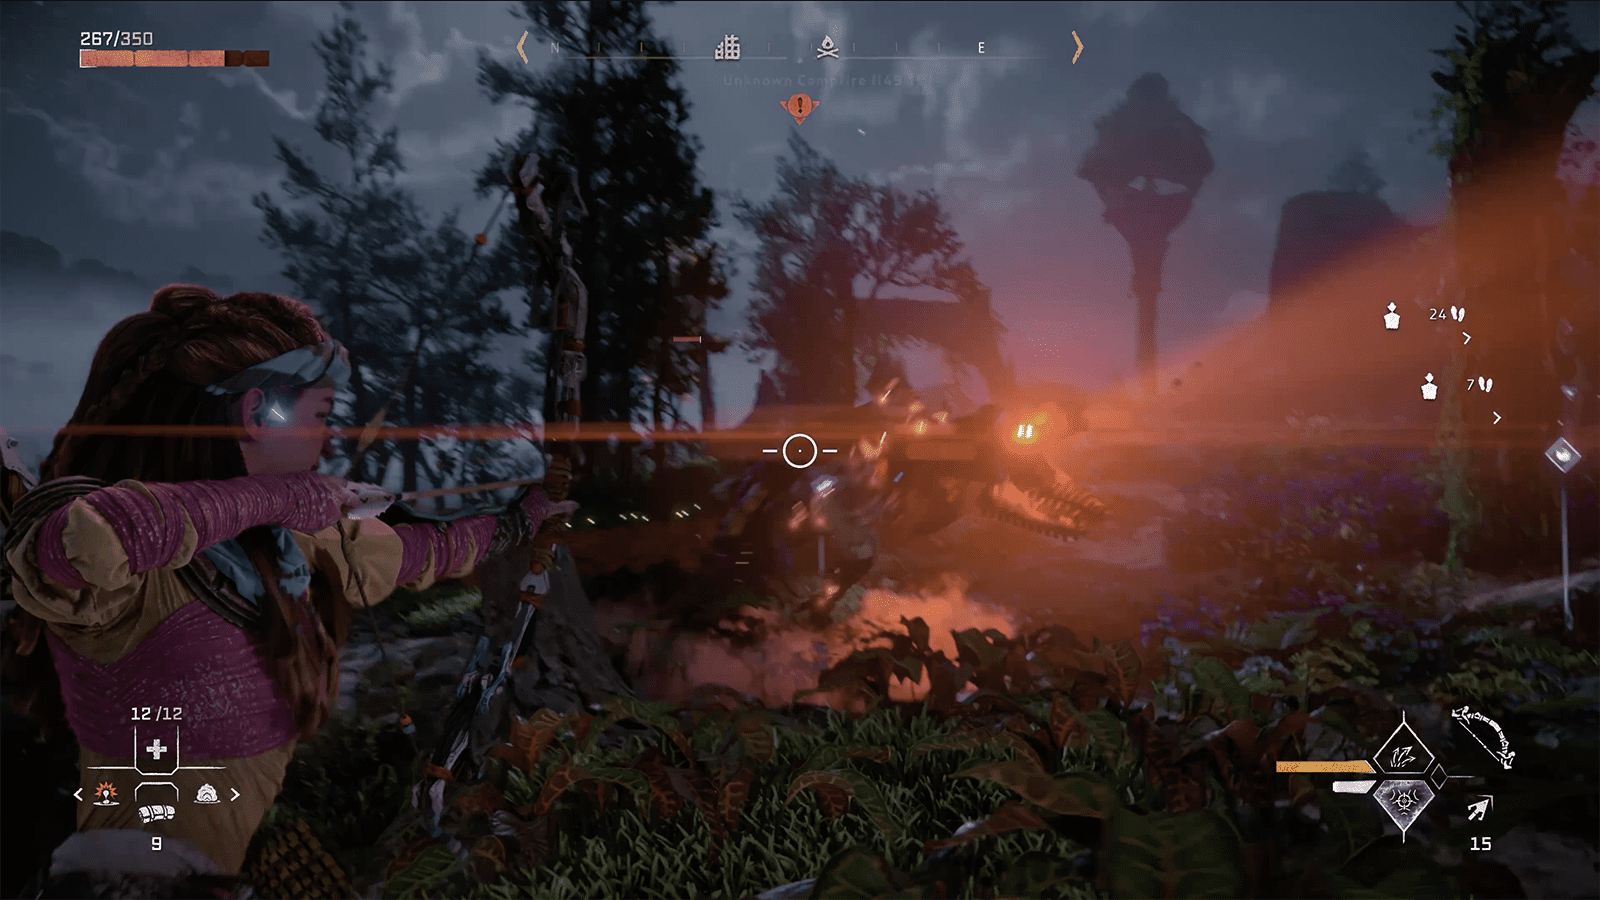
Follow Zo as she leads you to the Cordon. We suggest you avoid most of the machines along the way until you reach a clearing, where you’ll need to destroy several machines, including Scroungers and Clawstriders. Once you’ve killed all of the machines, continue following Zo to the Cordon and take down the few machines in your way. Eventually, you’ll reach the Cordon and will need to enter the Sacred Cave.
Once you’ve entered the Sacred Cave, follow it around until you reach a shield. To your right will be a ledge you can climb that curves around the entrance. Follow it and then perform a running jump onto the opposite ledge. Follow the cave along to reach the other side of the shield and beyond it, the Repair Bay’s entrance.
Enter The Repair Bay
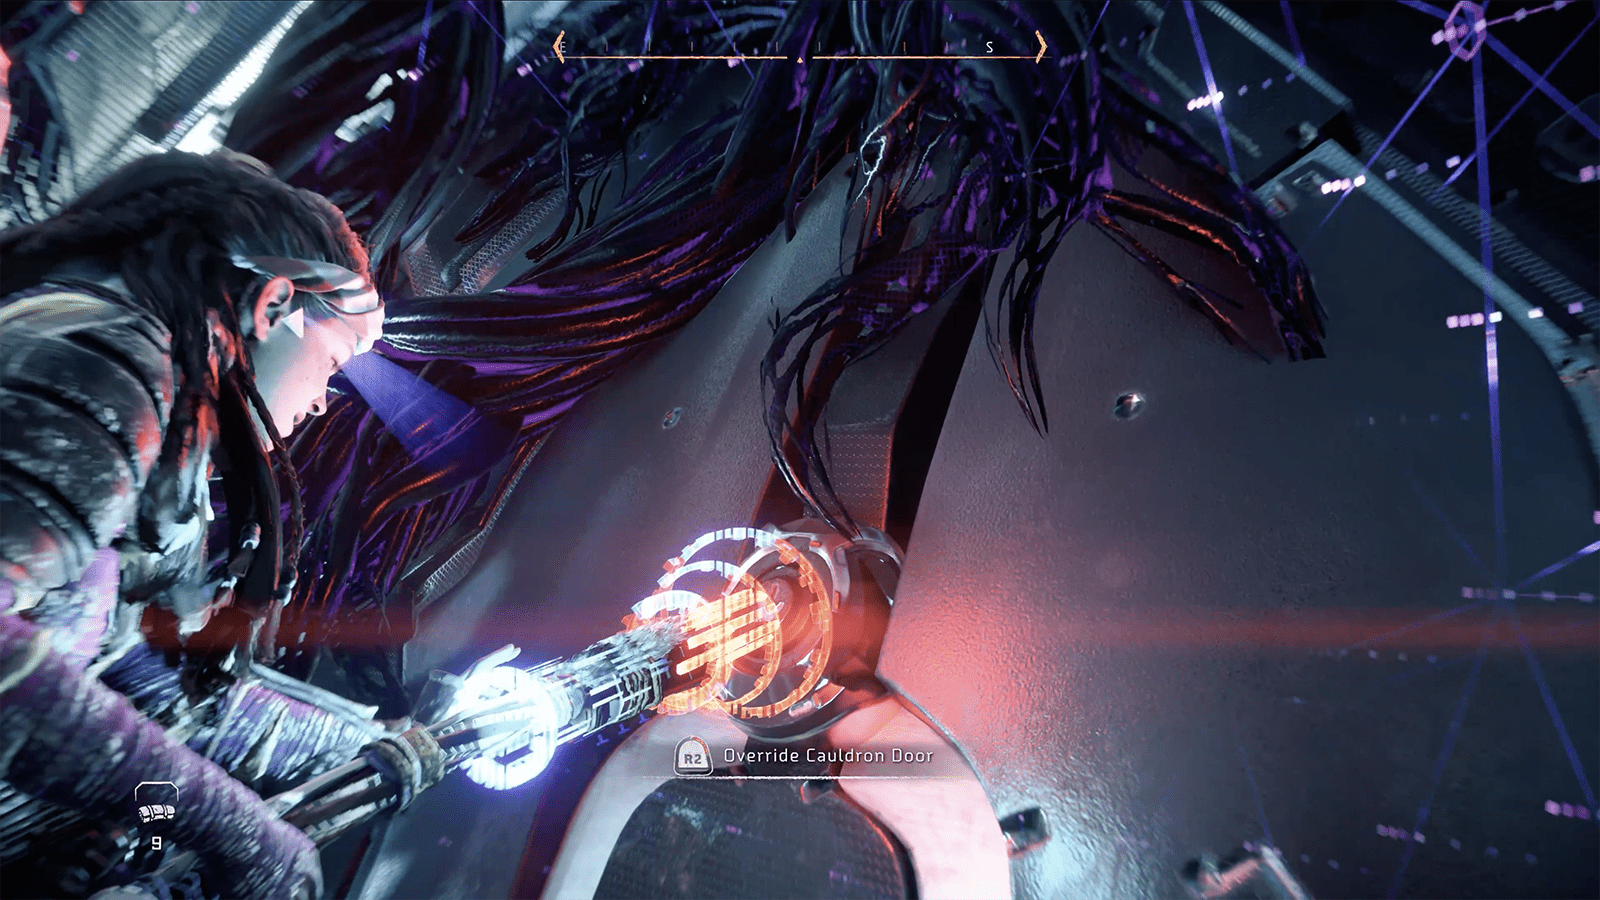
When you override the cauldron door, a cutscene will play and Aloy and allies will enter the Repair Bay. Upon entering the cauldron, turn right and follow the steps towards a ledge, below you will be several Leaplashers and Scroungers. If you haven’t yet encountered any of the machines, scan them and note their weak points and Chain Reactions, and take them down. Once the machines have been defeated, loot them for resources (You’re going to need them!) and then push forward towards another cauldron door.
Override the door and proceed through the passageway that opens up to a large room. To your right will be a white triangular platform. Stand on it to switch the moving platforms on, starting a puzzle where the platforms will move and their base rotate. You’ll need to wait for the switch to flash white and shoot it with an arrow to hold it in place. Do this for all three platforms, and then climb them to reach a new section of the Repair Bay.
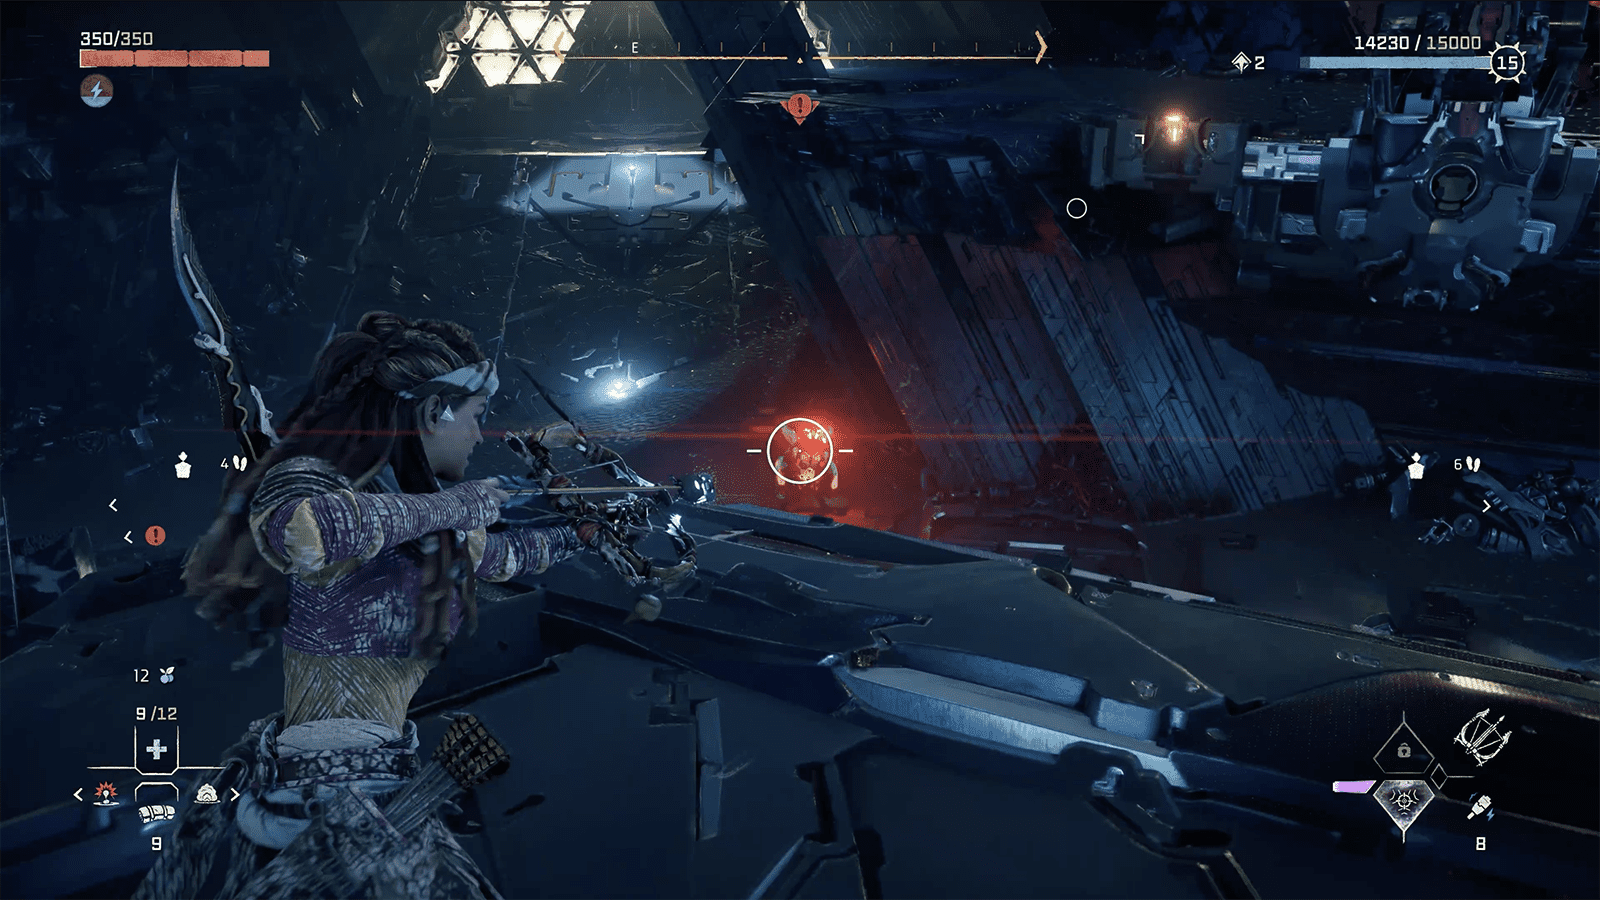
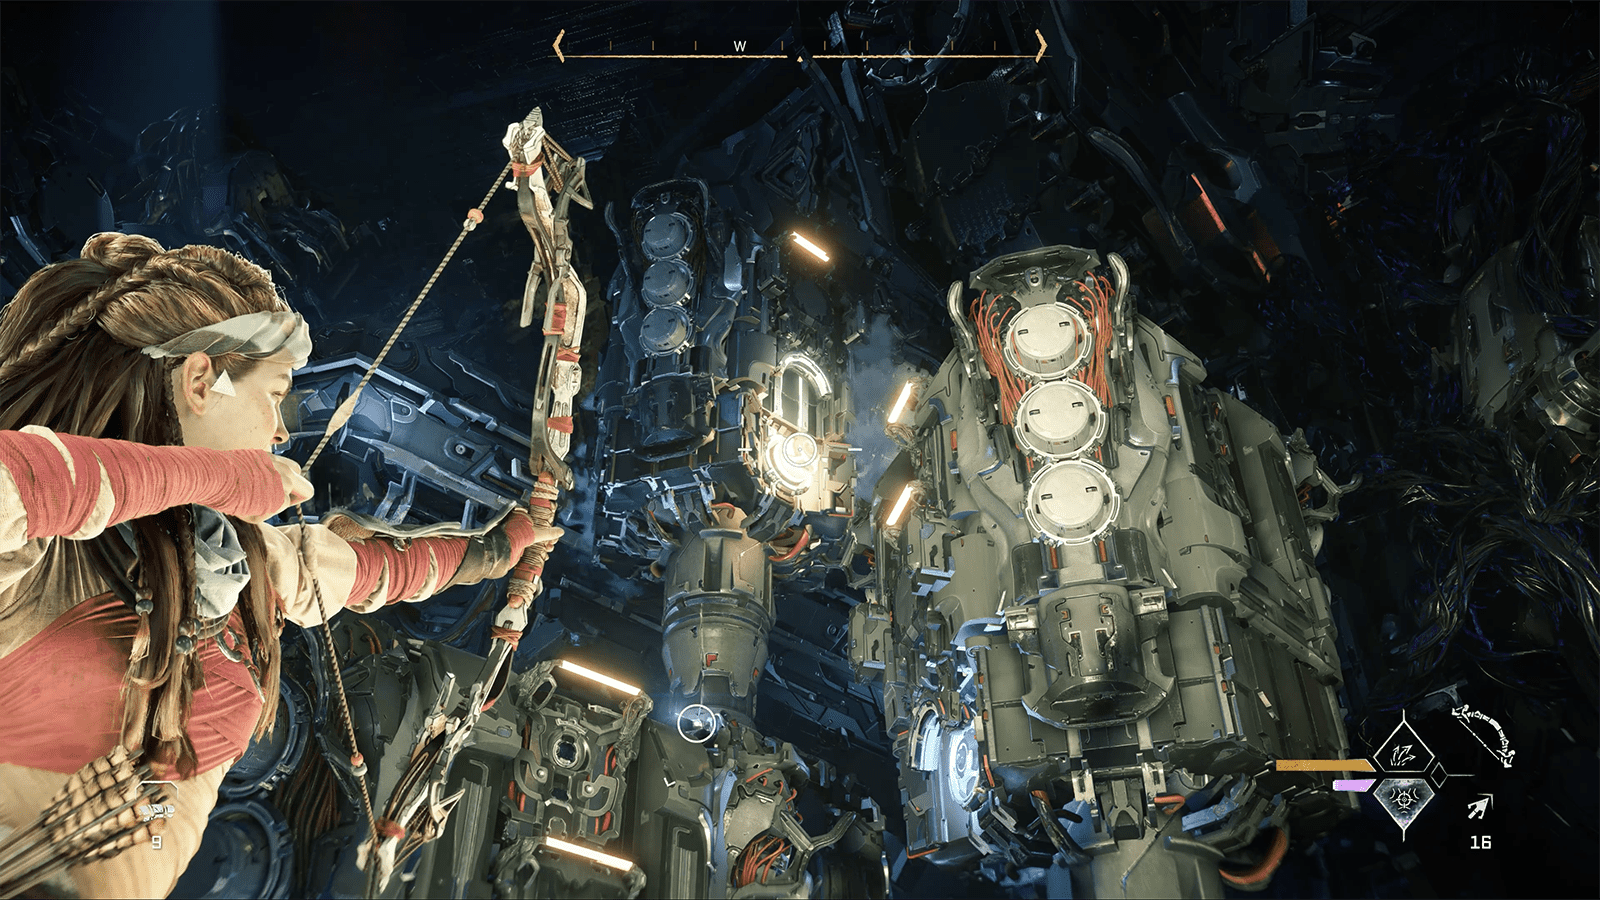
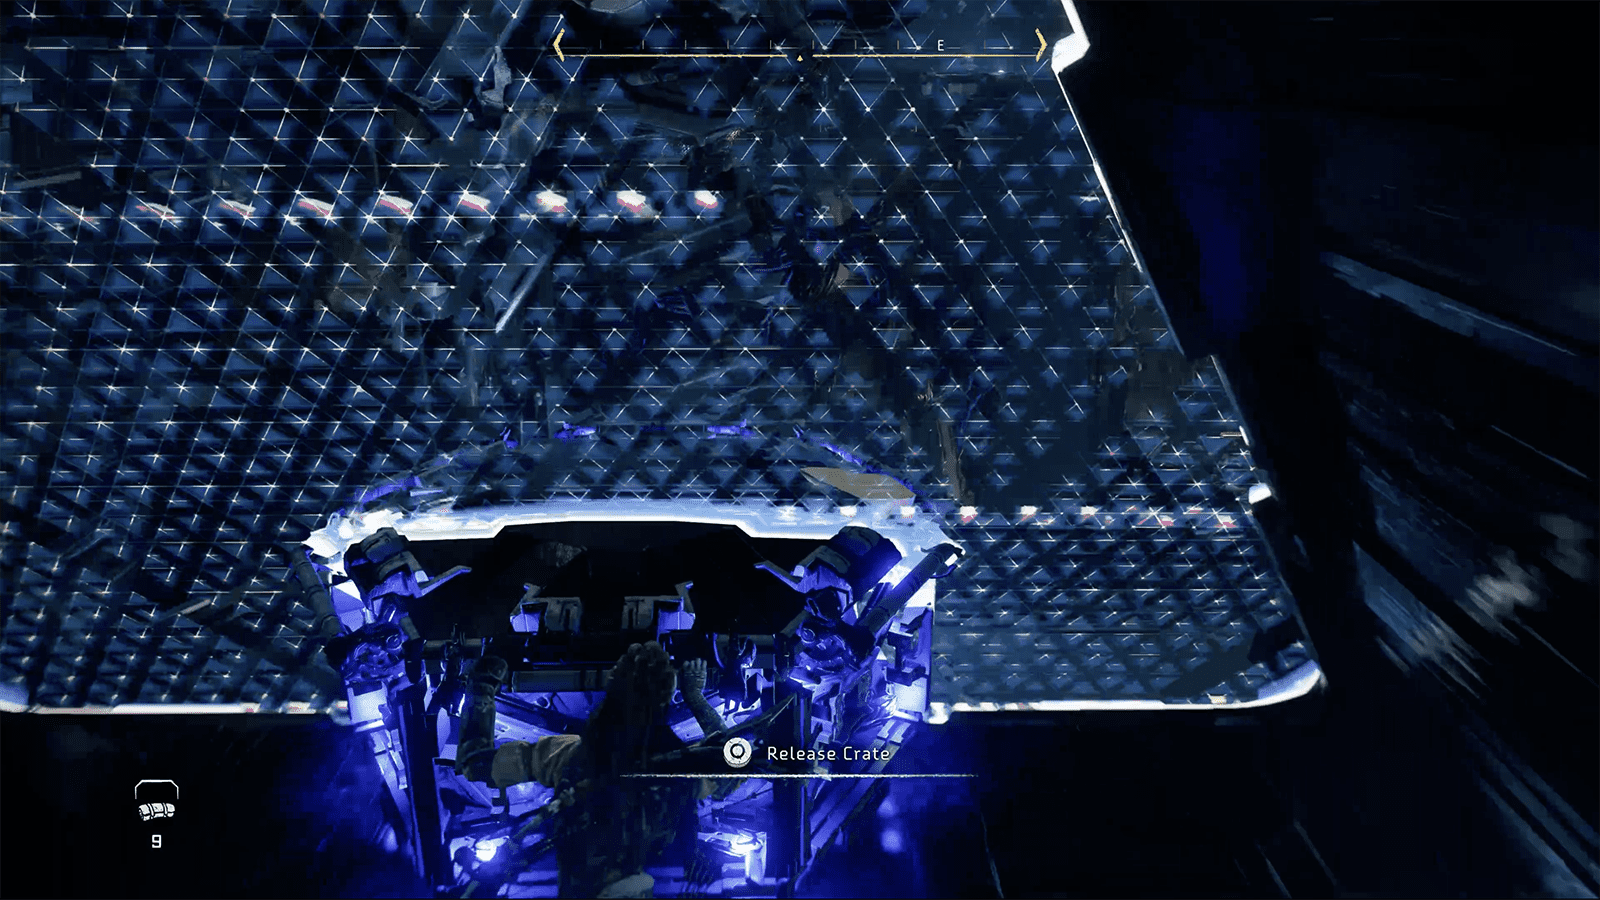
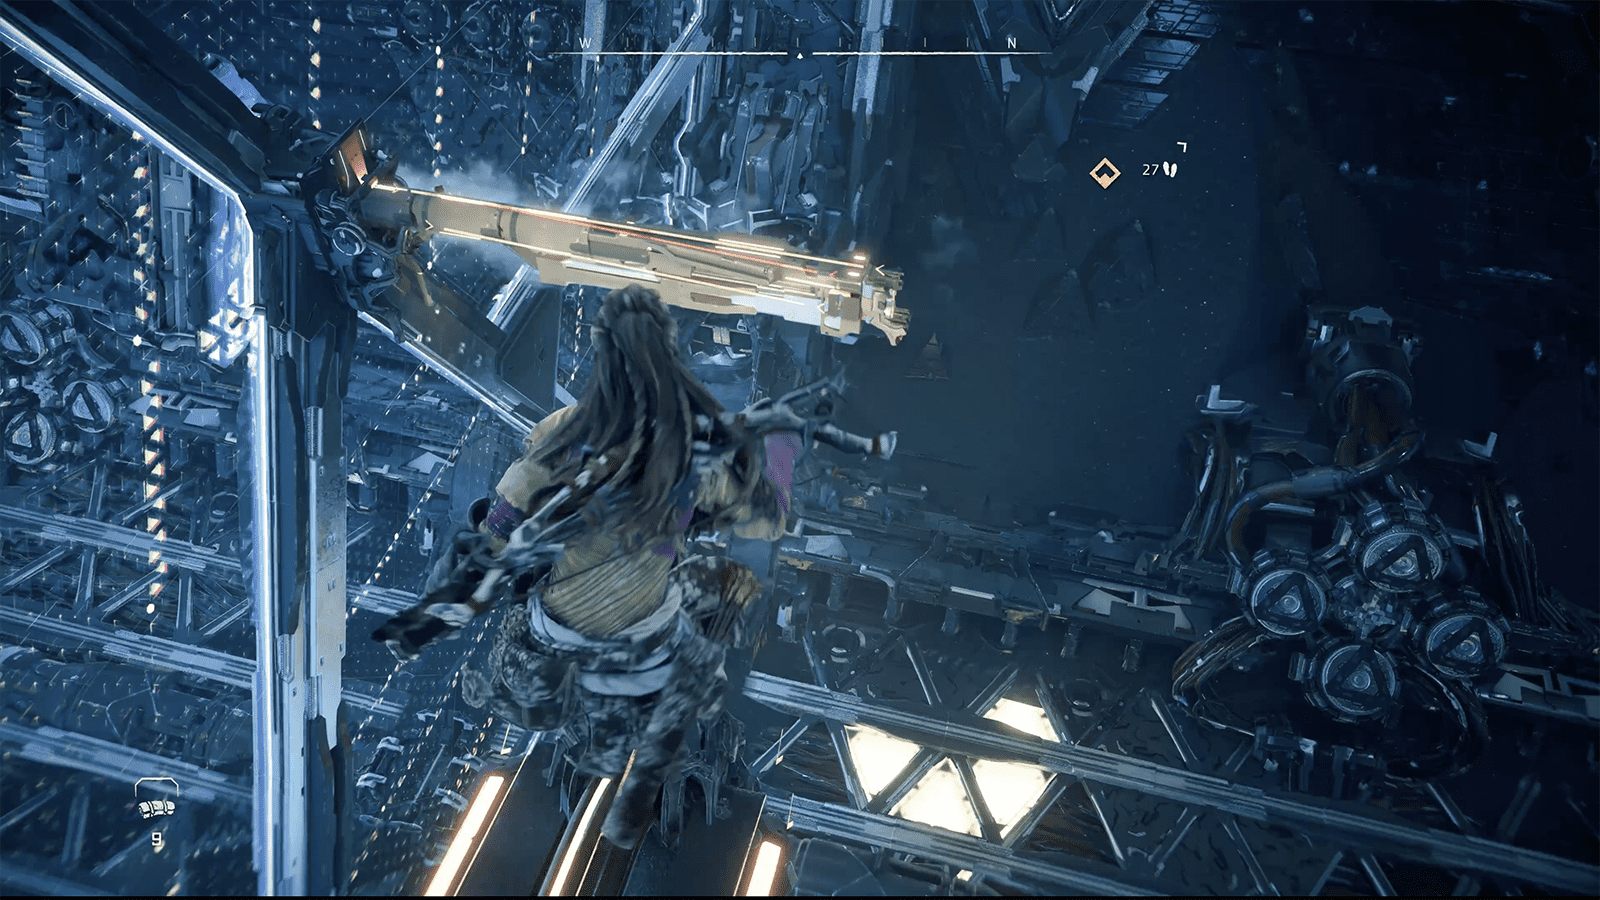
When you reach the top, follow the ledge along and then turn right to climb a small ledge towards a window. Smash it and inside you’ll find a crate that you must drag to the shield. The crate can pass through it, but you cannot. Once you’ve pushed it through the shield, run back around to the other side and grab it. Push it along the walkway to where you entered the window and place it over the triangular platform. You’ll switch on two moving platforms. Shoot their switches and then climb across the platforms towards another ledge.
You’ll need to step onto another triangular platform with three more moving platforms. Shoot them, and then climb the platforms to cross to the opposite edge. From there, you can drop onto a platform and override the Network Uplink to open a door allowing you to go deeper into the cauldron. Head through the now-open door and then immediately take a left to a ledge overlooking the Repair Bay Core.
Take a right and follow the ledge along. Opposite will be a column you can climb, but you’ll need to wait for a moving platform to extend, allowing you to quickly jump onto it and then grapple onto the column. When you climb it, you’ll then need to jump back off onto another ledge. Follow it along and you can perform a running jump onto another ledge that you can climb with another Network Uplink. Override it to create a bridge, allowing Zo and Varl across.
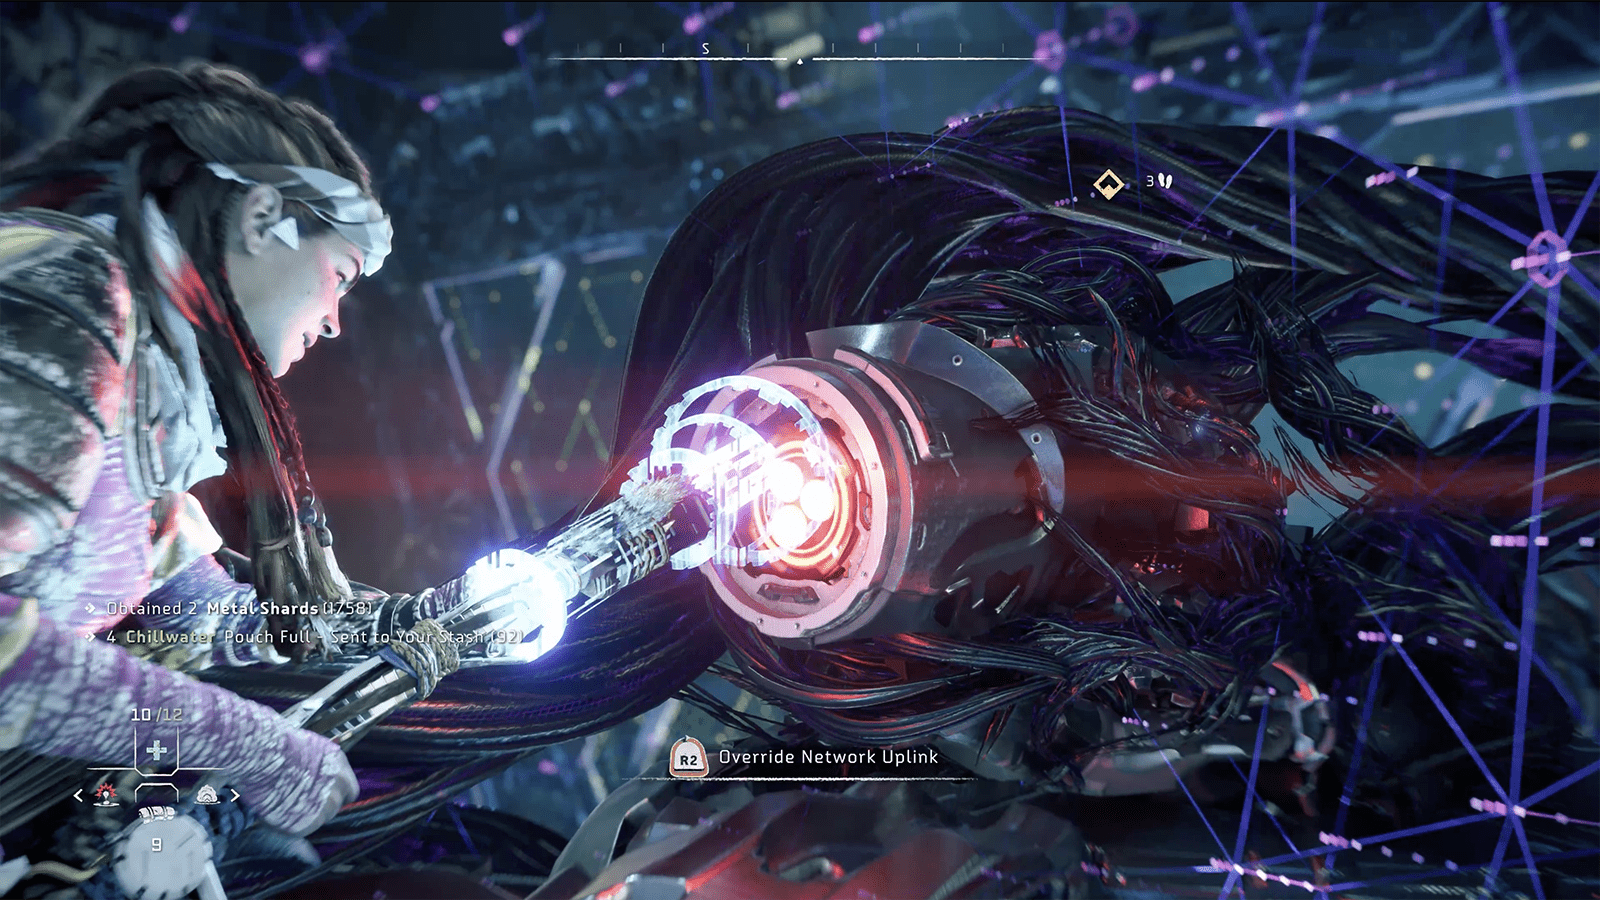
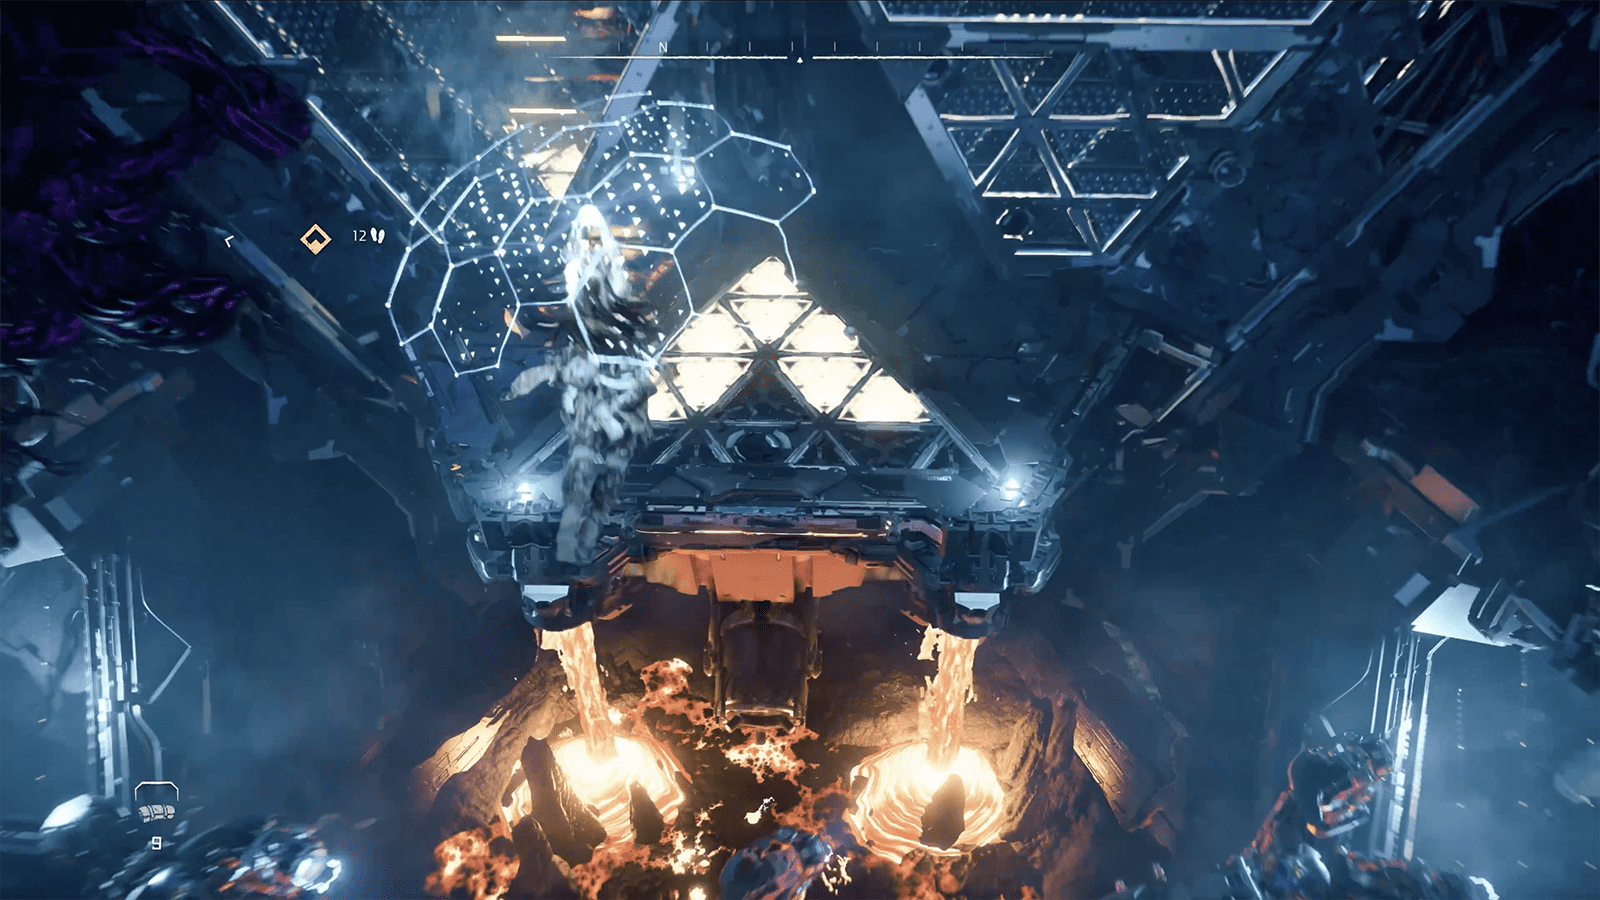
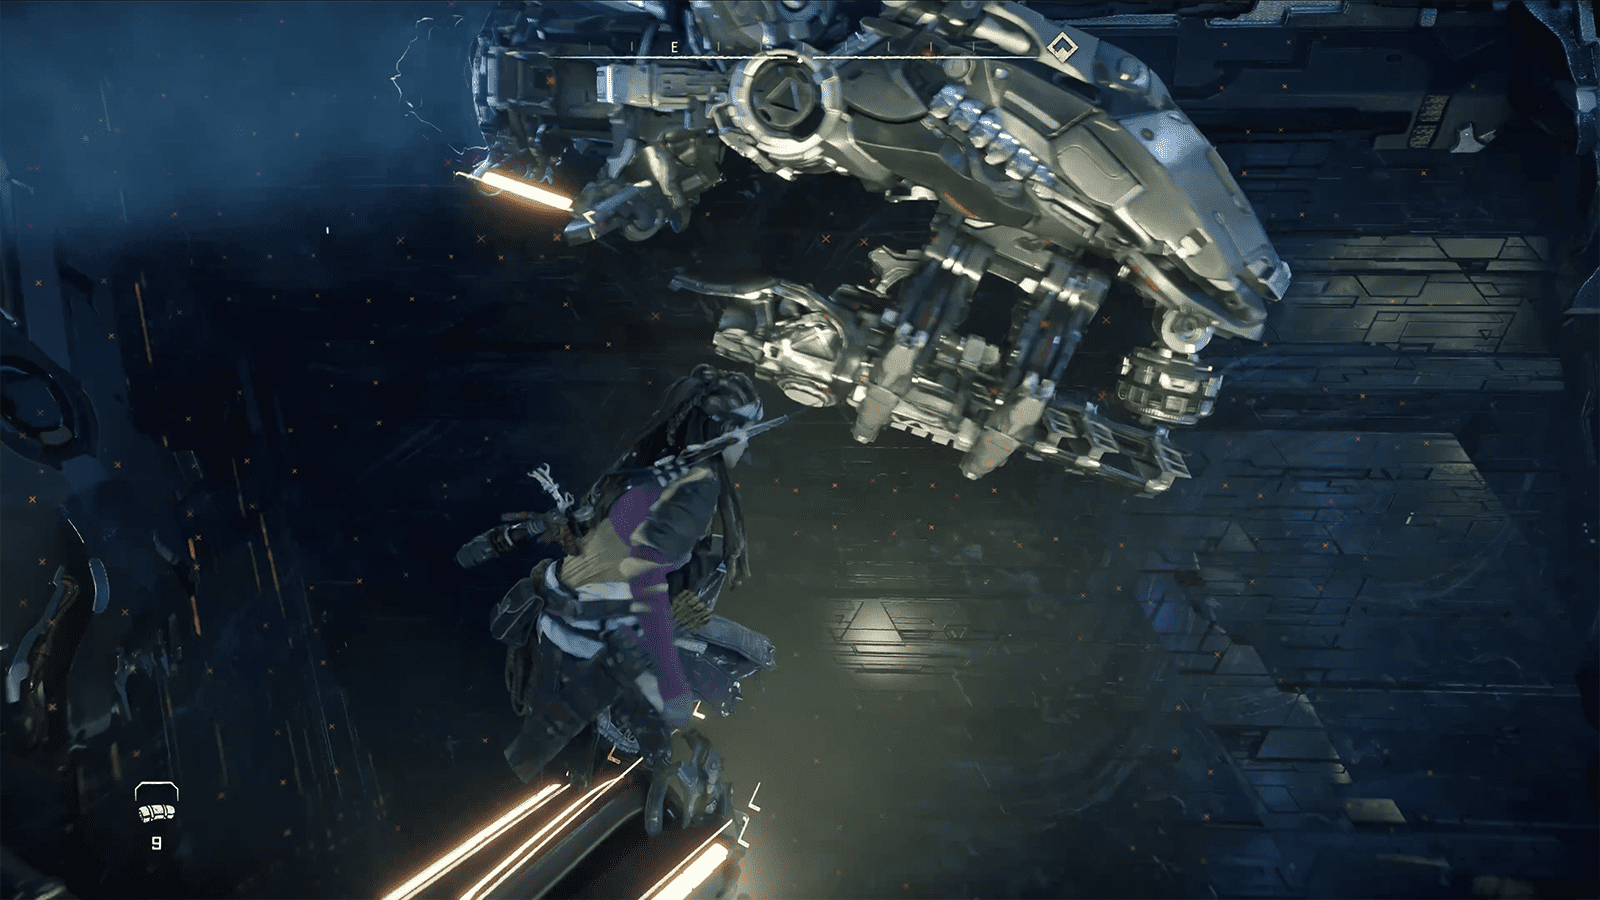
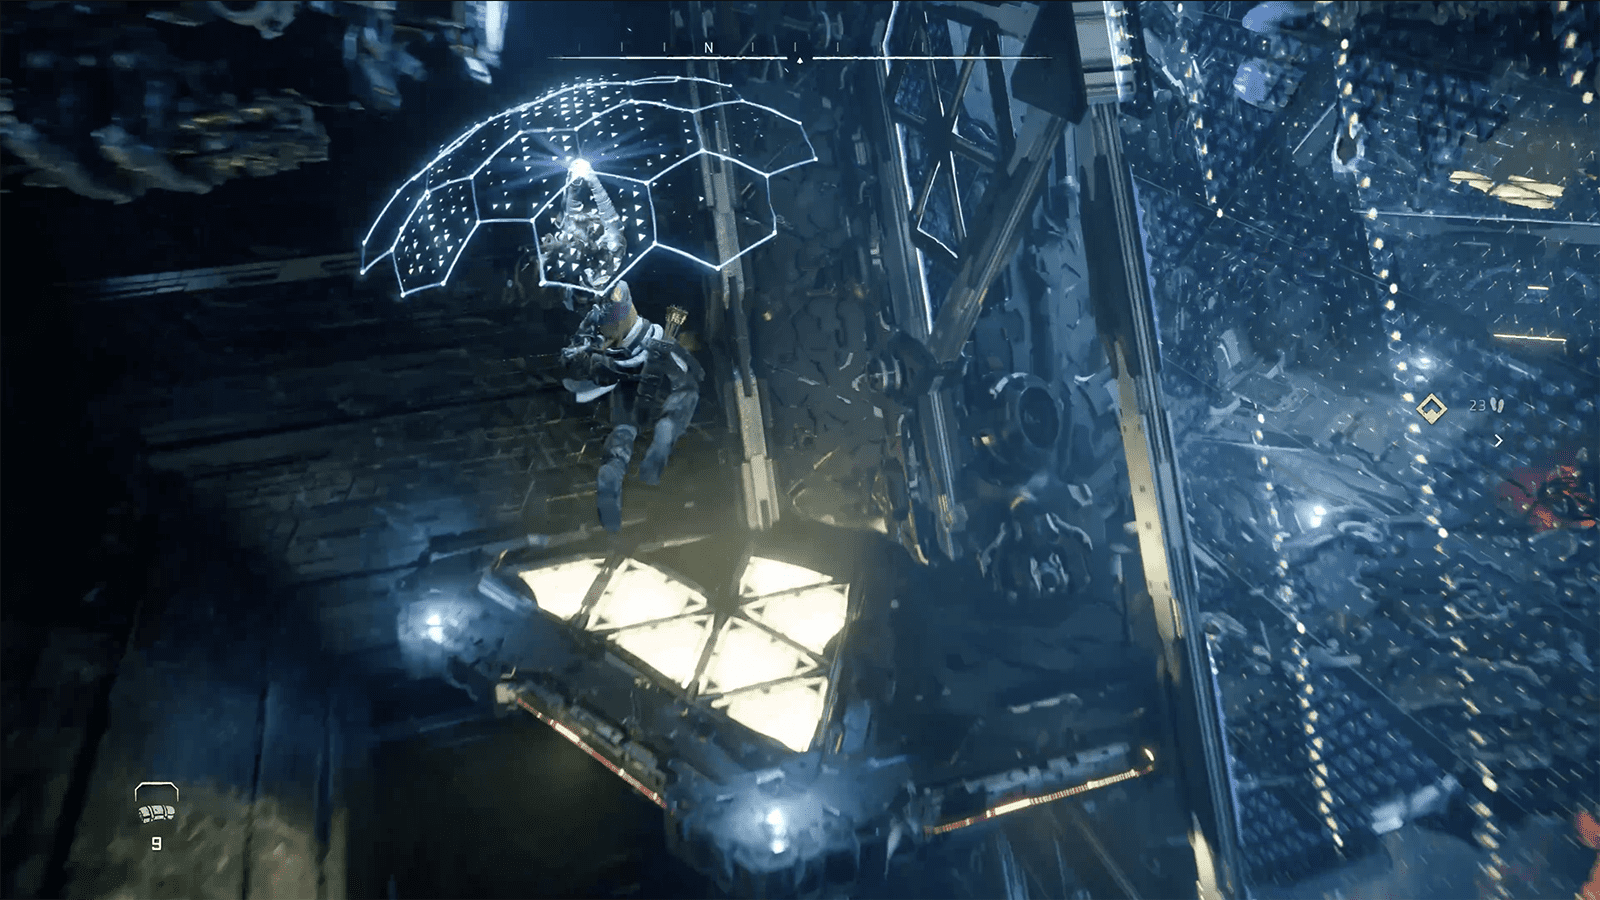
Head further into the cauldron and you’ll find yourself in another large room with a large chasm between you and the next platform. Follow the ledge across towards the large gap and you’ll see a lower platform that you can glide down to. Head through the opening on the platform and turn left to a wall with moving ledges. Wait until they glow yellow and begin to emerge to climb them. When you reach the top, there will be a column you can climb towards a new ledge. Follow it along and you’ll be able to jump to one of the flying machines. Hold onto it until Aloy tells you to let go.
From this new area, take a right and follow the ledge. You’ll see a lower platform that you can glide towards, getting you across the large chasm and to another Network Uplink. Overriding this will create another bridge, allowing Varl and Zo to reach you. After this, enter the door behind you and follow the hallway to a locked door. Override it and enter the Repair Bay Core, where a cutscene will play.
Access The Repair Bay Core
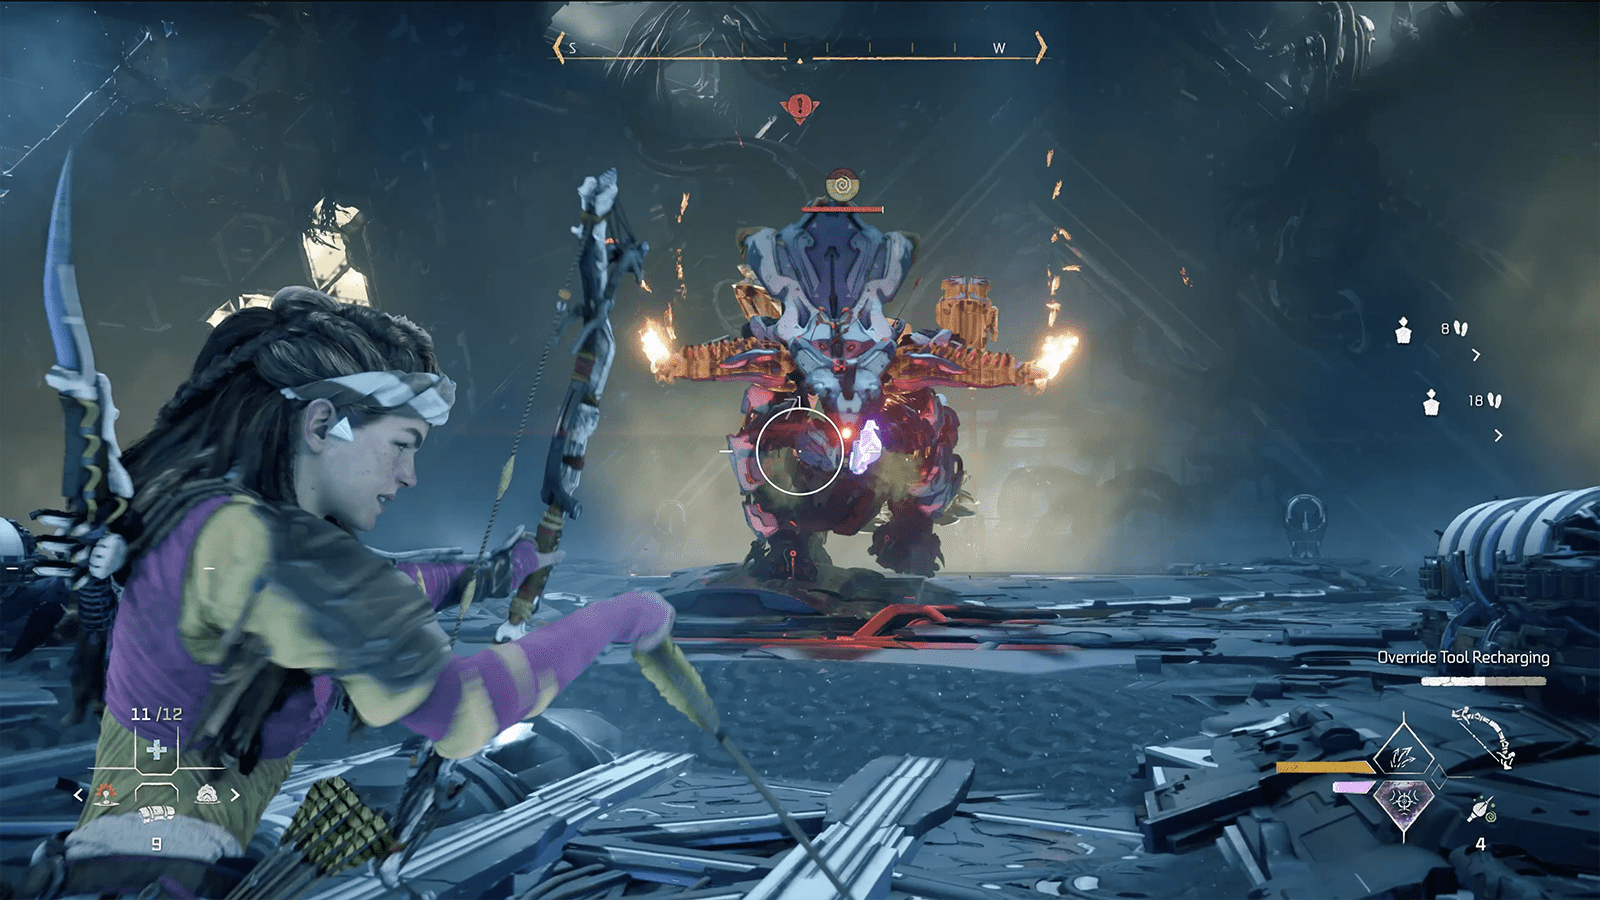
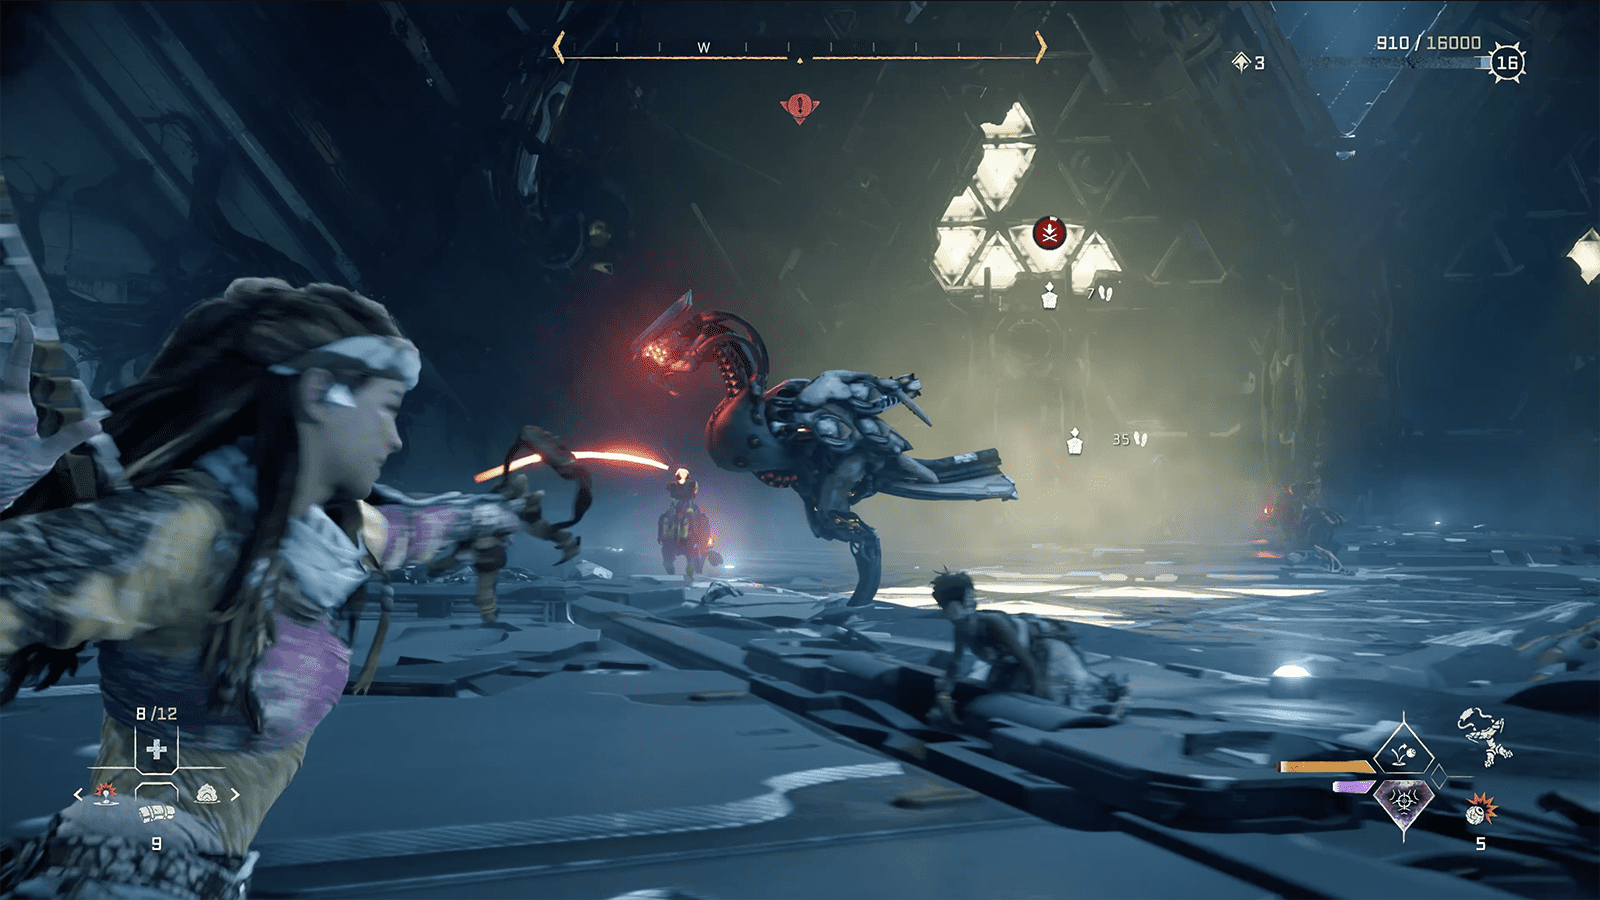
After the cutscene, rappel down to the ground. If you’ve accessed any of the cauldrons in Horizon: Zero Dawn or Forbidden West, you should know what happens now. Head towards the nearby Network Uplink and override it, causing the protective shield around the Grimhorn to collapse. The Grimhorn will come alive, and you’ll need to defeat it, along with a Scrounger and Longleg, to proceed.
Remember, Grimhorns are weak to Purgewater and Acid damage, Longlegs are weak to Shock damage, and Scroungers are weak to Frost and Acid damage. Use those elements against the machines and take advantage of any Chain Reactions to quickly dispatch them.

Once you’ve defeated the machines, a cutscene will play in which Aloy overrides the Repair Bay Core, and you’ll complete the machine. The next Horizon Forbidden West mission – The Eye Of The Earth – will begin automatically and you’ll be locked into it until it’s completed.
Previous mission: ‘Death’s Door’
Back To: Horizon Forbidden West Mission List
Next mission: ‘The Eye Of The Earth’

