Horizon Forbidden West – ‘Reach For The Stars’ Walkthrough
‘Reach For The Stars’ is the first official main mission in Horizon Forbidden West. It follows Aloy as she meets with Varl and explores an abandoned launch facility in order to find a backup of GAIA. While exploring the site, Aloy and Varl discover new tools to help them, several slaughtered Oseram tribespeople, and several dangerous new machines that they’ll need to take down. Check out our full Horizon Forbidden West ‘Reach For The Stars’ walkthrough to discover how to complete the mission, any missable collectables, and other important details. Warning though, this page may contain spoilers.
| Mission Name | Recommended Level | New Tools | Machines | Rewards |
| Reach For The Stars | 1 | Hunter Bow Pullcaster Blast Traps | Burrower Scrounger Slitherfang | 500 XP |
Head To The Ancient Ruins
After a cutscene in which Aloy describes the recent dreams she’s been having and she meets a familiar face, you’ll find yourself plummeted immediately into the game with a simple objective; gather medicinal berries. You can gather them by approaching the purple plants and hitting the triangle button, and we suggest you collect ten – the maximum Aloy can hold for the moment. Any additional medicinal berries you grab can be found in Aloy’s stash at settlements a little later in the game.
Once you’ve collected them, Aloy will be prompted to eat them. Just hit the ‘Up’ directional button on your DualShock 4 or DualSense controller to consume them and heal. From here, you’ll need to push forward and make your way to the Ancient Ruins.
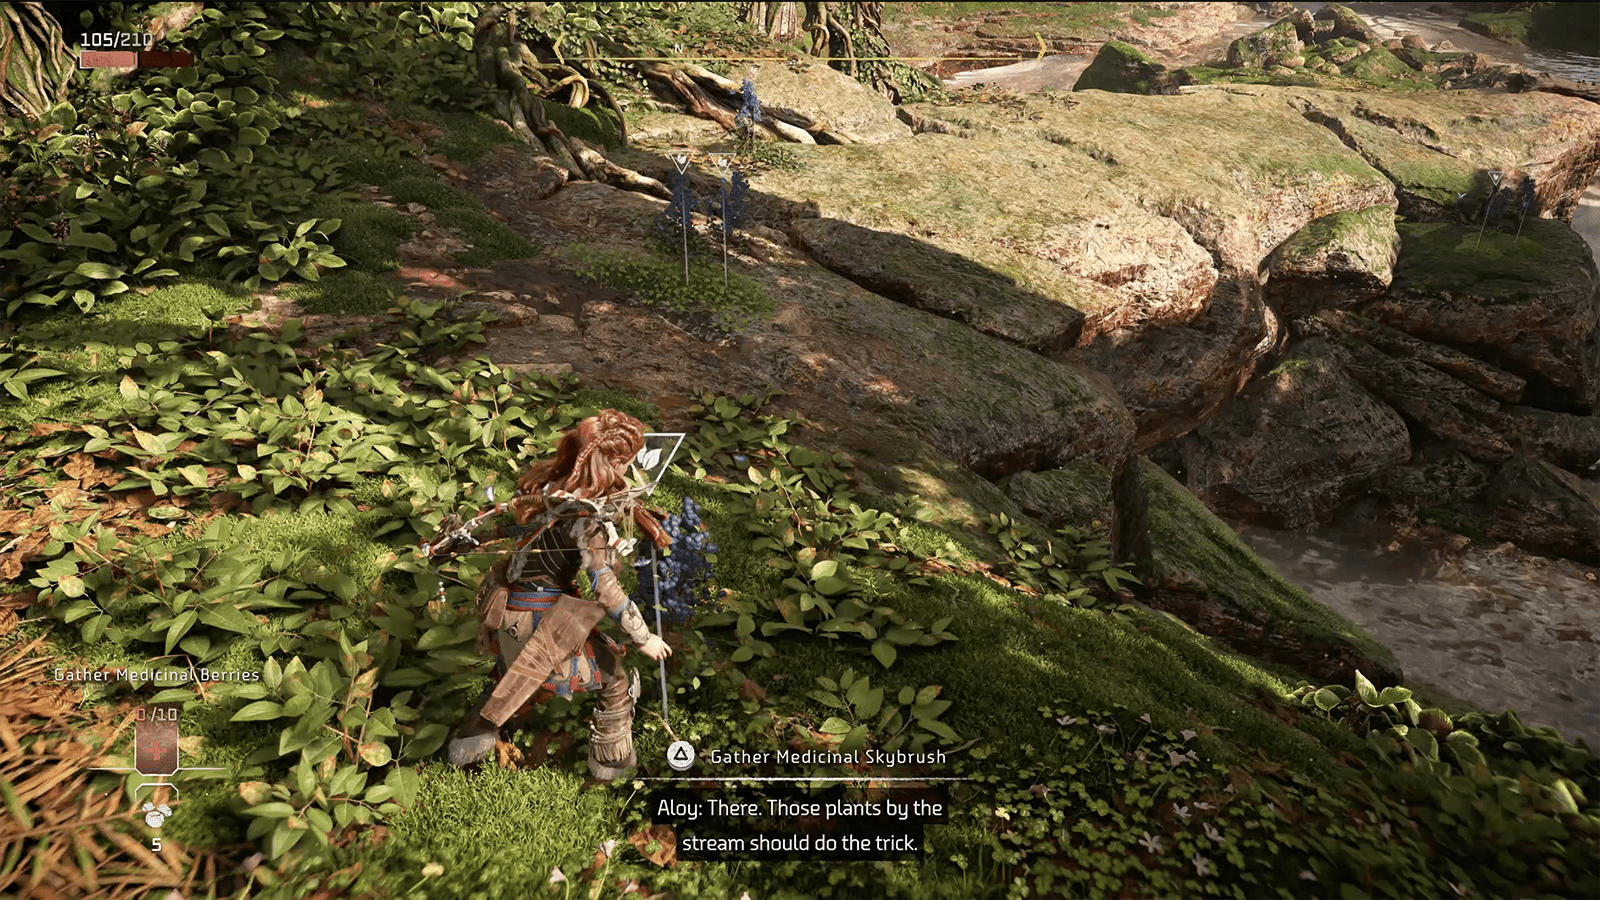
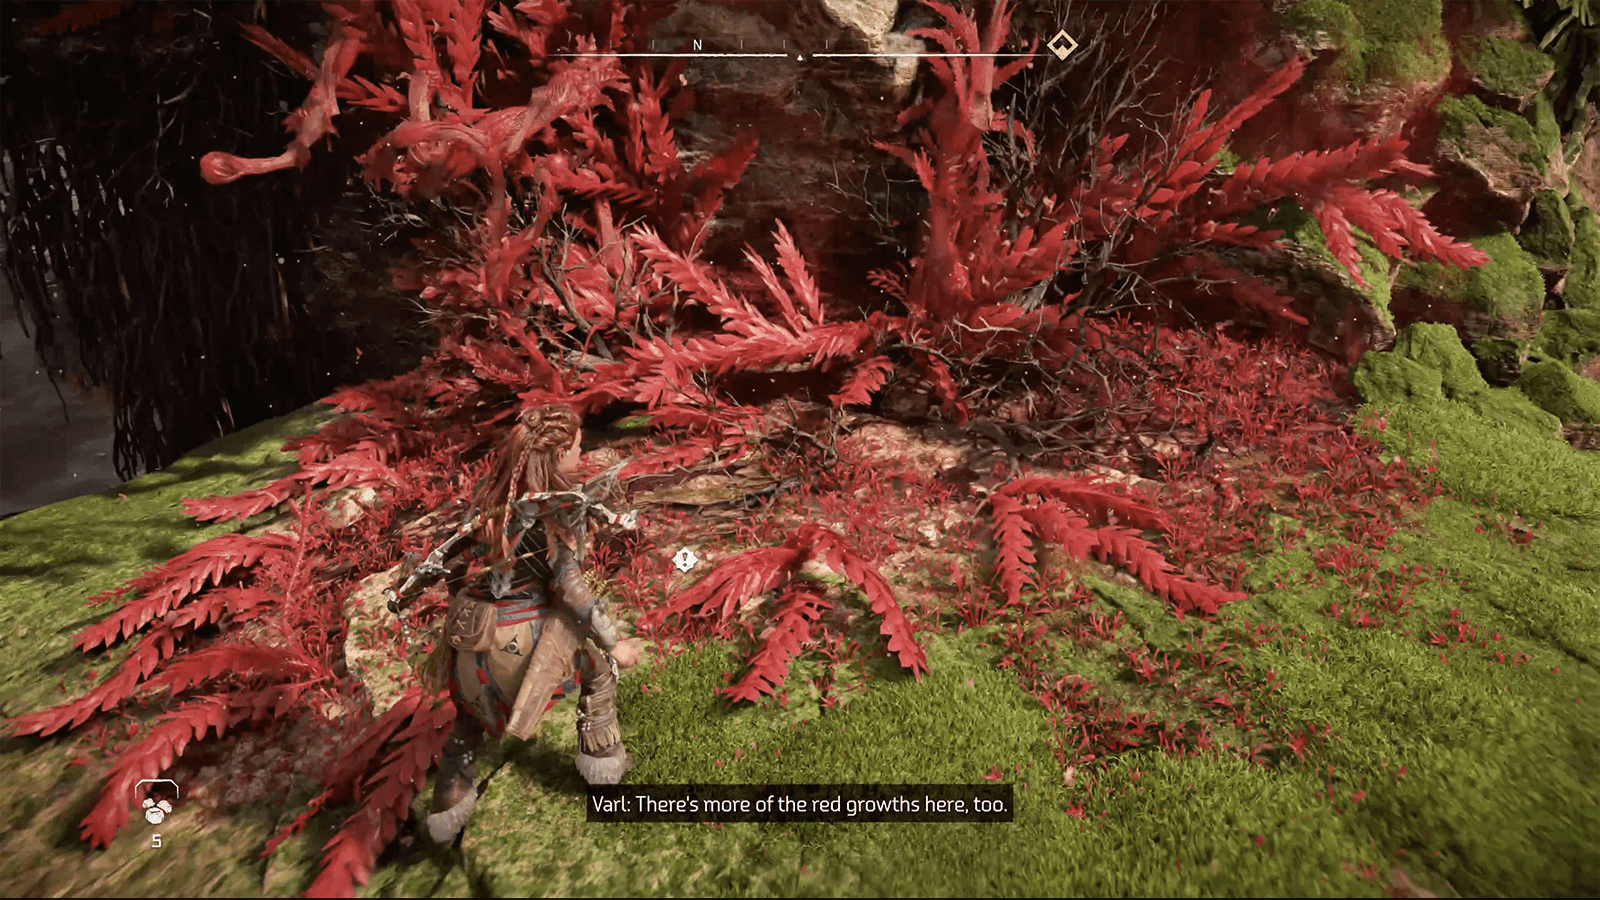
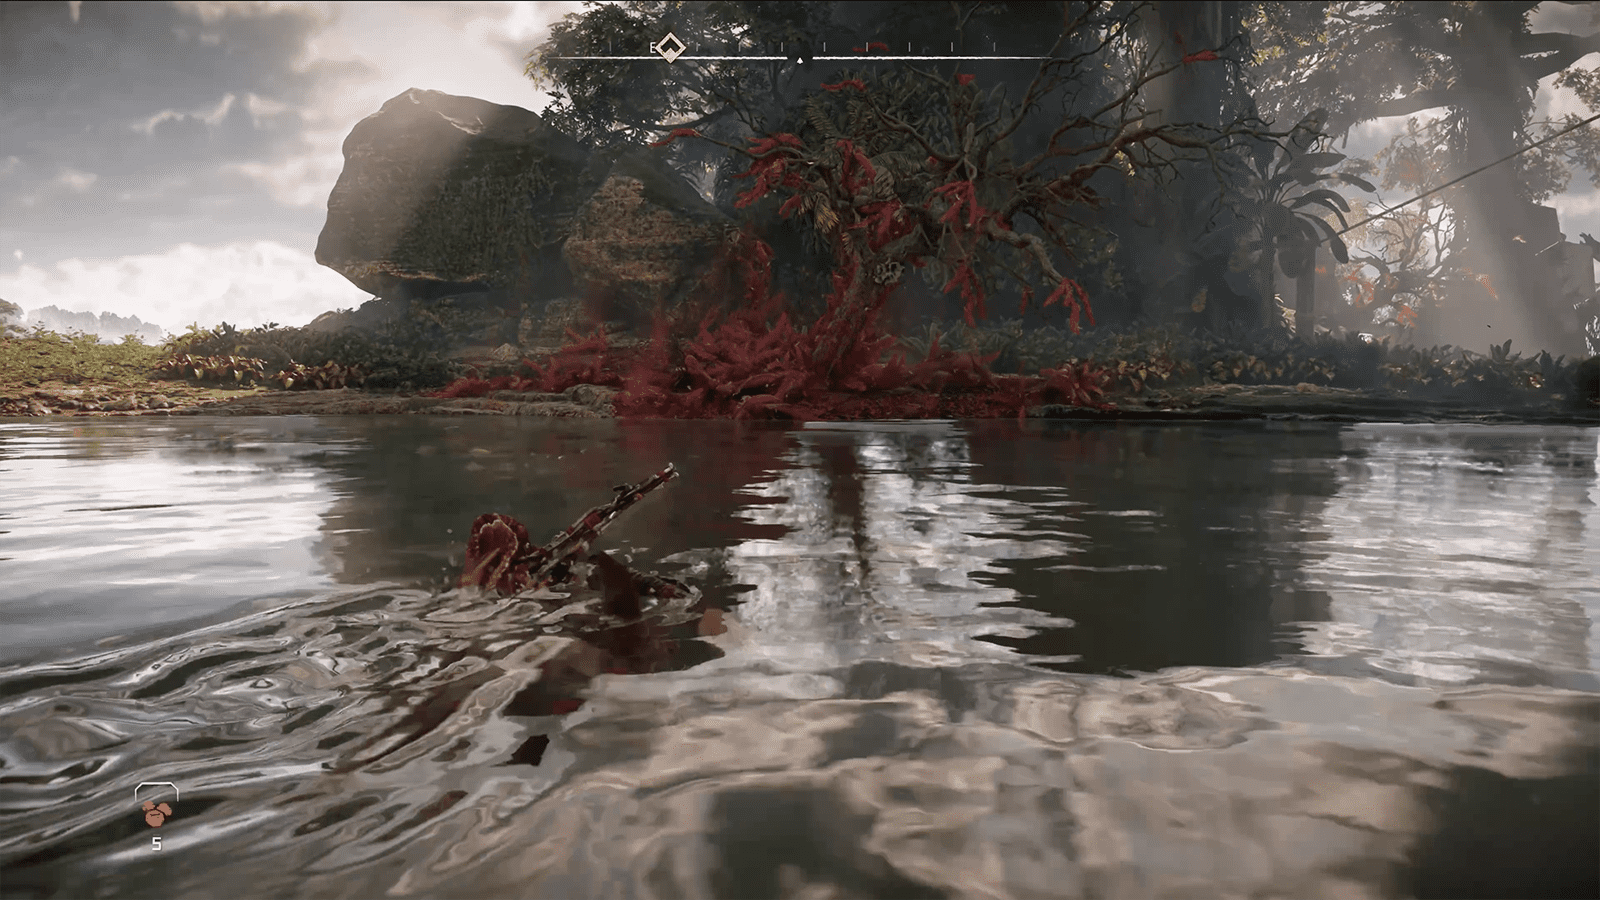
Eventually, you’ll climb up a small cliff and discover some blight, a plague that has slowly been infecting much of the world and killing plant and animal life. Past it the blight is a ledge you can dive from into a pool of water – you can’t dive yet but start playing around with the game’s water mechanics as it’ll be important for later.
After finding more blight, you’ll eventually come to the edge of a cliff where Aloy will spot Glinthawks salvaging machine carcasses. Climb your way down using the broken staircase on your left and examine the machine. Noticing that danger may be close, it’s time to gather ridge-wood; approach the small, bare trees and collect wood by hitting the triangle button. Then, craft ordinary Hunter Arrows by holding down the L1 button to open your weapon wheel, hover over the Hunter Arrows and hold X to craft them. Crafting takes a little longer than it did in Horizon: Zero Dawn and it’ll take some time to get used to that.
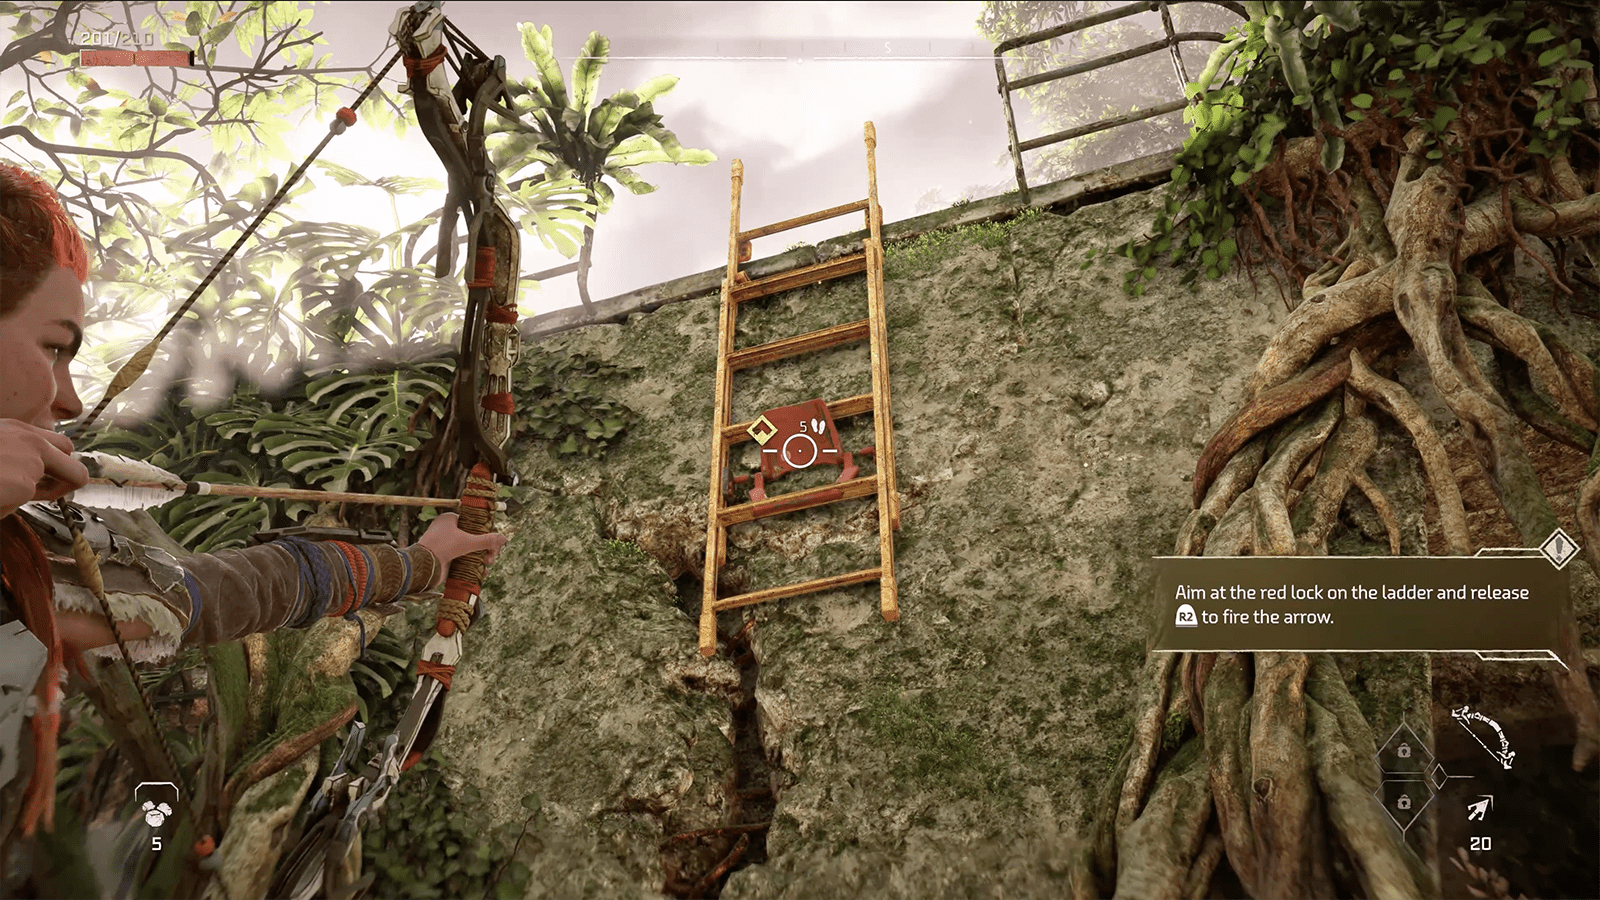
Varl will eventually spot a ladder at the back of the area with a red lock. Shoot it and then climb the ladder into a new clearing filled with more ridge-wood. Keep collecting wood so you don’t run out of crafting material for more Hunter Arrows. After making your way down a small hill on your right from the open area, a cutscene will play showcasing one of the new machines in Horizon Forbidden West; the Burrower.
Similar to Watchers, Burrowers are reconnaissance machines and will patrol an area in search of danger. Scan the machine and make note of how the Focus works – you can change Focus activation from holding the R3 button to tapping it in the game’s options – and highlight the Burrowers’ various machine parts. Right now, you’ve only got basic Hunter Arrows, so aiming for the eye is the best way to go.
After taking it down, you can search the machine to loot shards and any valuable resources. As you do so, a second Burrower will approach. Take it down and loot the machine, and continue up the hill it was descending. There’ll be another locked ladder, so shoot it and climb it. It’ll lead you around some of the areas you just explored, and you’ll be able to kick down a ladder from a previous area, giving you a chance to re-explore it if you need additional medicinal berries or ridge-wood.
After walking through what looks like an arch, you’ll enter the ancient ruins; the Far Zenith Launch Facility.
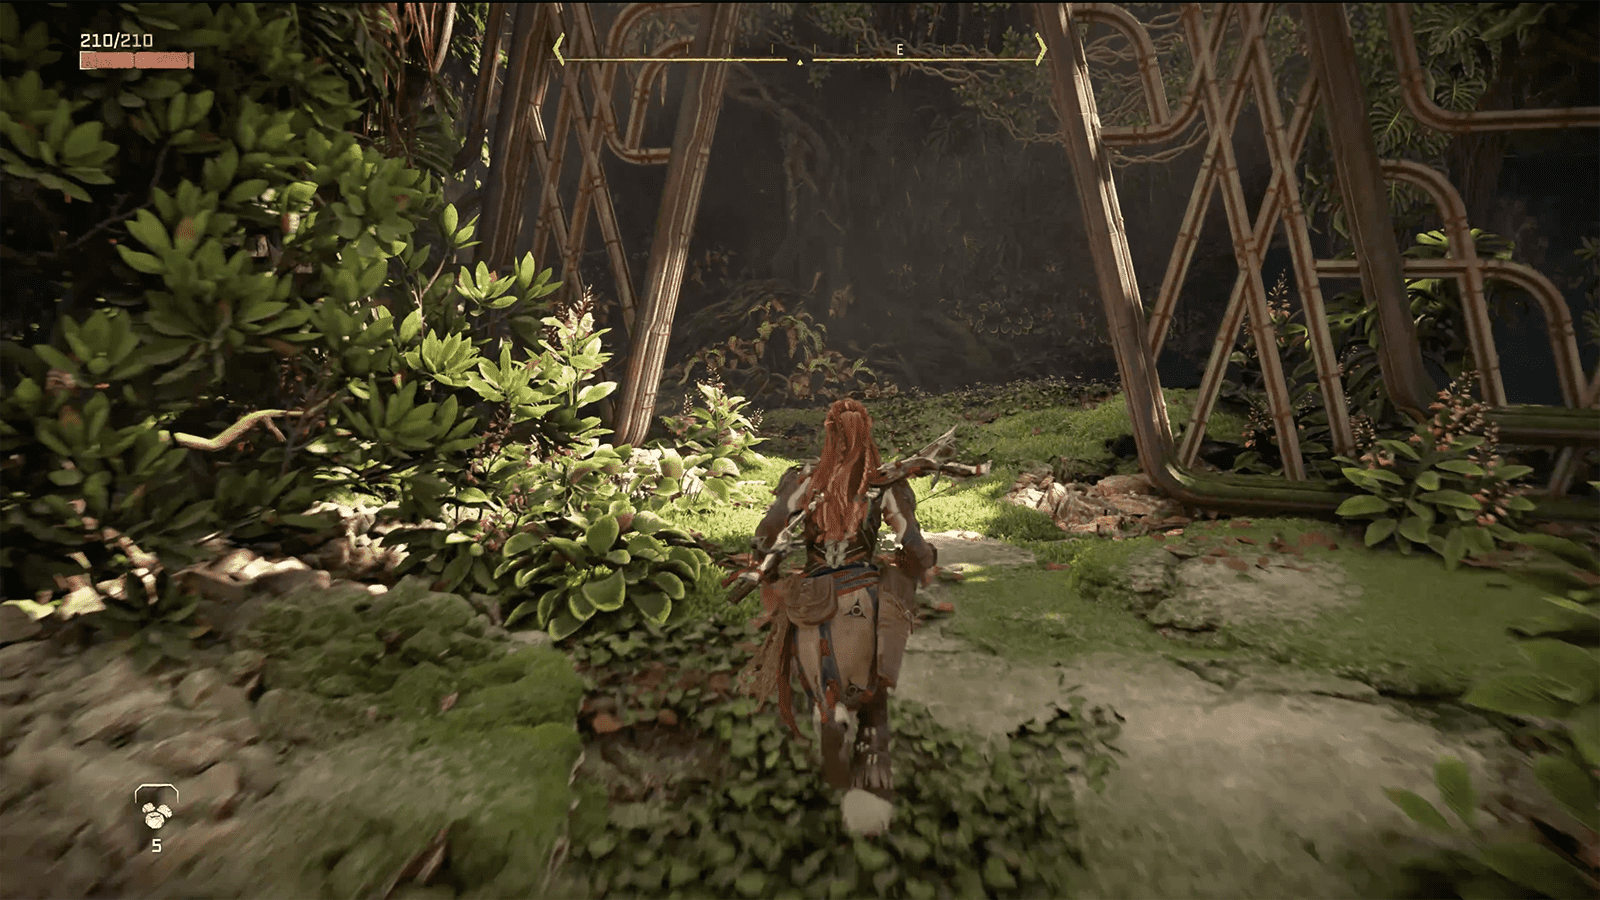
Explore The Far Zenith Launch Facility
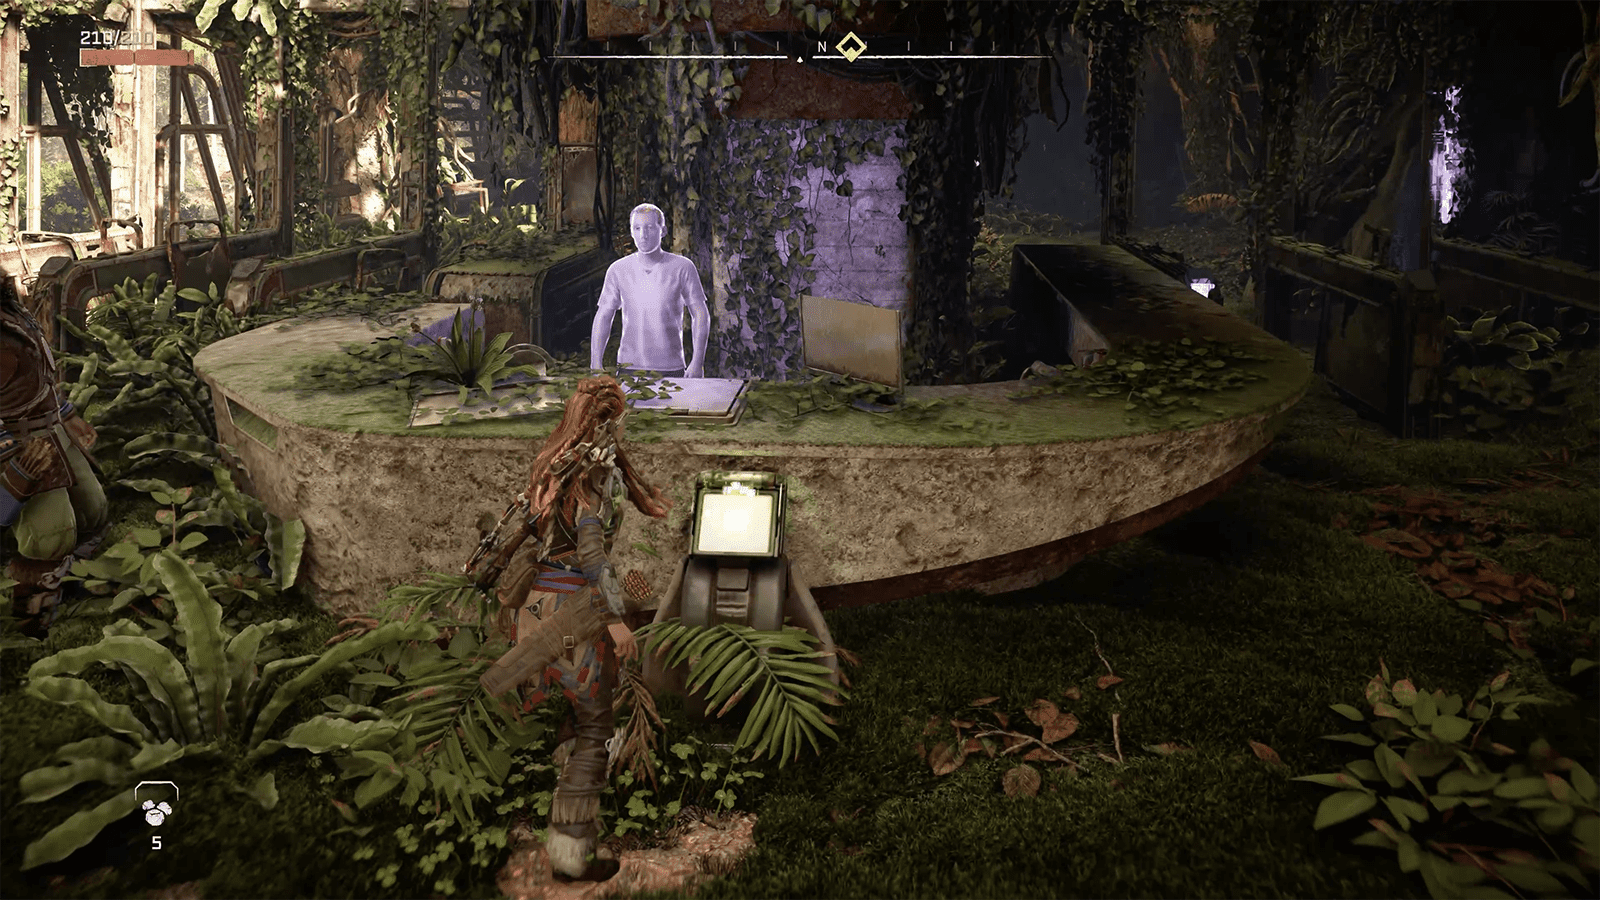
After entering the Far Zenith Launch Facility, you’ll be welcomed by a hologram. Interact with the touch bar, and then make your way around the ruin’s reception desk and pry upon a pair of doors at the far end of the room. In the next room, you’ll find some climbing gear and further along, several dead Oseram. Investigate the area and examine the collapsed wall not far from the camp.
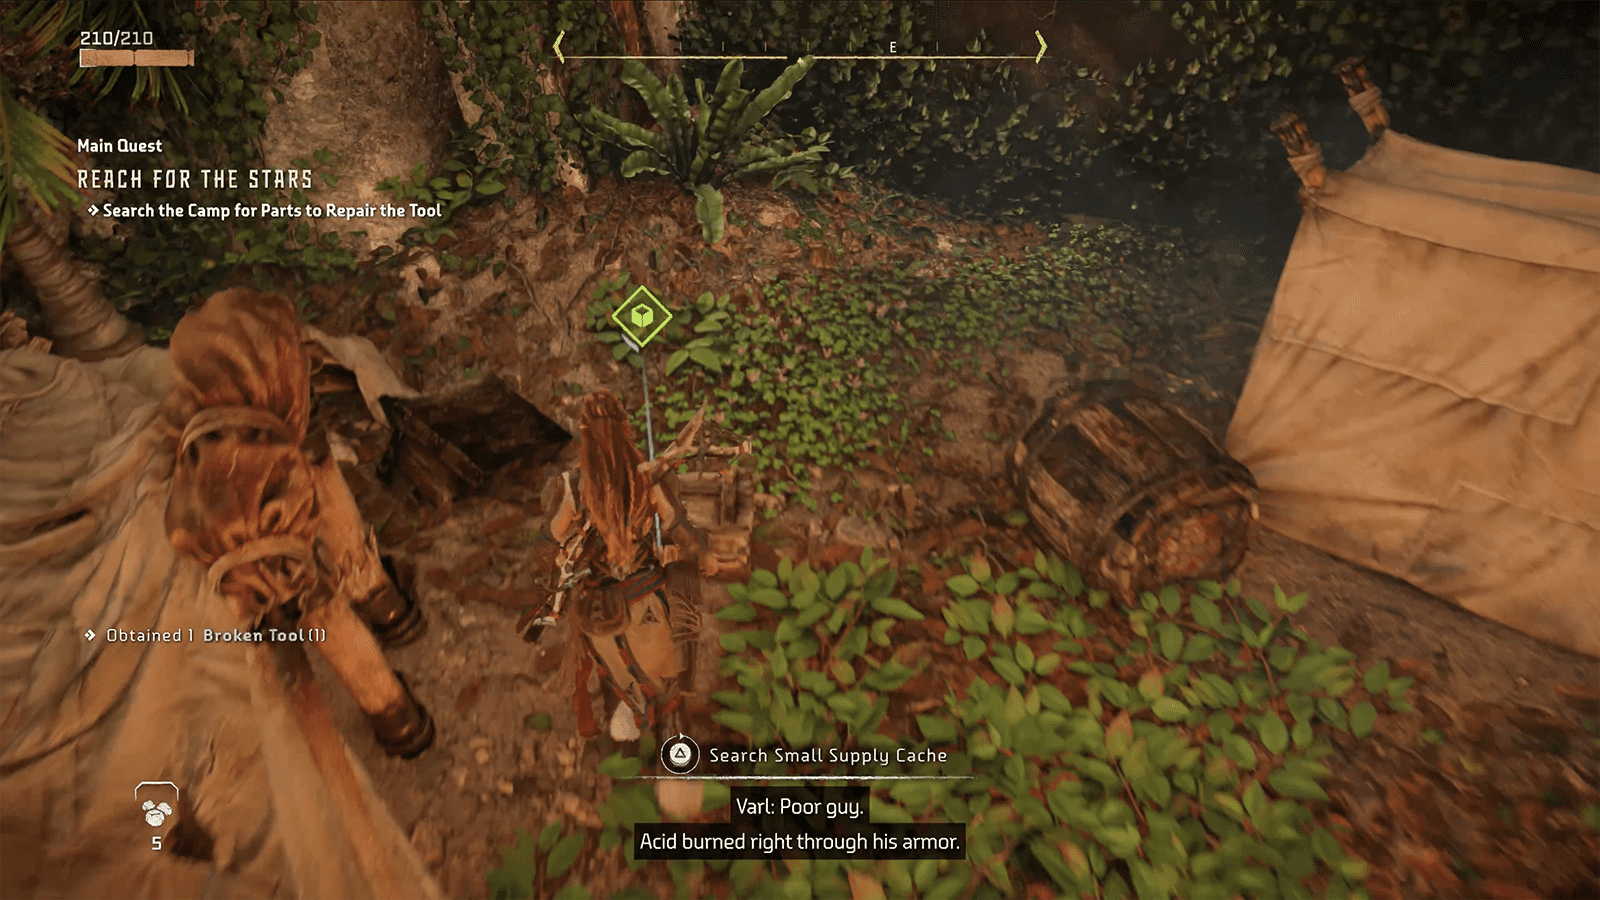
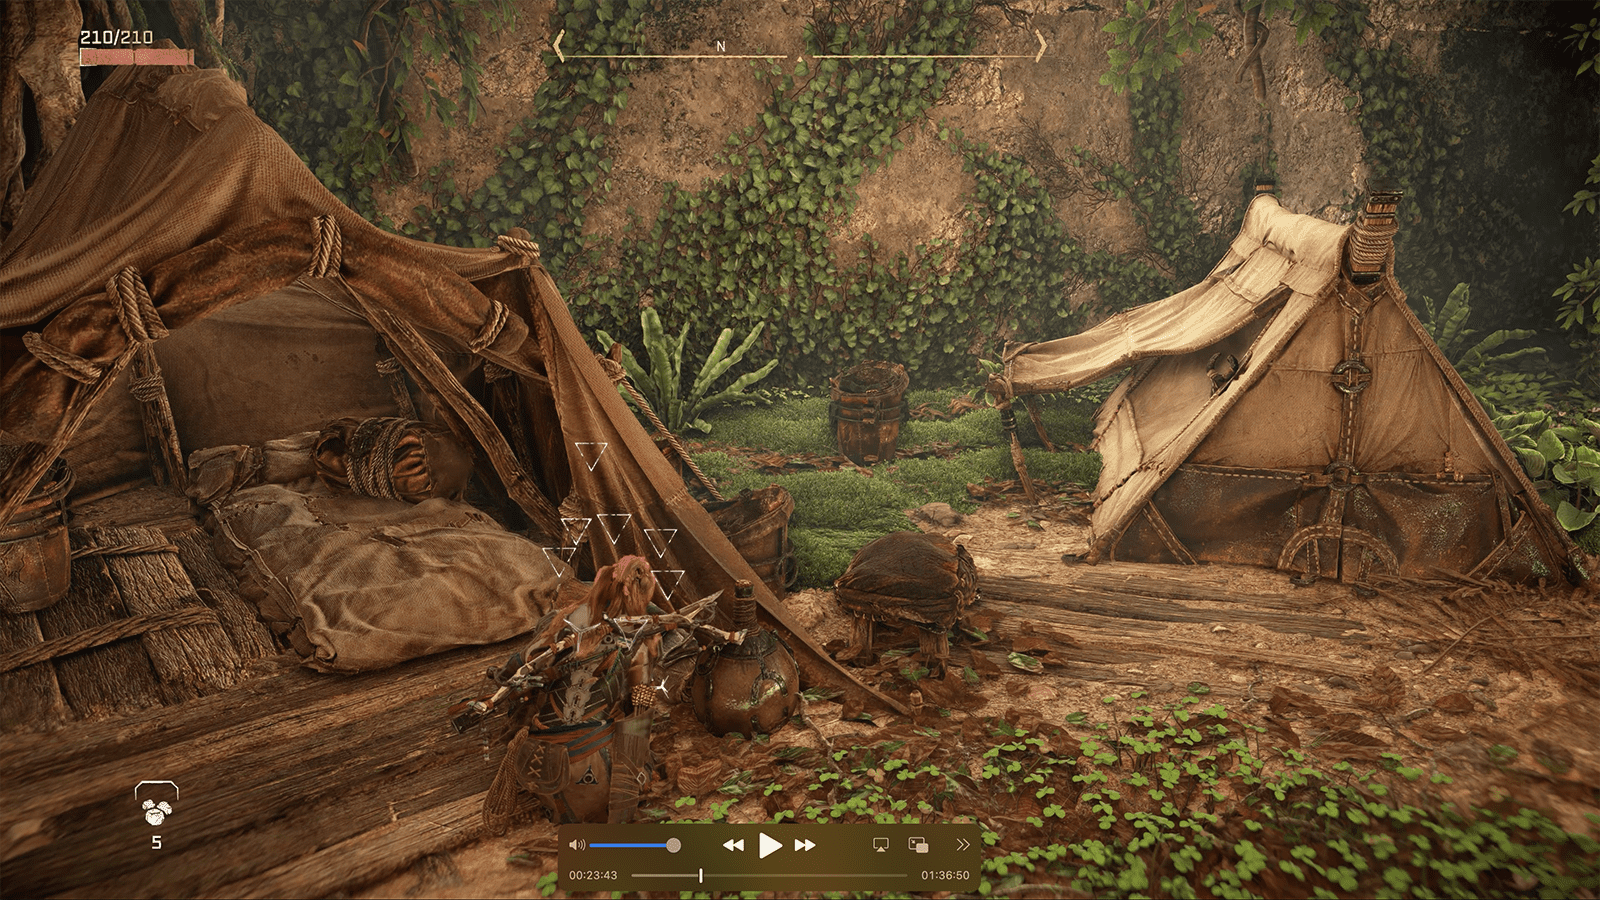
Varl will beckon you and after examining the corpse, a cutscene will play in which you obtain the Pullcaster. Scan the camp and search for resources to fix the Pullcaster. The first – machine scrap – can be found by three tents and the second – machine cable – can be found near the collapsed wall. Once you’ve obtained the resources, head to Varl and use the nearby workbench to craft the Pullcaster by holding the X button.
Make your way back to the collapsed wall and equip your Pullcaster; hold R2 to aim your current weapon and then hit the triangle button to equip the Pullcaster. Hover over the marked section of the collapsed wall, and hold R2 to fire the Pullcaster. Keep it held down for Aloy to complete the animation and pull out the wall.
Once you’re through the collapsed wall, head to the Data Console to learn more about Far Zenith, and then run up the jagged rock to the Data Console’s right and jump and tap the X button to grapple towards the nearby ledge. Turn right and follow the entire ledge around, you’ll have to climb and make some far jumps. When you reach the end of the walkway, you’ll see a hole which you can drop into it. Opposite is another ledge with a loot crate, use your Pullcaster to pull it down and then drop it into the hole. From there, kick open the ladder ahead of you so Varl can climb up, and then proceed deeper into the Launch Facility.
After the cutscene, Aloy decides to make her way to the shuttle in the distance. Exit the room on your right and climb up the hill. You’ll eventually see two grapple points leading to two separate ledges with loot crates. Past them, there’ll be some rubble with a metal clamp, use your Pullcaster to wrench it free and follow the path down past the blight. After a brief cutscene, you’ll continue down the path and up onto a ledge where you’ll be greeted by two Burrowers.
In this section, Varl will take the Burrower on the left, while Aloy will take the Burrower on the right. Use your Focus to highlight its patrol path and then sneak through the tall grass, approach it, and when close hit R1 to perform a critical attack and destroy it. After defeating the machines, you’ll be able to drop down into another area filled with more Burrowers. Take them out and follow the pathway around, past more blight and several Oseram corpses, and into a room where you’ll learn about health potions and traps.
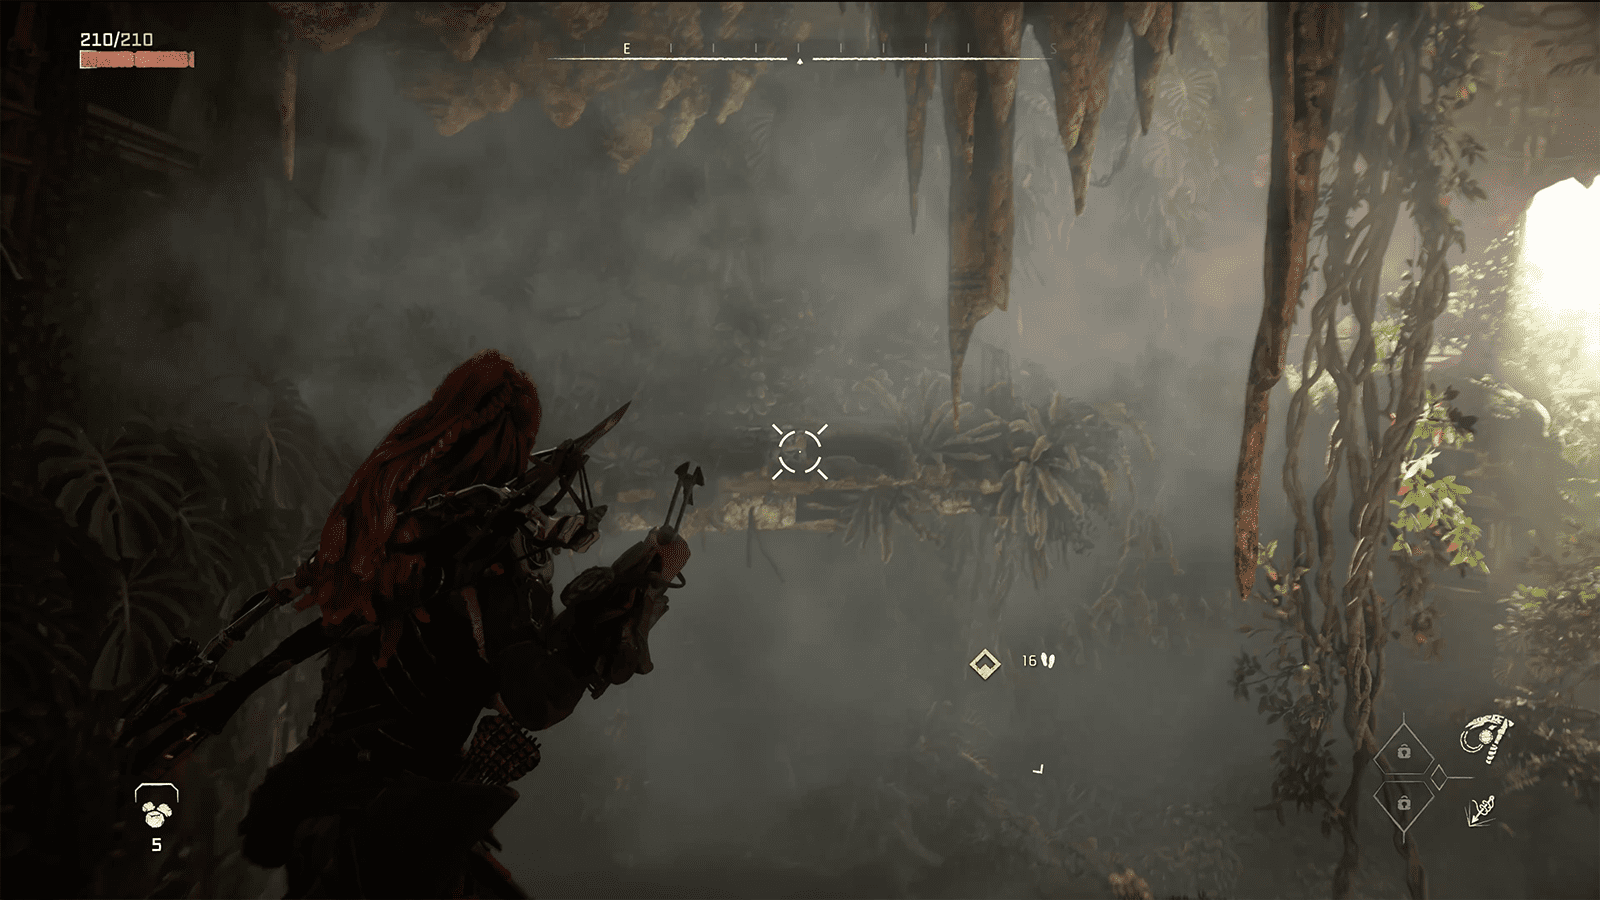
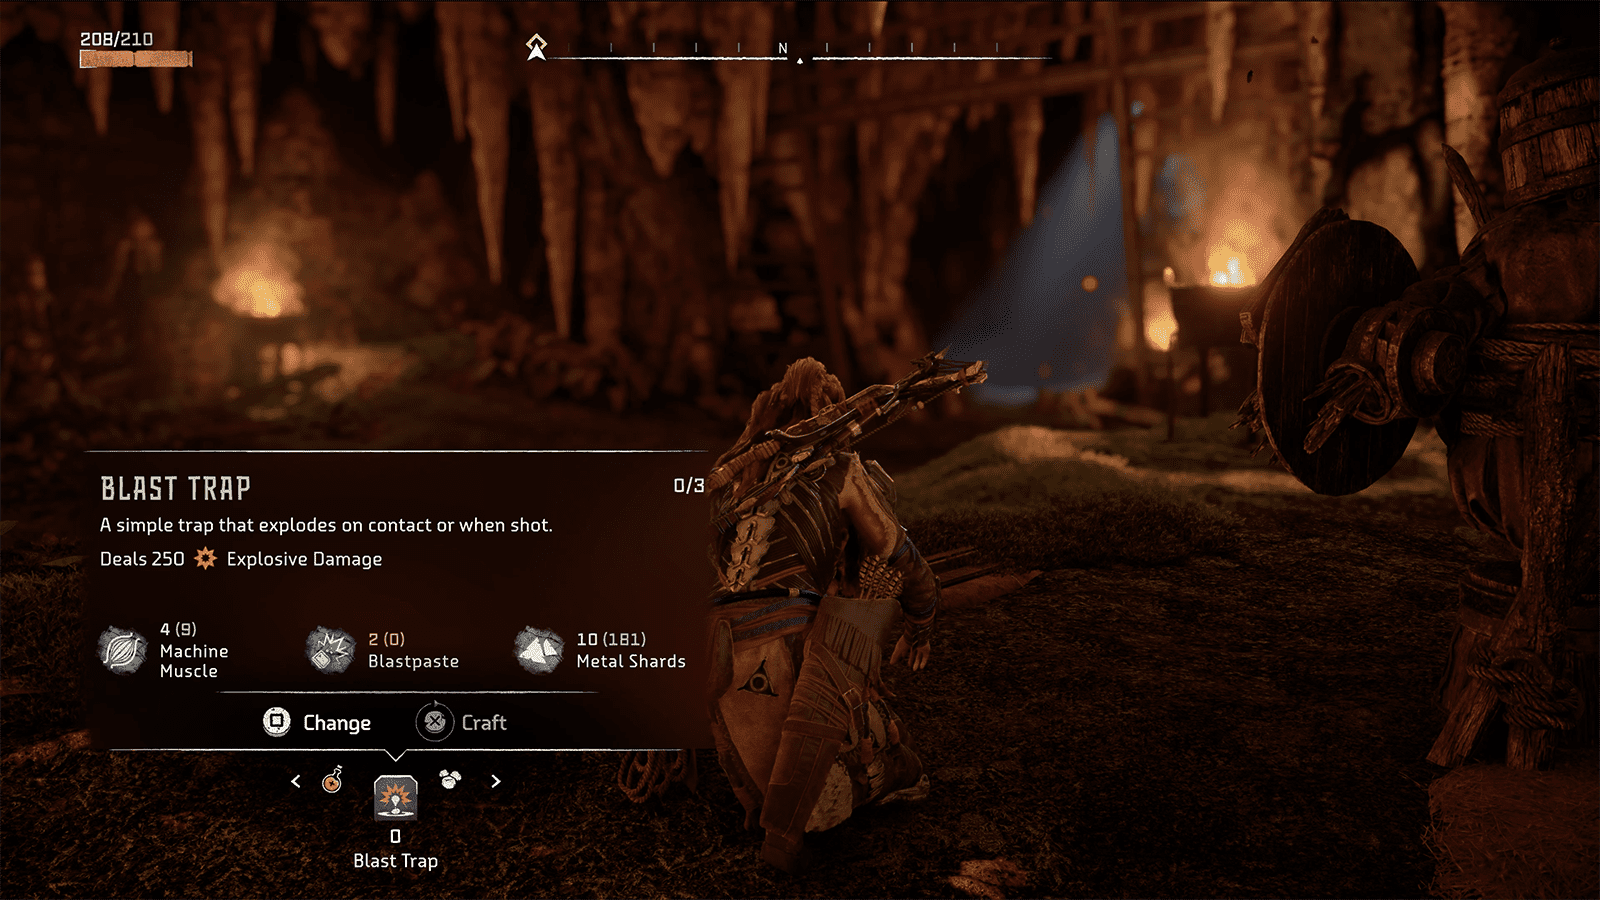
Dismantle the nearby traps by slowly approaching them and holding the triangle button, and then craft your own by holding down the down directional button on your controller, navigating to Blast Trap, and holding the X button to craft them. You can then place them by hitting the down directional button at any time. Climb the nearby elevator shaft and you’ll emerge into a new area with a new type of machine; Scroungers, weak to acid and frost damage. Using your new traps and all ammunition, take down the two Scroungers and then climb a small mound to jump onto a ledge, follow it along and pass through the door at the end of the walkway, taking you to a large open room overlooking the now-closer shuttle.
Make your way through the room and check the adjacent office for the Zero Dawn Trade Agreement datapoint, and pass through the doors to head outside again. To your left will be a series of climbable ledges that’ll break when you reach halfway up. Turn around, and there will be some climbable rubble that will take you to a ledge. Head through the nearby door into a meeting room and activate the Holo Projector for a cutscene.
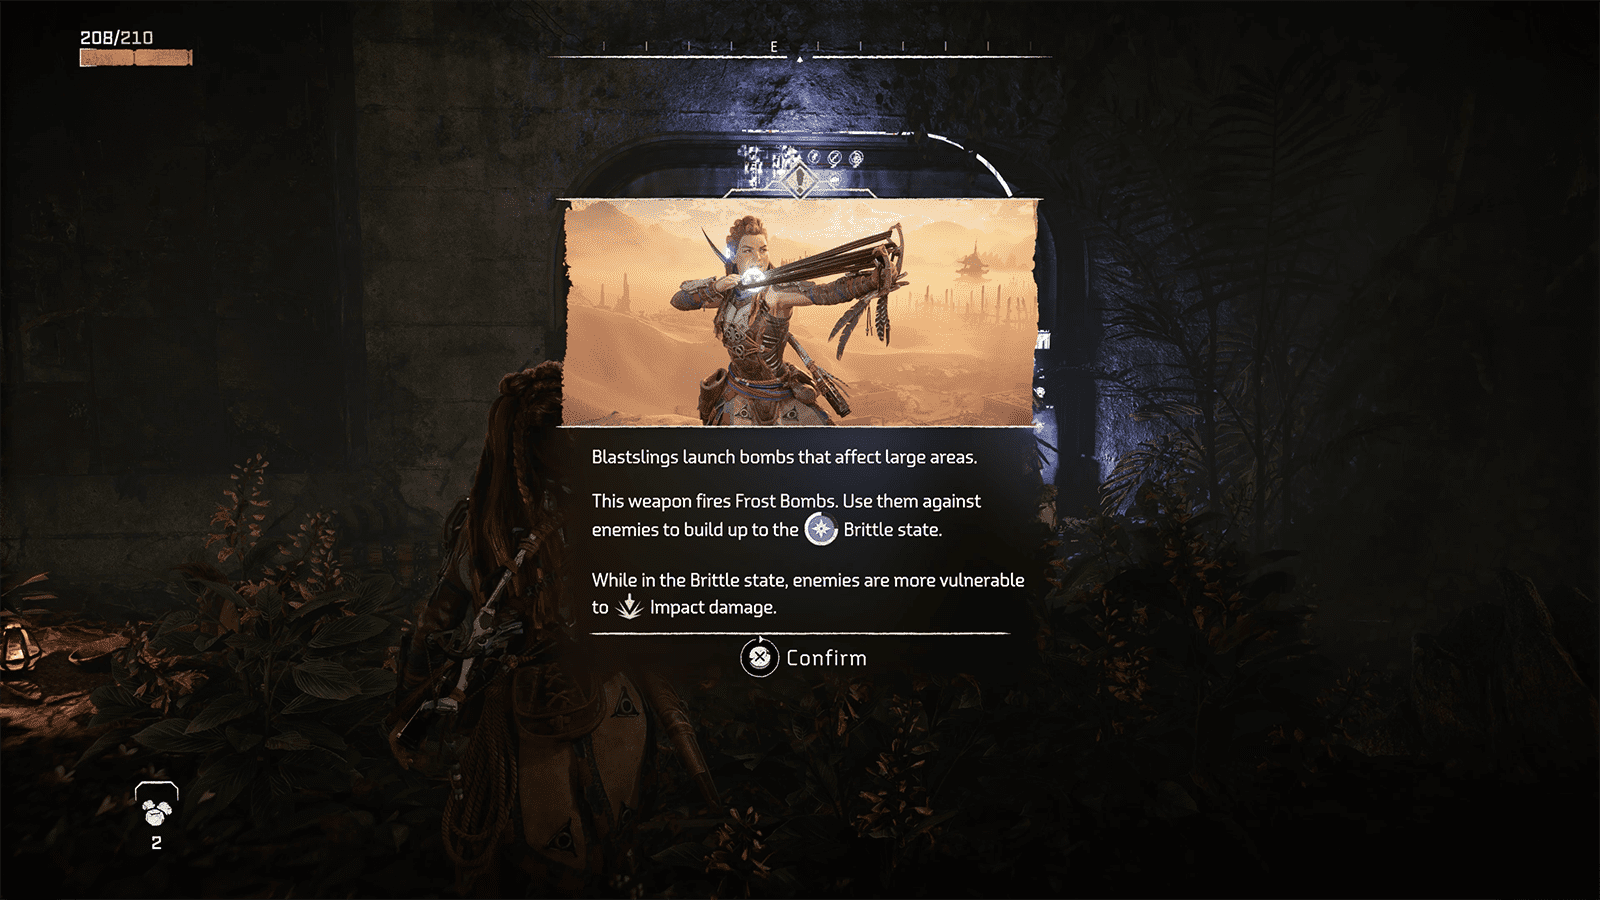
As you exit the meeting room, you’ll pick up a Blastsling that can launch frost bombs. Descend the ledge just outside the door, and push forward to witness another short cutscene hinting at a very large and new machine. Follow the hill down into an open area with a single Scounger, use your newly-acquired Frost Blastsling to destroy it and push forward. Nearby will be a large canyon-like area with several islands, some of which have loot crates for you to open.
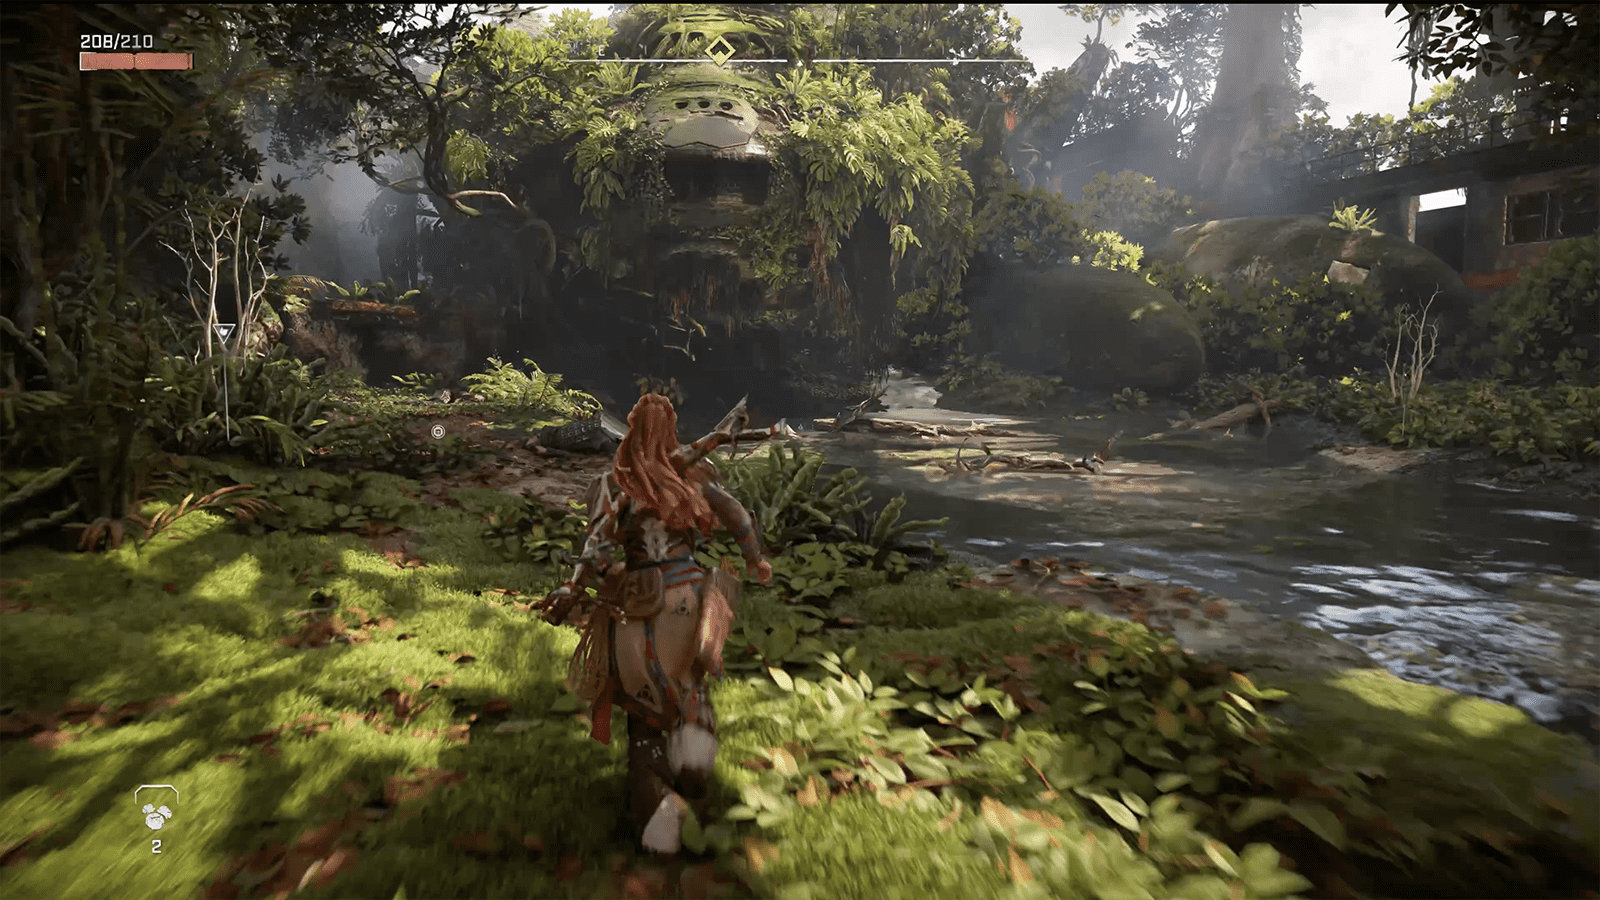
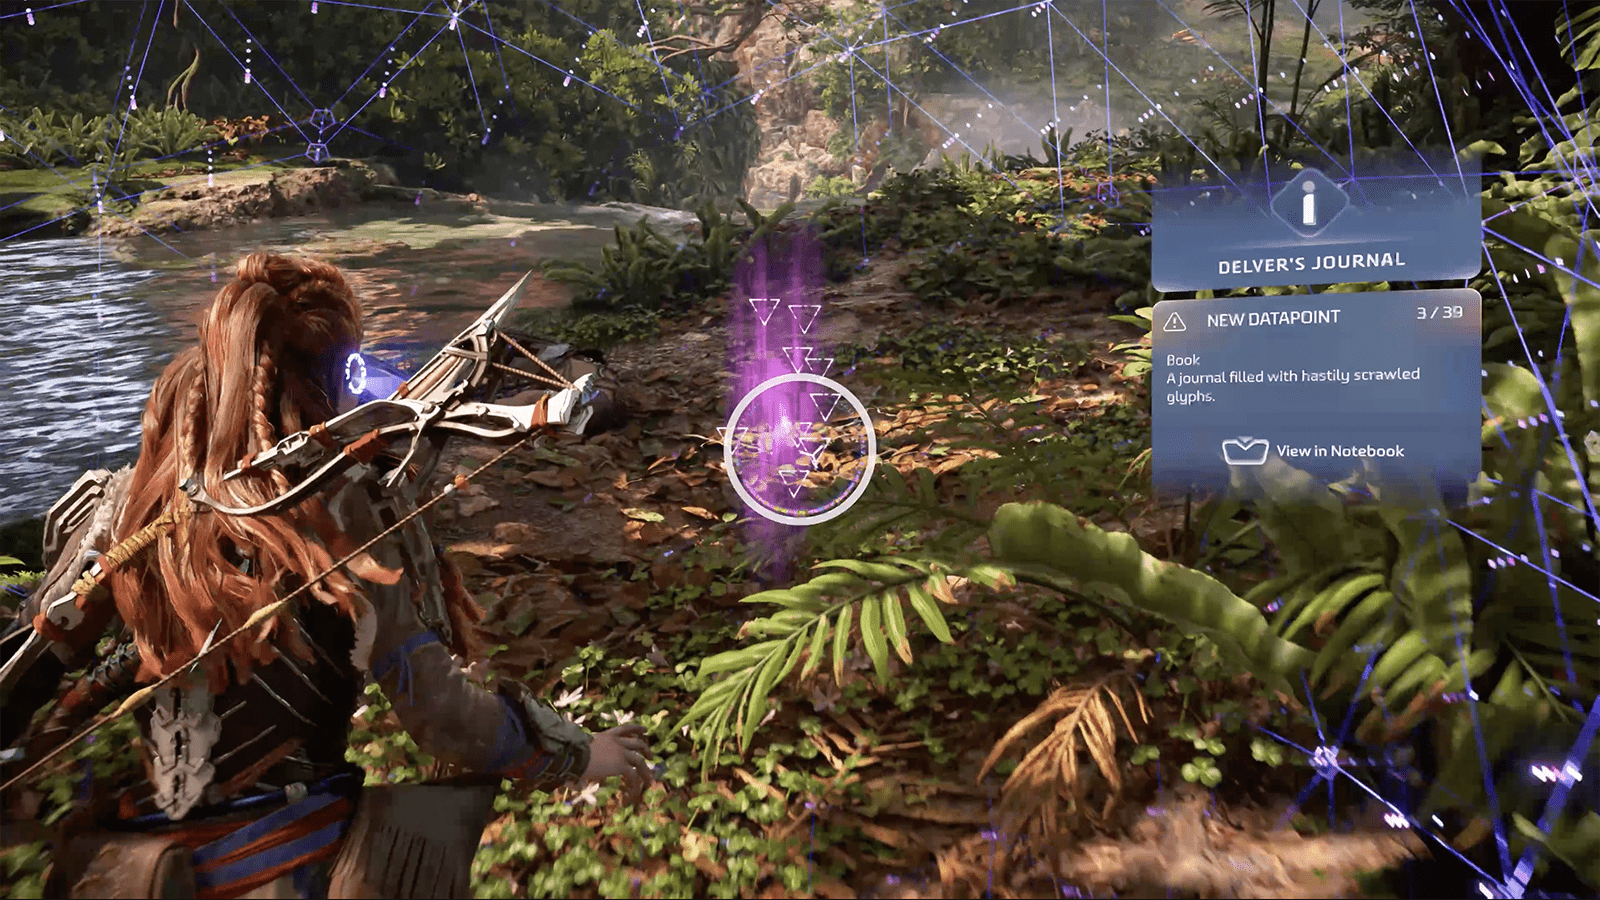
Once done, head to the far side of the valley and climb up the short cliff, emerging into another open area with what looks like a shuttle prototype and several more Oseram corpses. Loot everything and climb up the hill; on one of the corpses will be the Delver’s Journal datapoint, so make to grab that if you’re aiming for 100%. Once you’ve climbed the hill, you’ll reach an area with two Burrowers and a Scrounger – the Scrounger was stuck behind some trees for us. Once dispatched, turn into a corner located at the right-hand side of the open area where you’ll see a locked ladder, shoot it down and climb up.
Follow the walkway outside where you’ll find another ladder. Climb it and then the staircase and wall that follow. Eventually, you’ll emerge at the top of one of the Far Zenith Launch Facility’s buildings and a cutscene will play.
Make Your Way To The Shuttle
After the cutscene plays, Aloy will grapple down into the open area below that is filled with three Burrowers. You’re tasked with making your way to the shuttle, so take down the machines and then follow the area along until you reach the base of a bridge. Shoot the locked ladder down and climb it. There will be a nearby grapple point that requires you to tap the circle button before reaching the grapple point to launch into the area and continue climbing.
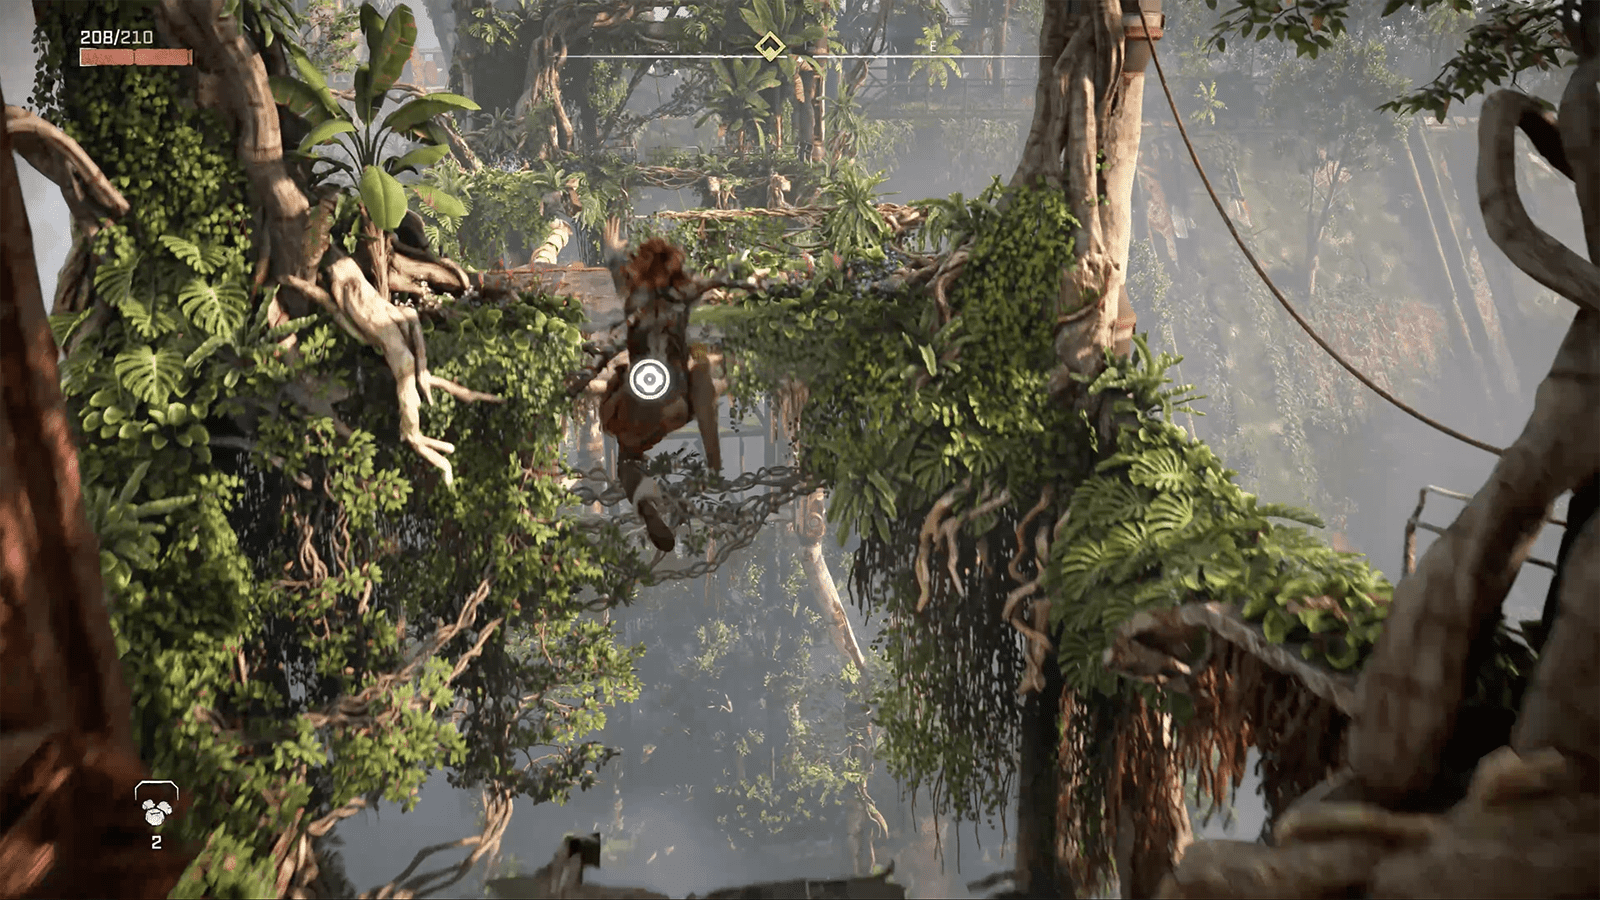
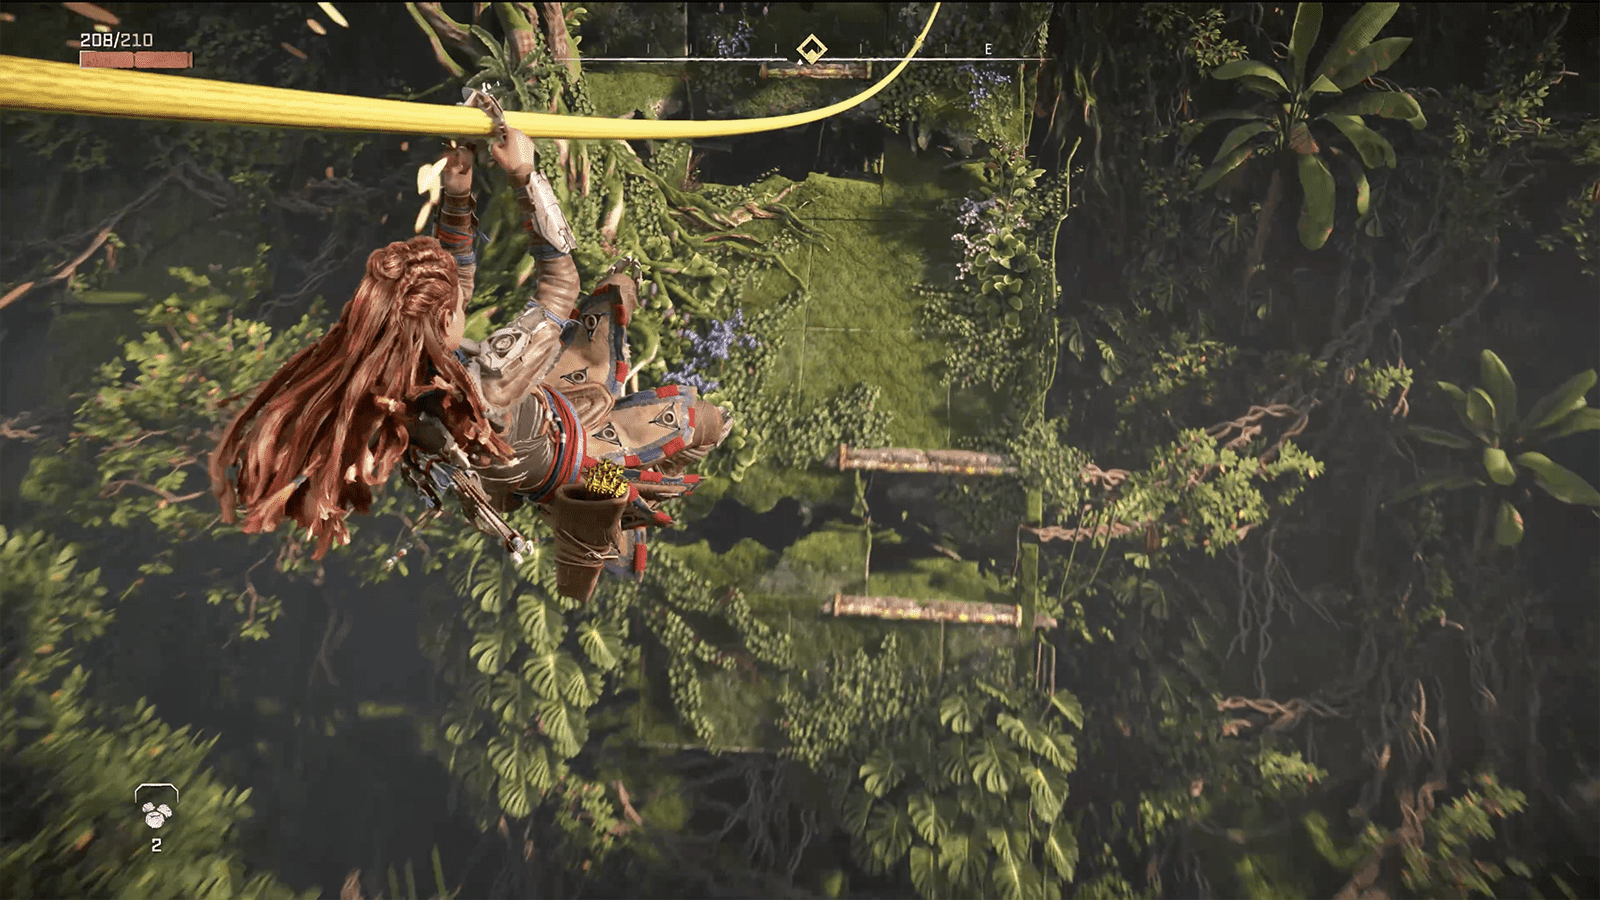
Continue climbing to the top of the bridge and then grapple across the large gaps and jump over the scaffolding to reach the bridge’s halfway point. From there, use the nearby cable and ride down to the second half of the bridge, then climb to its top. You’ll emerge onto a new open area with several Burrowers and Scroungers. Take the machines out and follow the mission waypoint to a control panel that will allow you to release the shuttle’s clamps.
Unfortunately, this doesn’t quite work and Aloy decides it’s time to climb the launch tower and manually set the clamps free.
Climb The Launch Tower
After the cutscene, an elevator will fall down its shaft and hit a steel beam, preventing it from reaching the bottom. Use your Pullcaster to remove the beam and then enter the elevator. Rather than riding it, jump up through its ceiling and then climb the entirety of the elevator shaft, picking up any resources and looting any crates you can find. Once at the top, you can shoot the first clamp free.
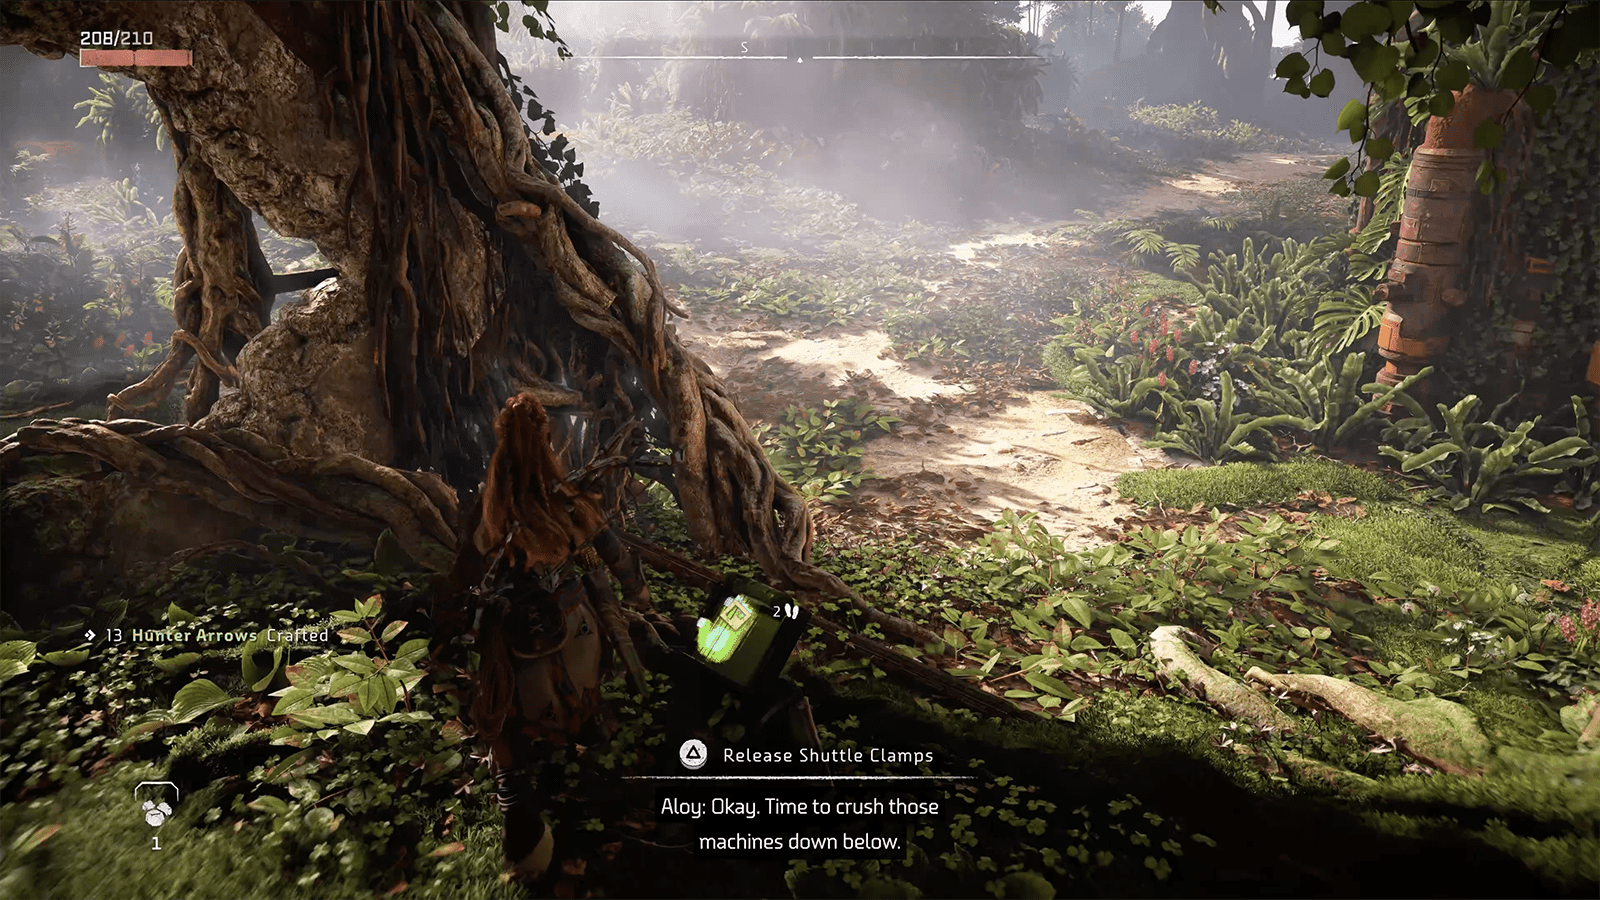
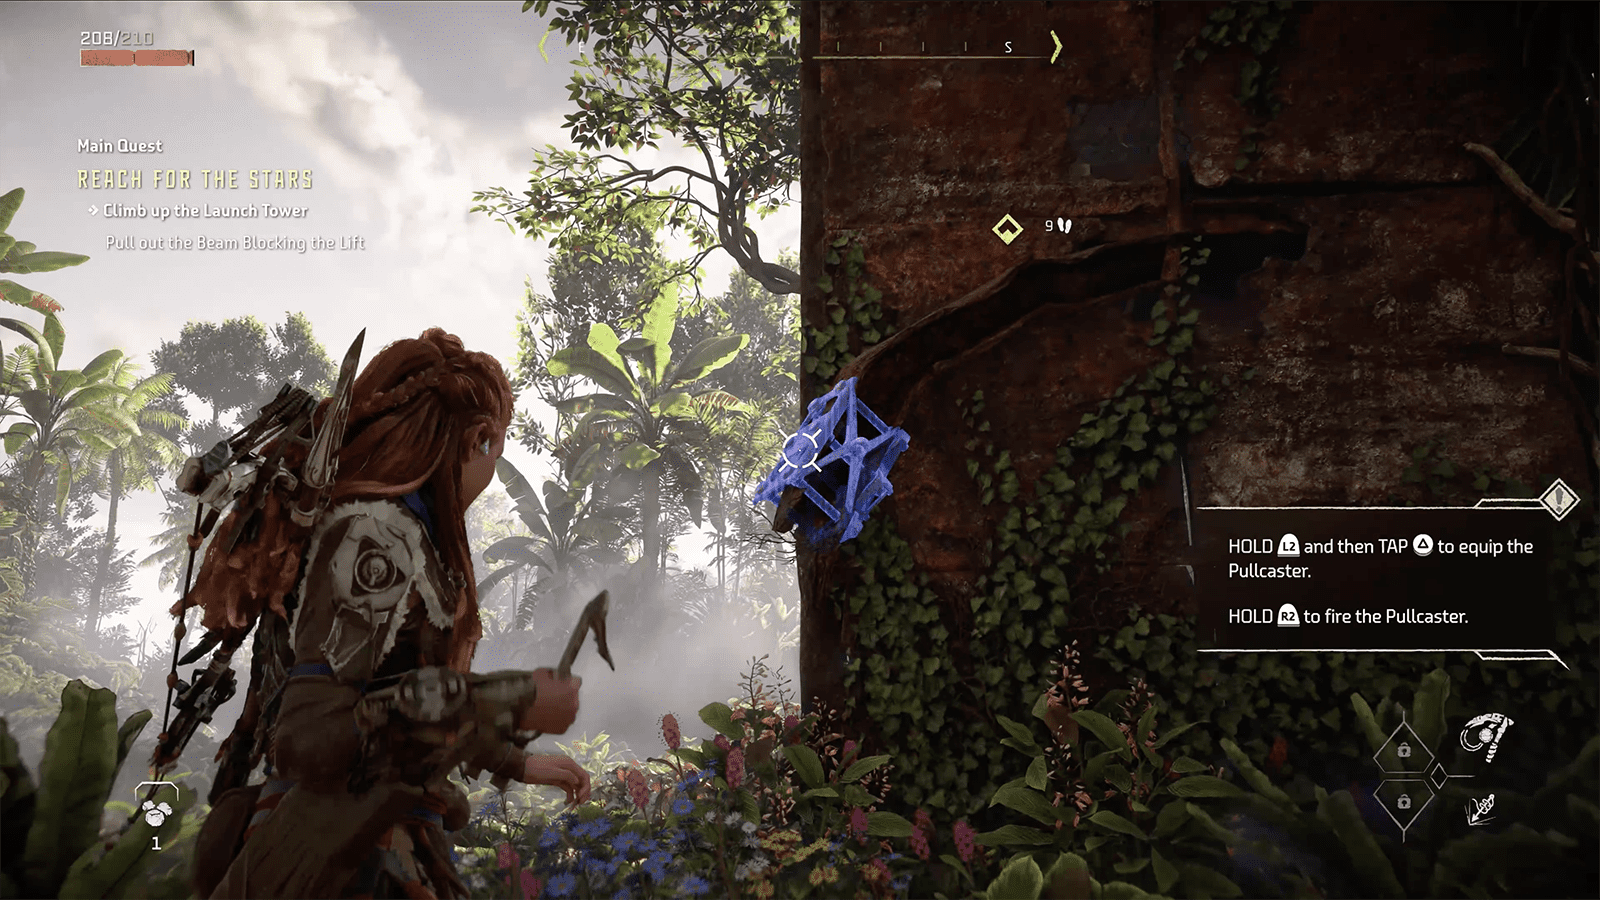
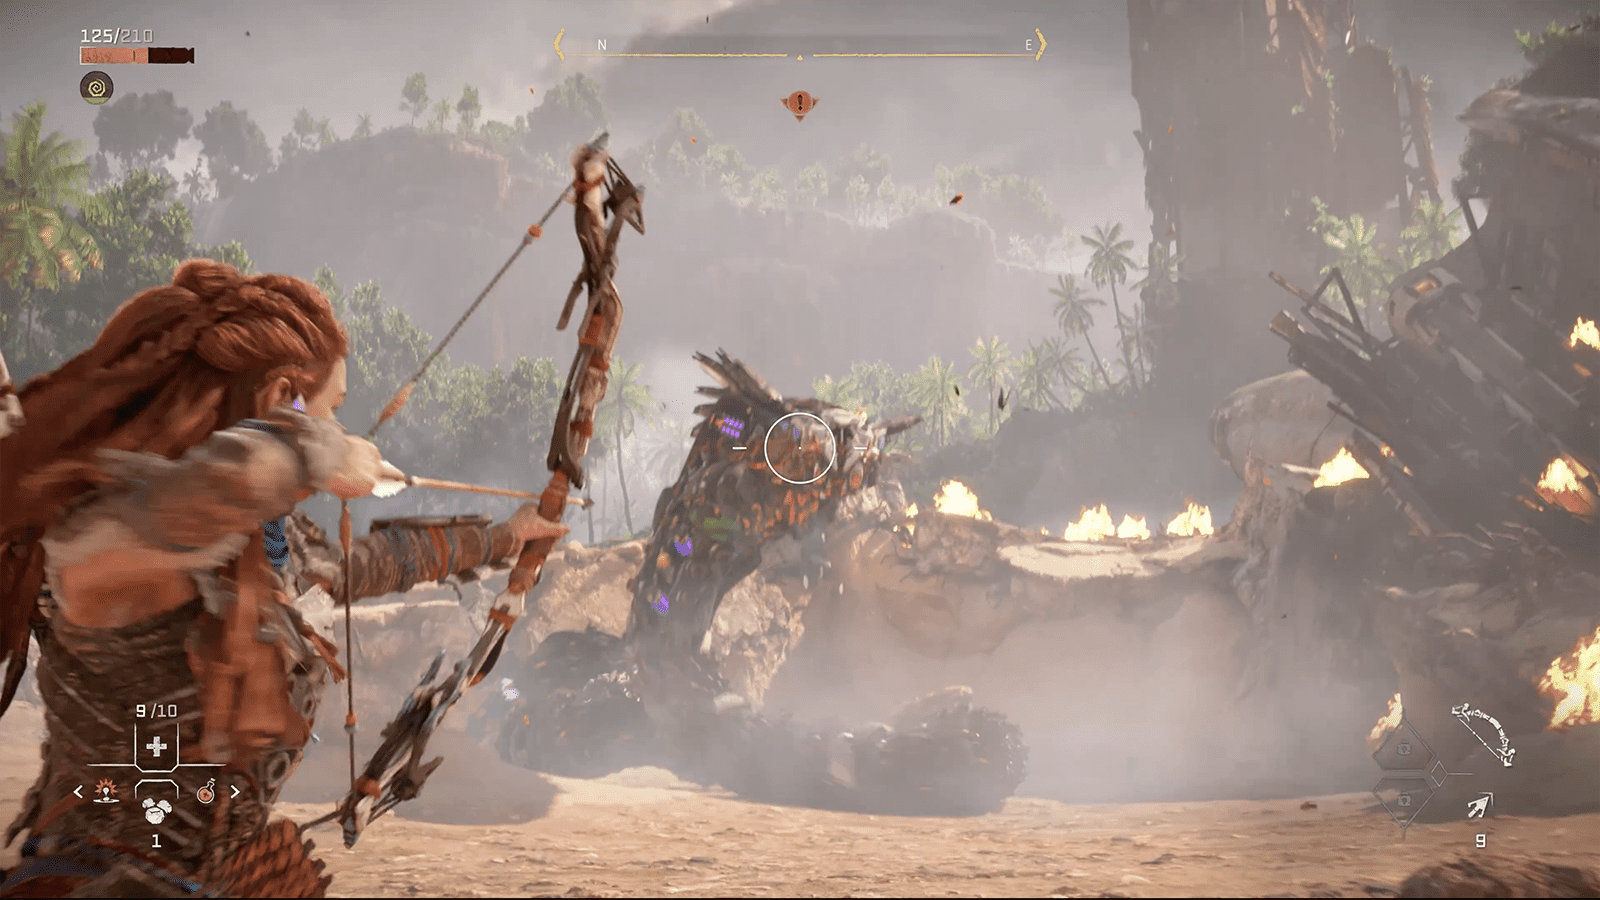
From there, continue climbing the launch tower and make your way around to the second clamp. Shoot that one free, and a cutscene will play in which the shuttle, its tower, and Aloy collapse onto the Slitherfang machines below. When Aloy hits the bottom, you’ll come face to face with your first boss fight; a single Slitherfang. The machine is weak to fire, frost, and plasma.
The machine will spit acid and launch rubble at you, so be prepared to dodge. It will also violently swing its body across the arena to hit Aloy and can unleash an electrical attack, so be quick to react. To defeat it, we suggest you use your Frost Blastslinger and when frozen, shoot Hunter Arrows at its weak points. Once you’ve destroyed it, loot the machine, and then continue past it to climb up the nearby ledge.
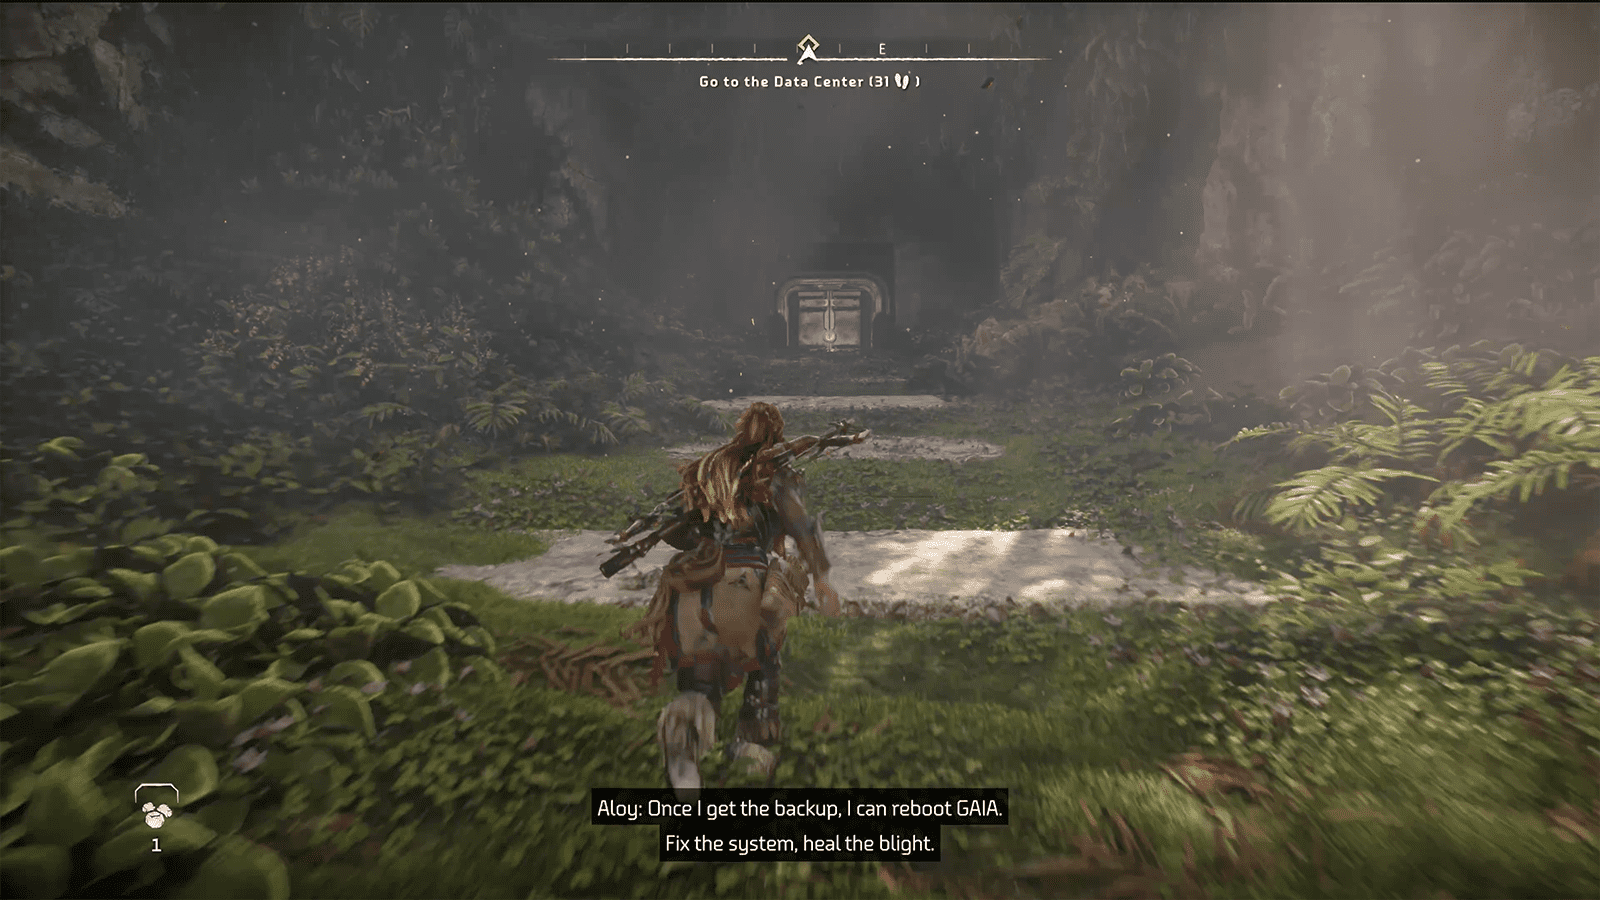
Follow the hill and enter the door. From here, follow the hallway along and then descend the stairwell to emerge into another hallway. This will eventually take you to the data centre where Aloy can search for the GAIA backup. A cutscene will play, and you’ve successfully completed the first mission of Horizon Forbidden West; Reach For The Stars.
Back To: Horizon Forbidden West Mission List
Next Mission: ‘The Point Of The Lance’

