
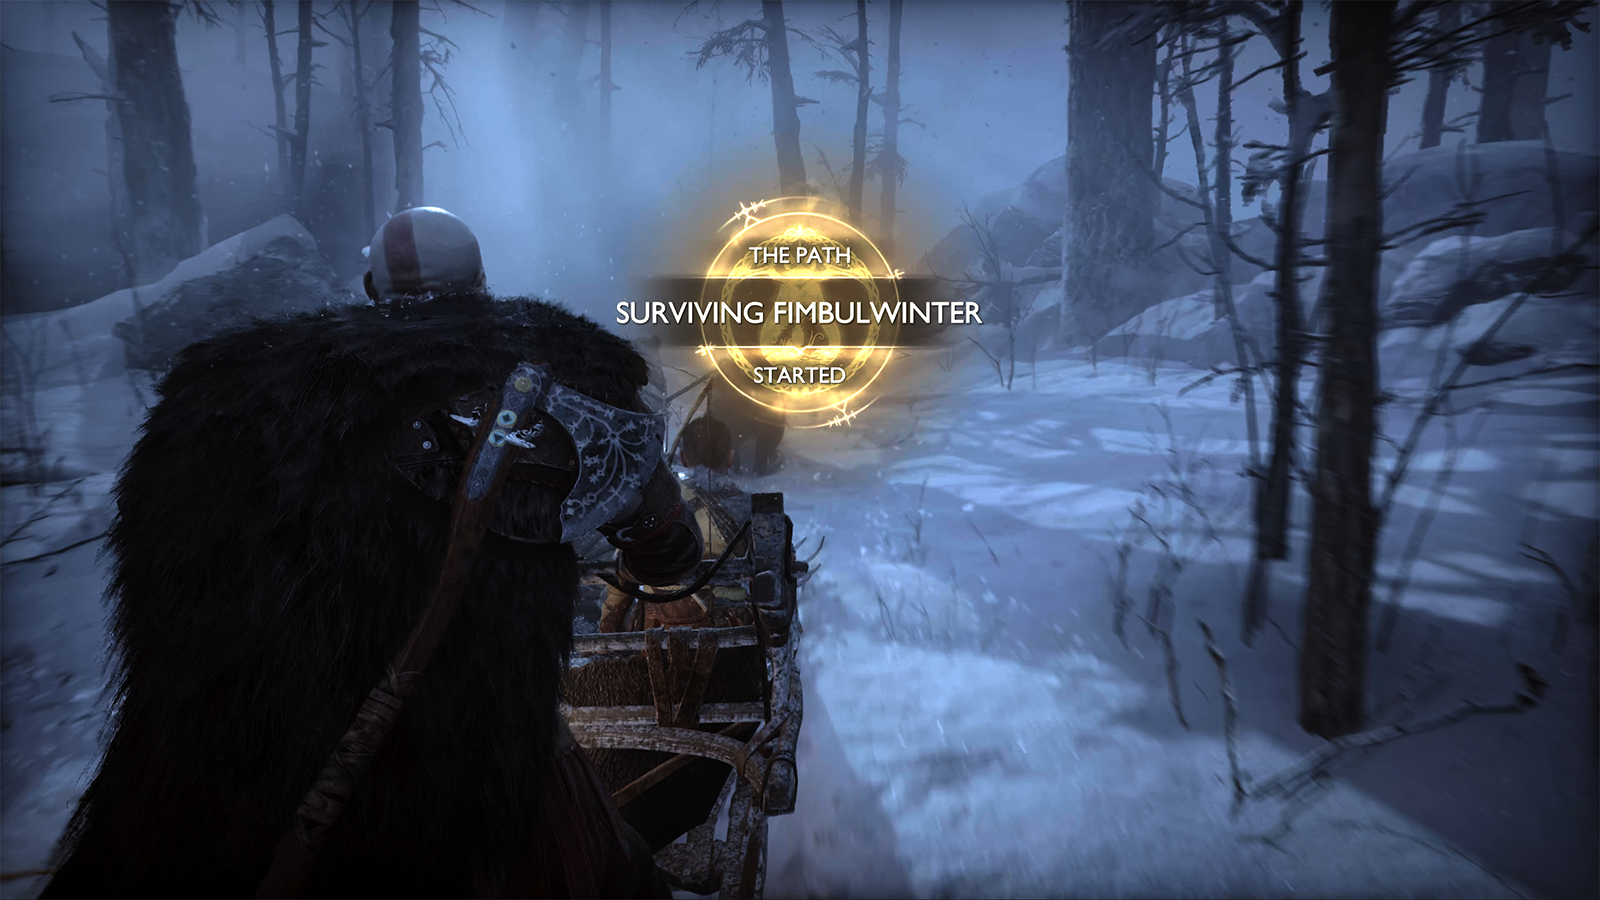
God Of War Ragnarok: Surviving Fimbulwinter Walkthrough
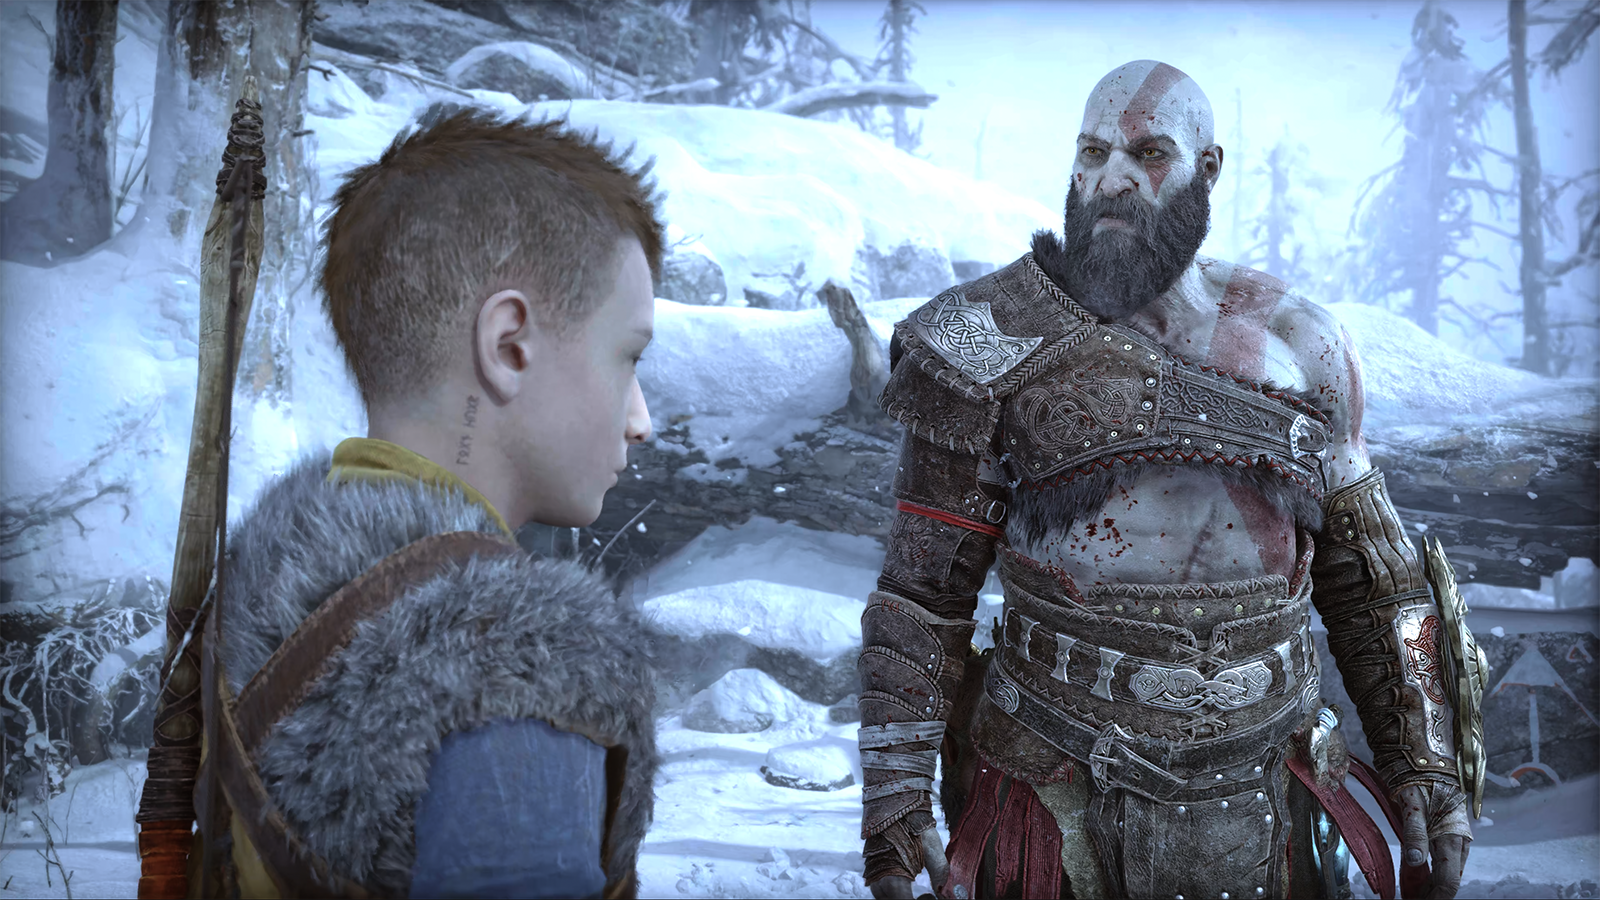
Surviving Fimbulwinter is the first chapter in God Of War Ragnarok, kicking off the game’s explosive main story, The Path. The chapter sees you explore sections of Midgard, face off against your first bosses, and gain an understanding of the game’s mechanics. Find out how to complete the Surviving Fimbulwinter chapter with our walkthrough guide right here.
Head Home
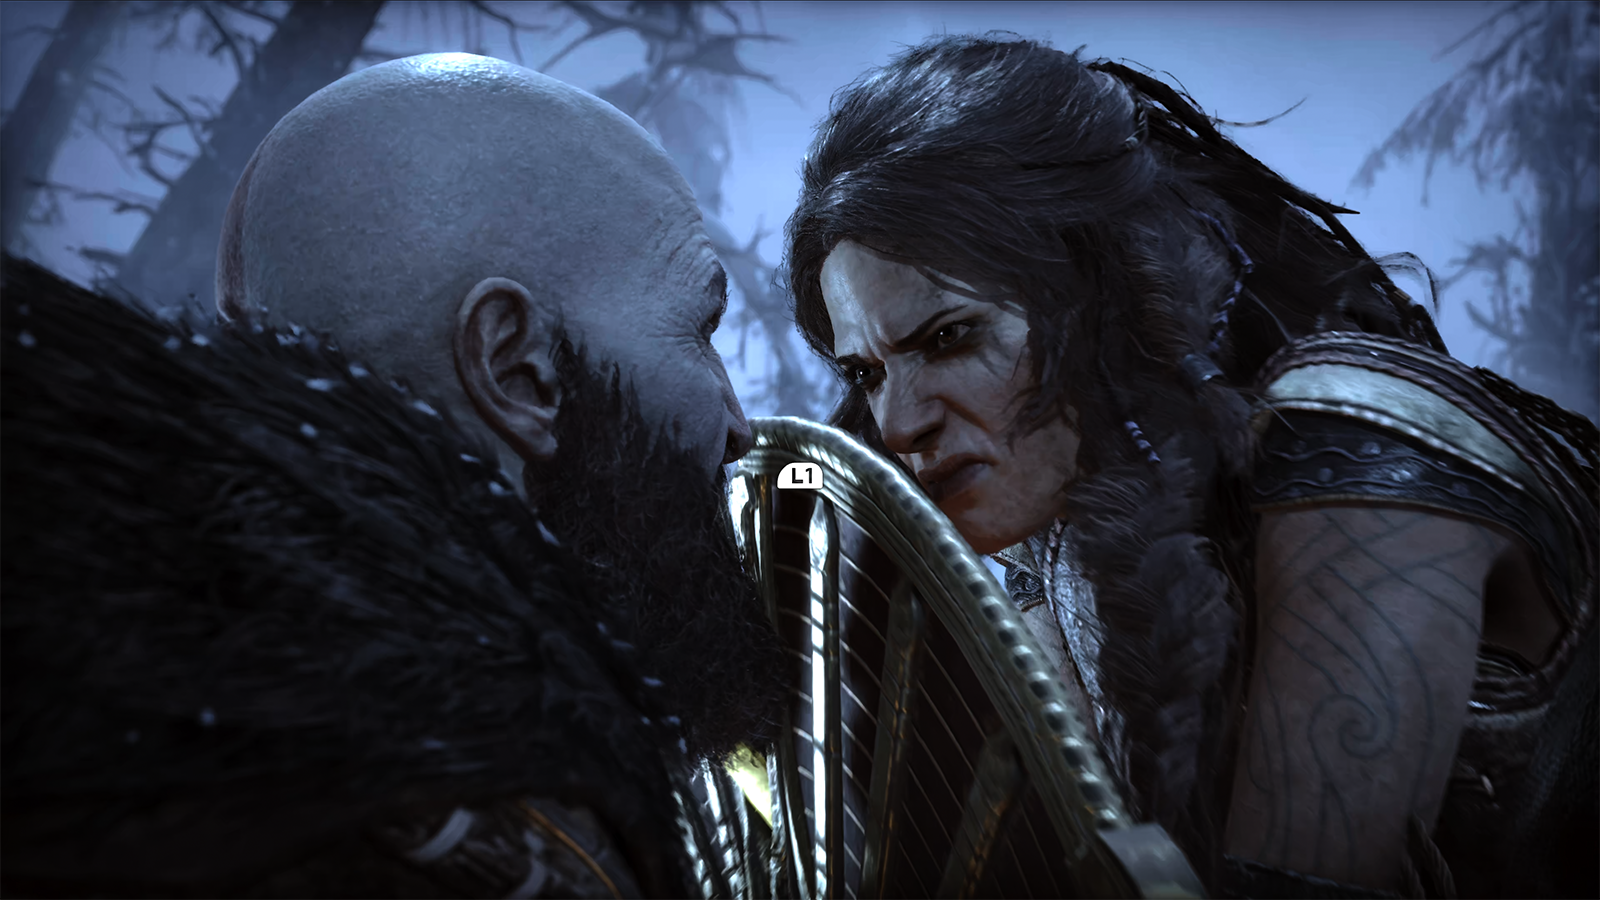
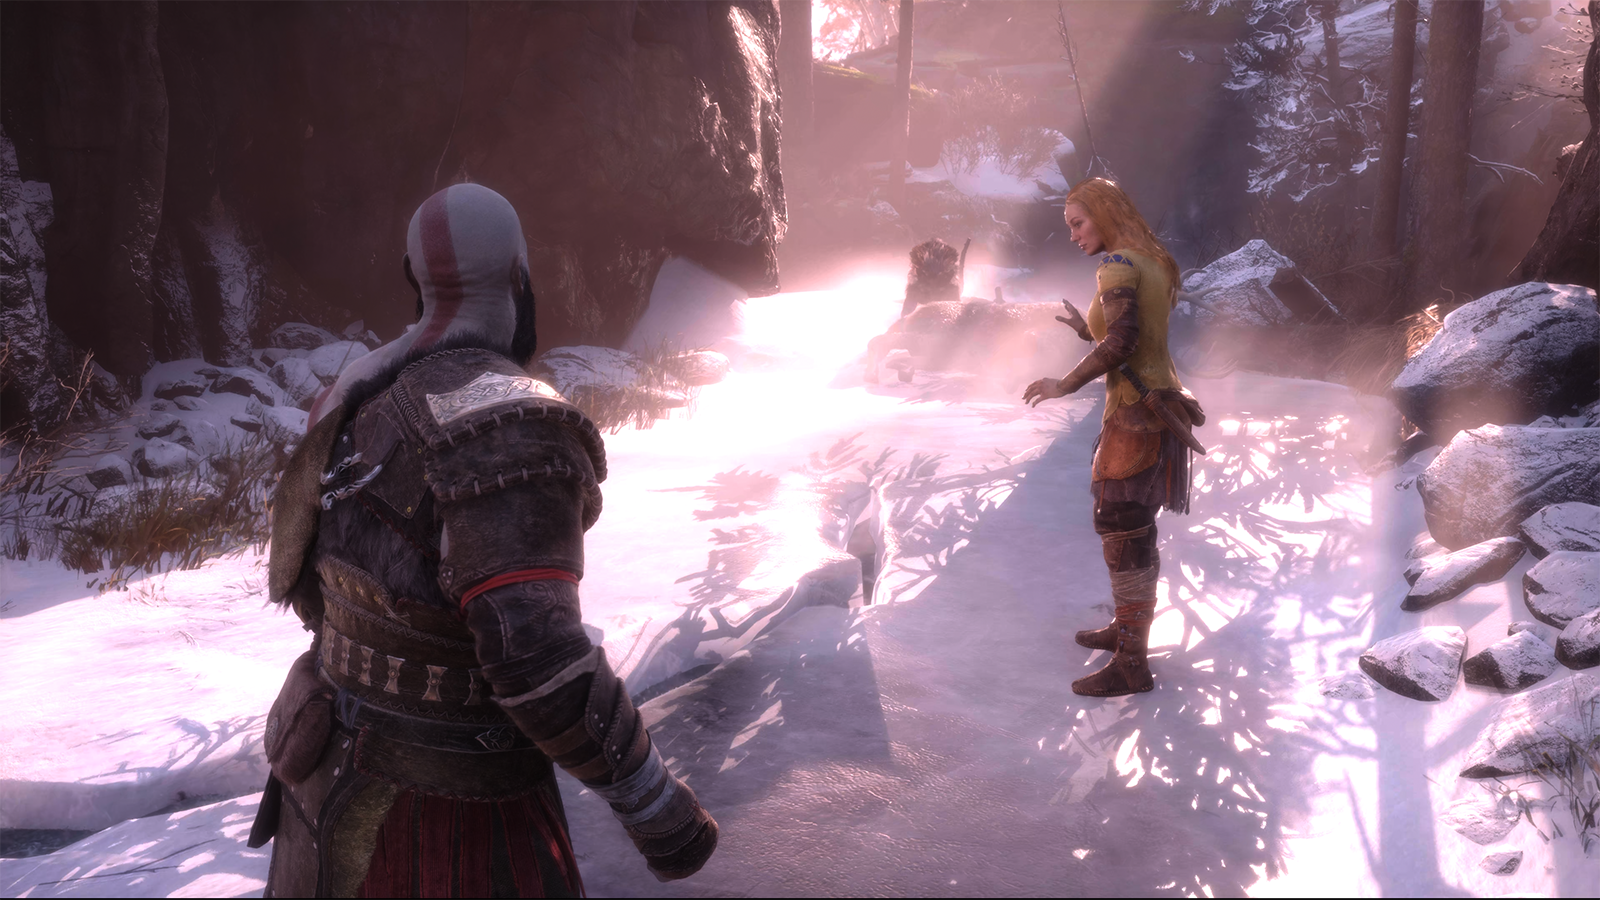
After a cutscene, Kratos and Atreus will climb onto a sleigh with wolves Svanna and Speki, and your objective is to return home. While sledging, you’ll be able to guide the wolves briefly before you’re interrupted by Freya.
A cutscene will play, and you’ll be presented with several quick time events. When Freya attacks Kratos, hit the L1 button to knock her off the sledge. After this, you’ll need to direct the wolves to steer around objects in your path as hitting them will reduce Kratos’ health.
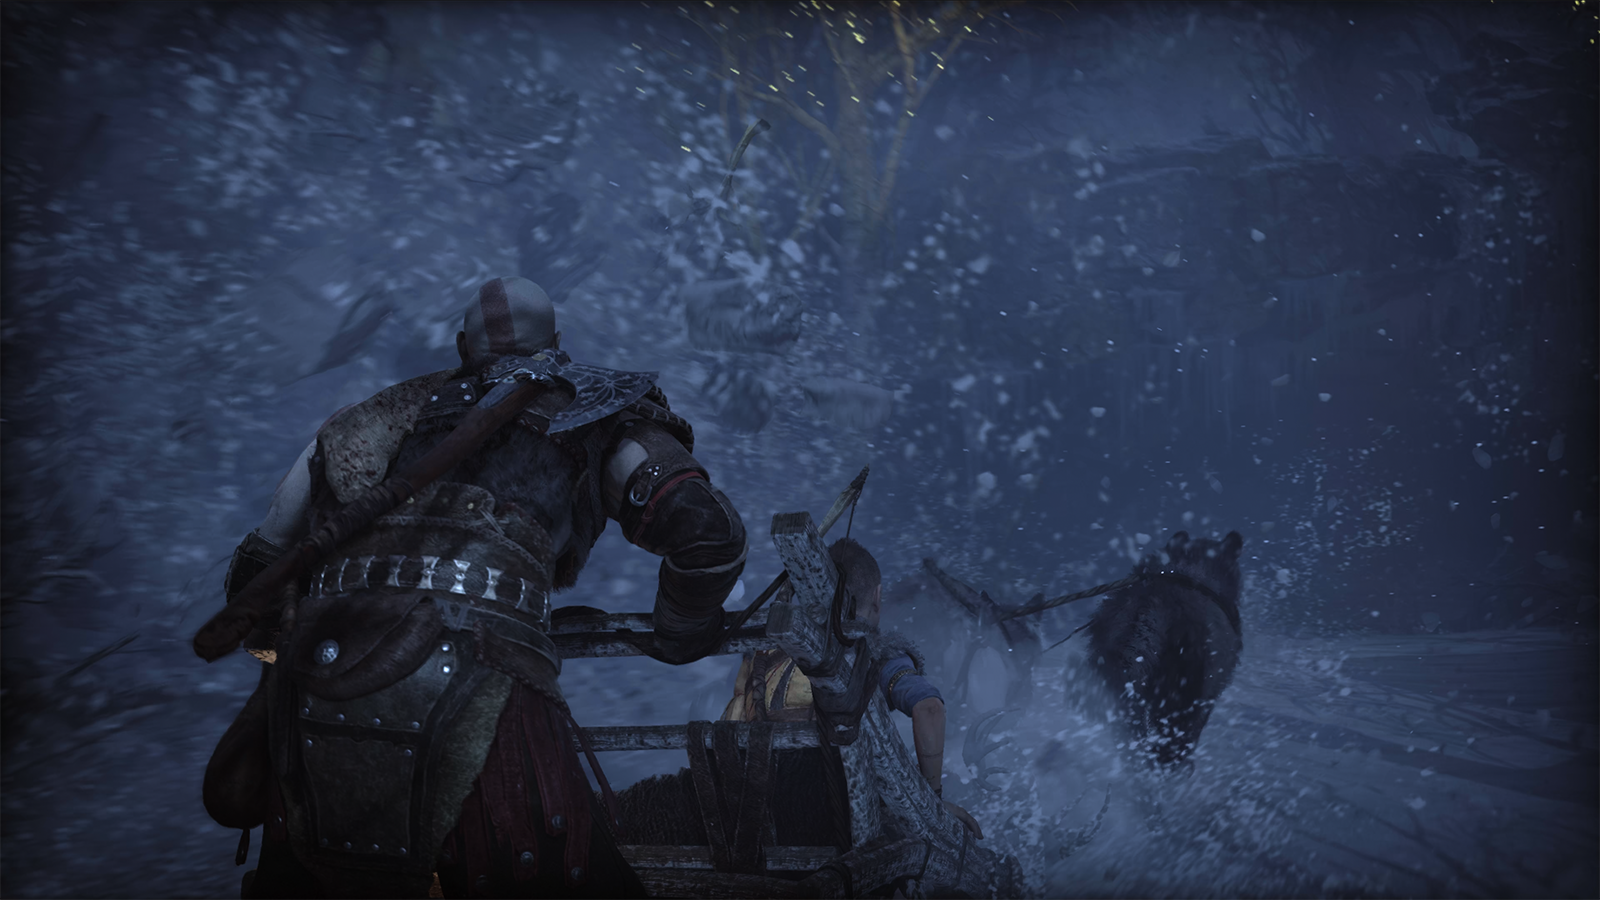
Freya will eventually launch a second attack and smashes Kratos’ head into the ground. Mash the O button to fight back, and then go back to steering the sledge. Freya will return for a third attack, this time trying to strangle Kratos. You’ll need to hit the on-screen R1 and L1 prompts to defend yourself, eventually knocking her off Kratos.
You’ll then have to steer the wolves before Freya comes in for a final attack. Mash the O button repeatedly to defend yourself, and then watch the brief cutscene before steering the wolves to avoid the oncoming avalanche.

You’ll eventually reach Kratos and Atreus’ home, starting a brief cutscene. Once done, head up the hill towards Kratos’ house to trigger another cutscene and complete the game’s first objective.
Kratos’ Dream
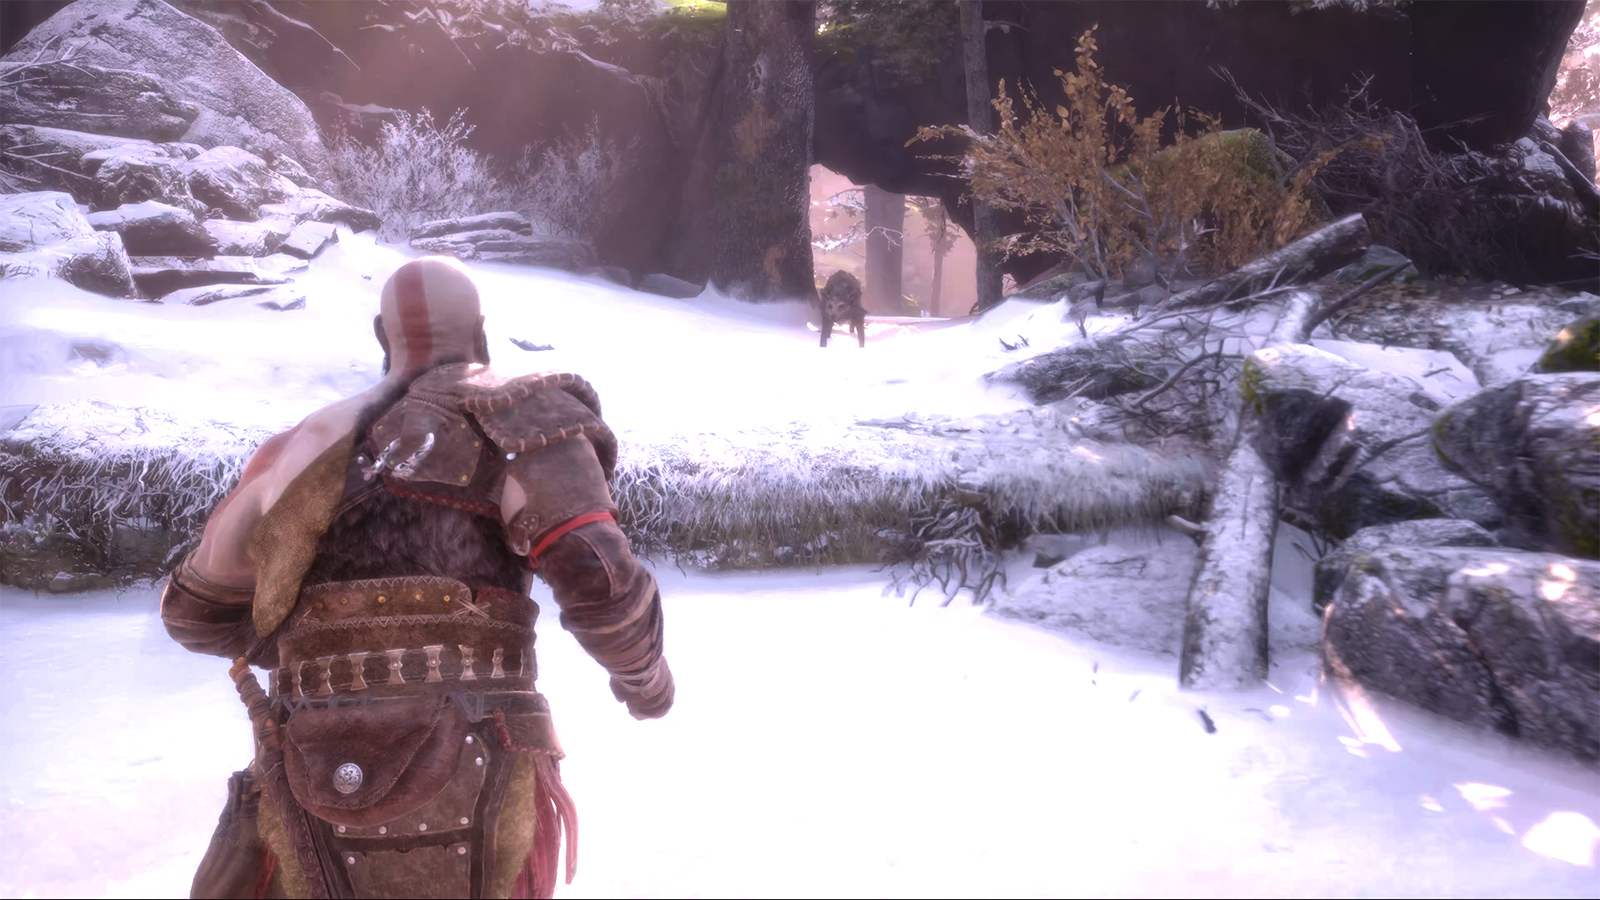
After completing the first objective, you’ll be tasked with exploring a brief dream sequencing involving Kratos and Atreus’ mother, Faye. Follow Faye through the woods as she embarks on a hunt, stopping at a dead deer. After a short cutscene, continue following Faye until you reach a wolf, and then remove the tree logs from the nearby ledge.
Climb the ledge and follow the path along until you reach another snarling wolf. A cutscene will play, and the dream sequence will end. You’ll then begin your next main objective; Track Atreus.
Track Atreus
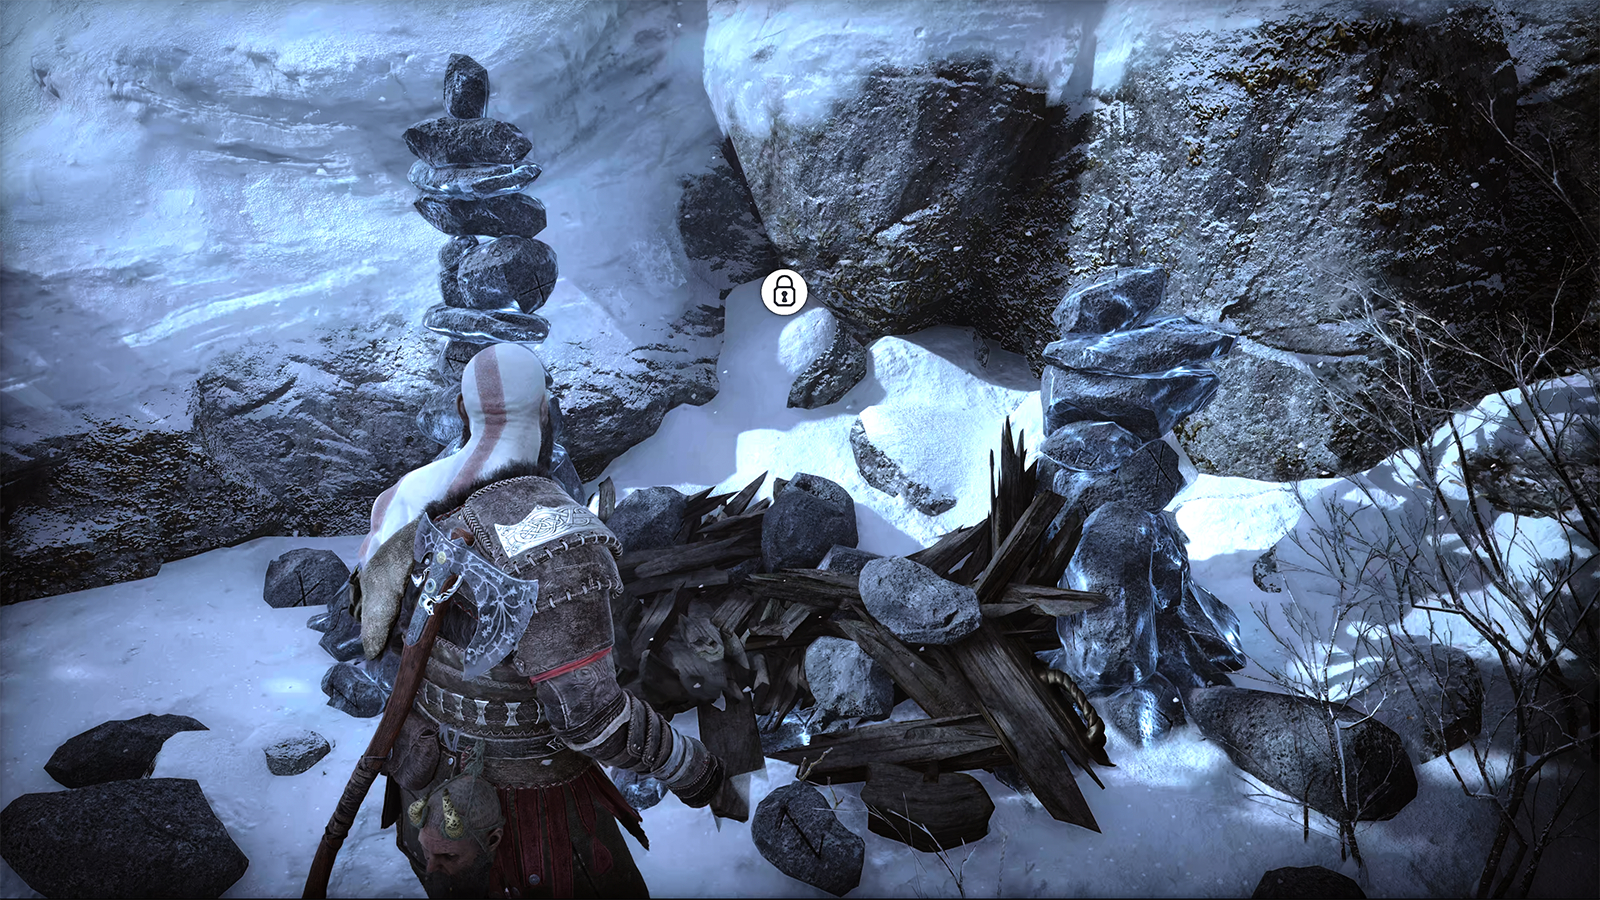
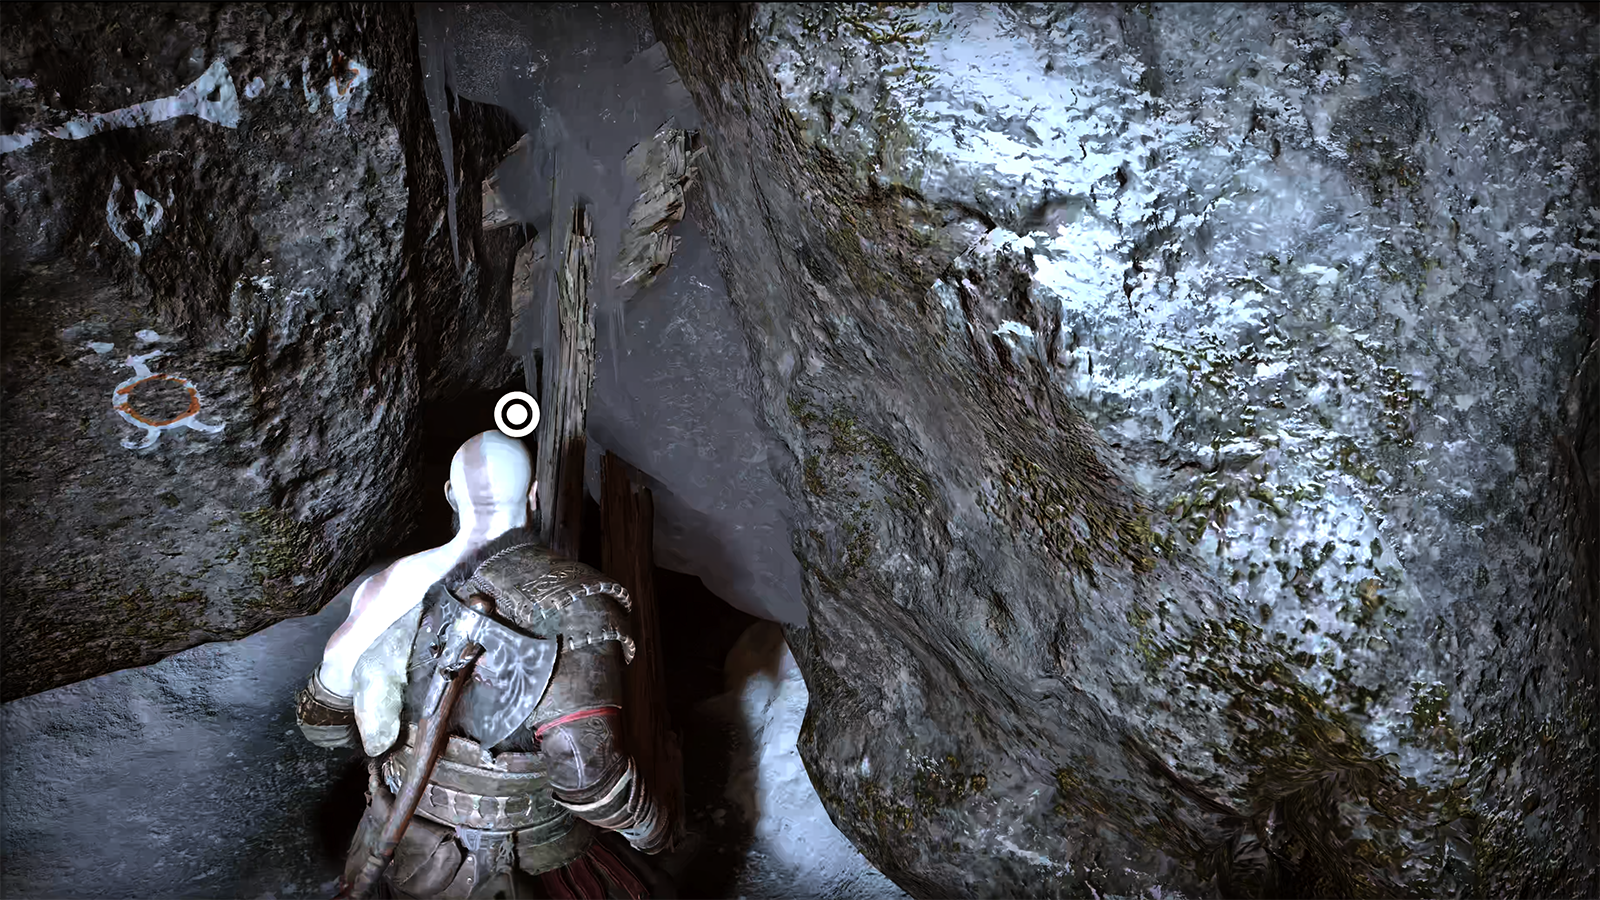
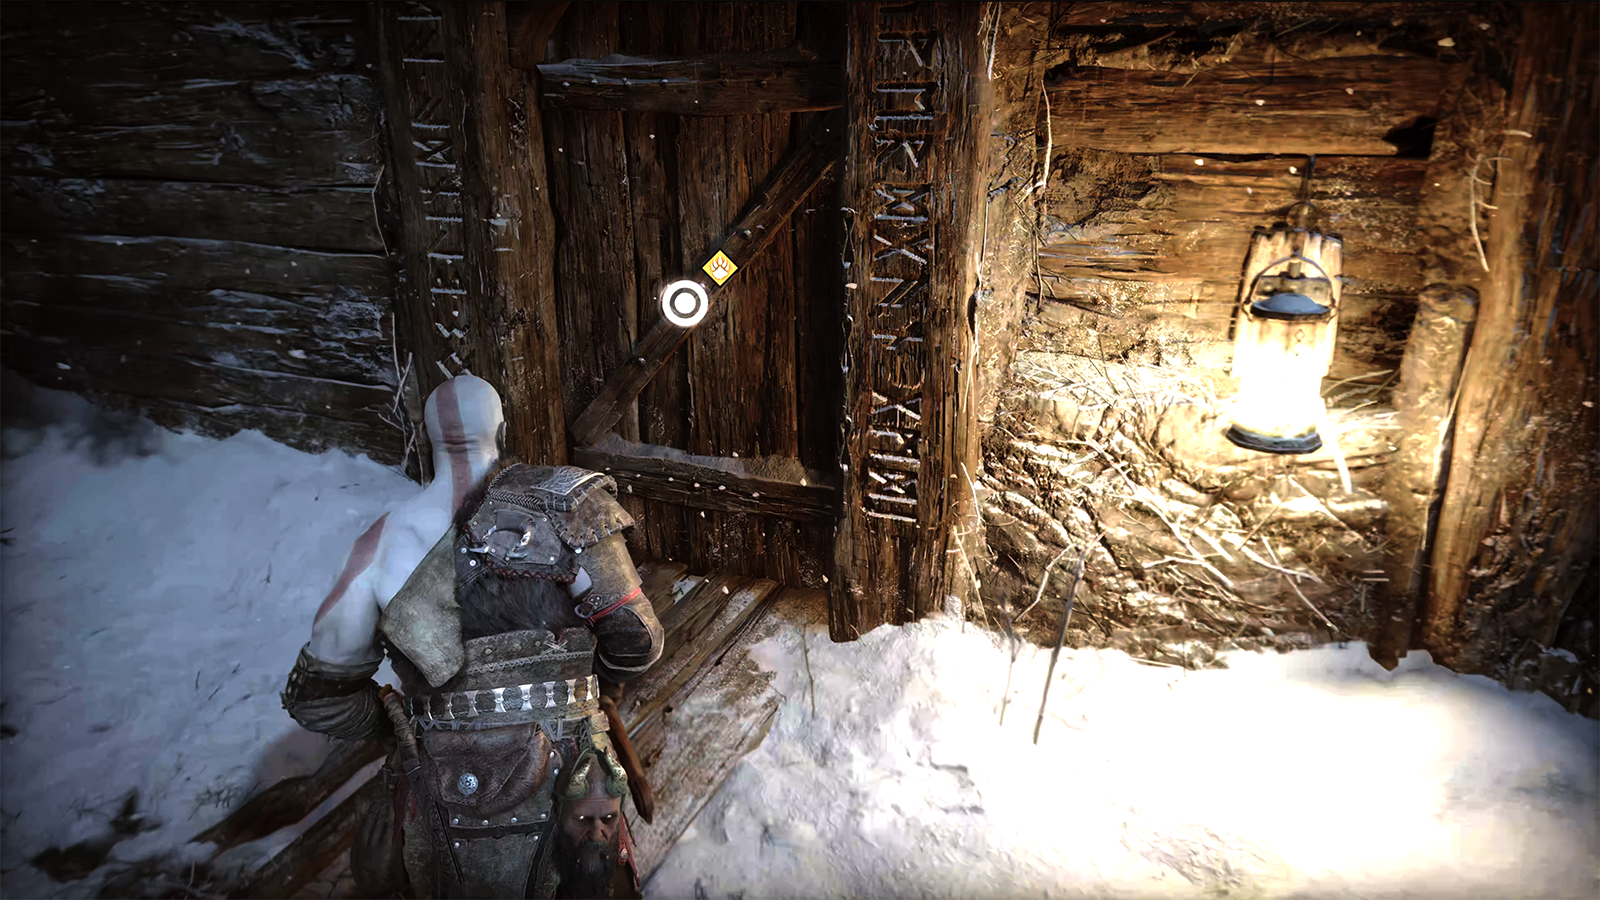
Immediately head across the grounds towards the crumbled portal for a line of dialogue between Mimir and Kratos, and then turn back and head down the hill your climbed earlier, following Atreus’ tracks while making your way towards the Svanna and Speki’s den. Beside it, you should see a small crack in the stone wall blocked by wooden beams and ice. Interact with the crack, and then perform three Heavy Attacks to clear the way.
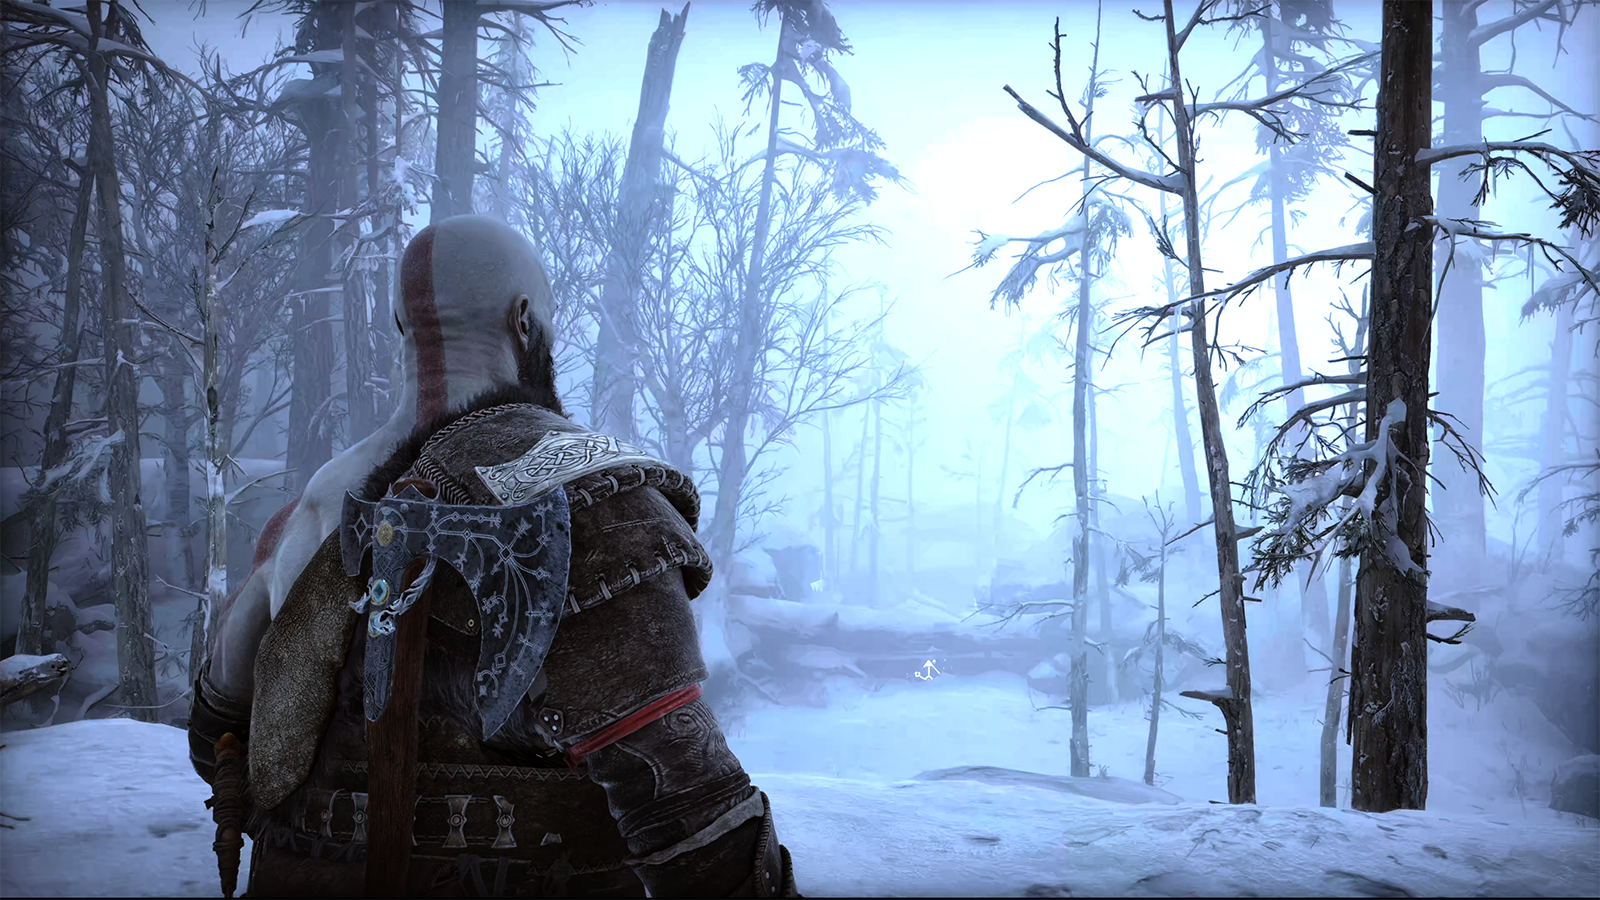
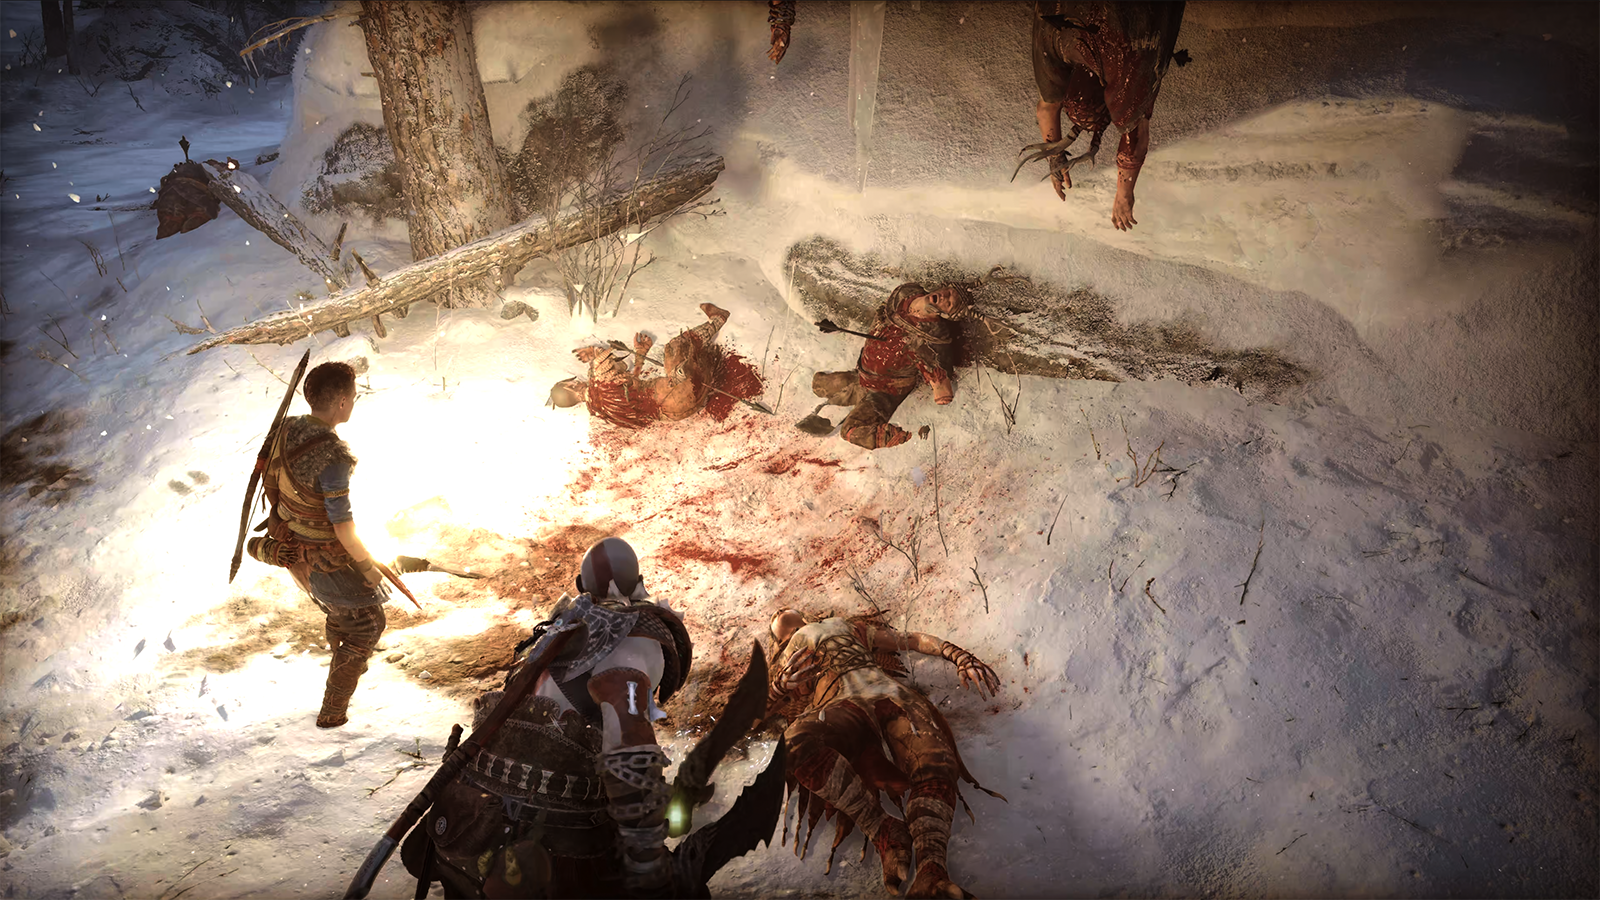
Slide through the crack to enter the Upper Wildwoods and follow the path along, sprinting and vaulting over obstacles when needed. You’ll eventually break into a clearing, where you’re attacked by several Raiders. Defeat them and take a left from the clearing’s entrance towards a large tree log. Lift it to enter a small area with a dear bear, inspect it, and then follow the blood trail.
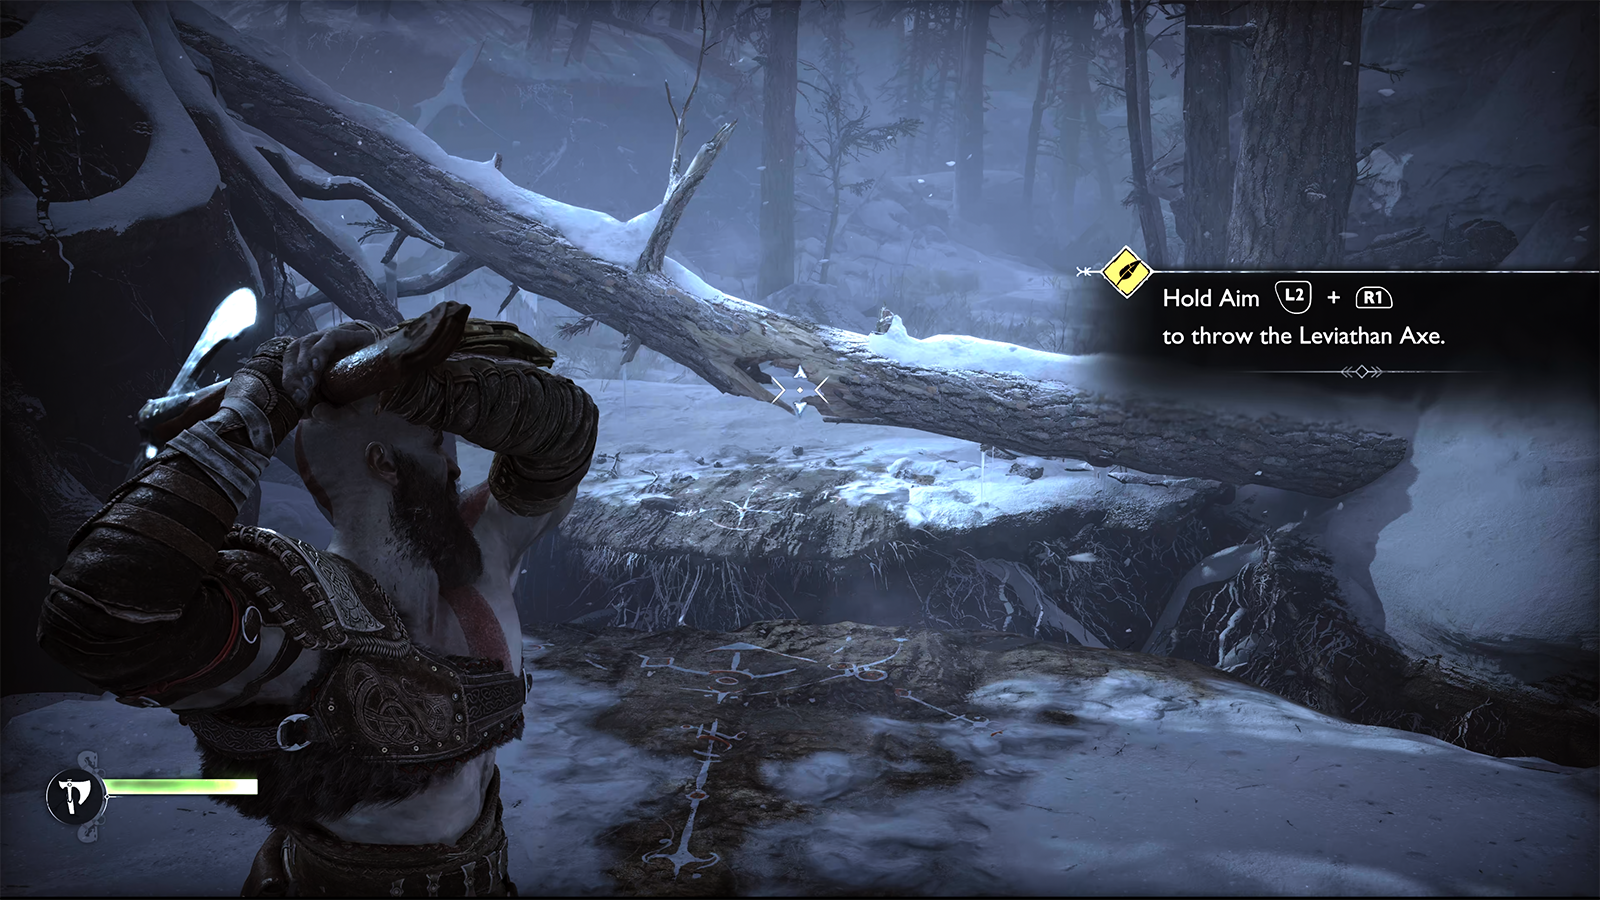
You’ll eventually reach a tree log that must be destroyed by throwing the Leviathan Axe. Destroy it, and then immediately take a right and follow the path along to find a chest with 91 Hacksilver. Head back to where you destroyed the log and jump over the gap. Continue following the blood trail up, and make sure to pick up the 91 Hacksilver on a corpse to the far left of the area.
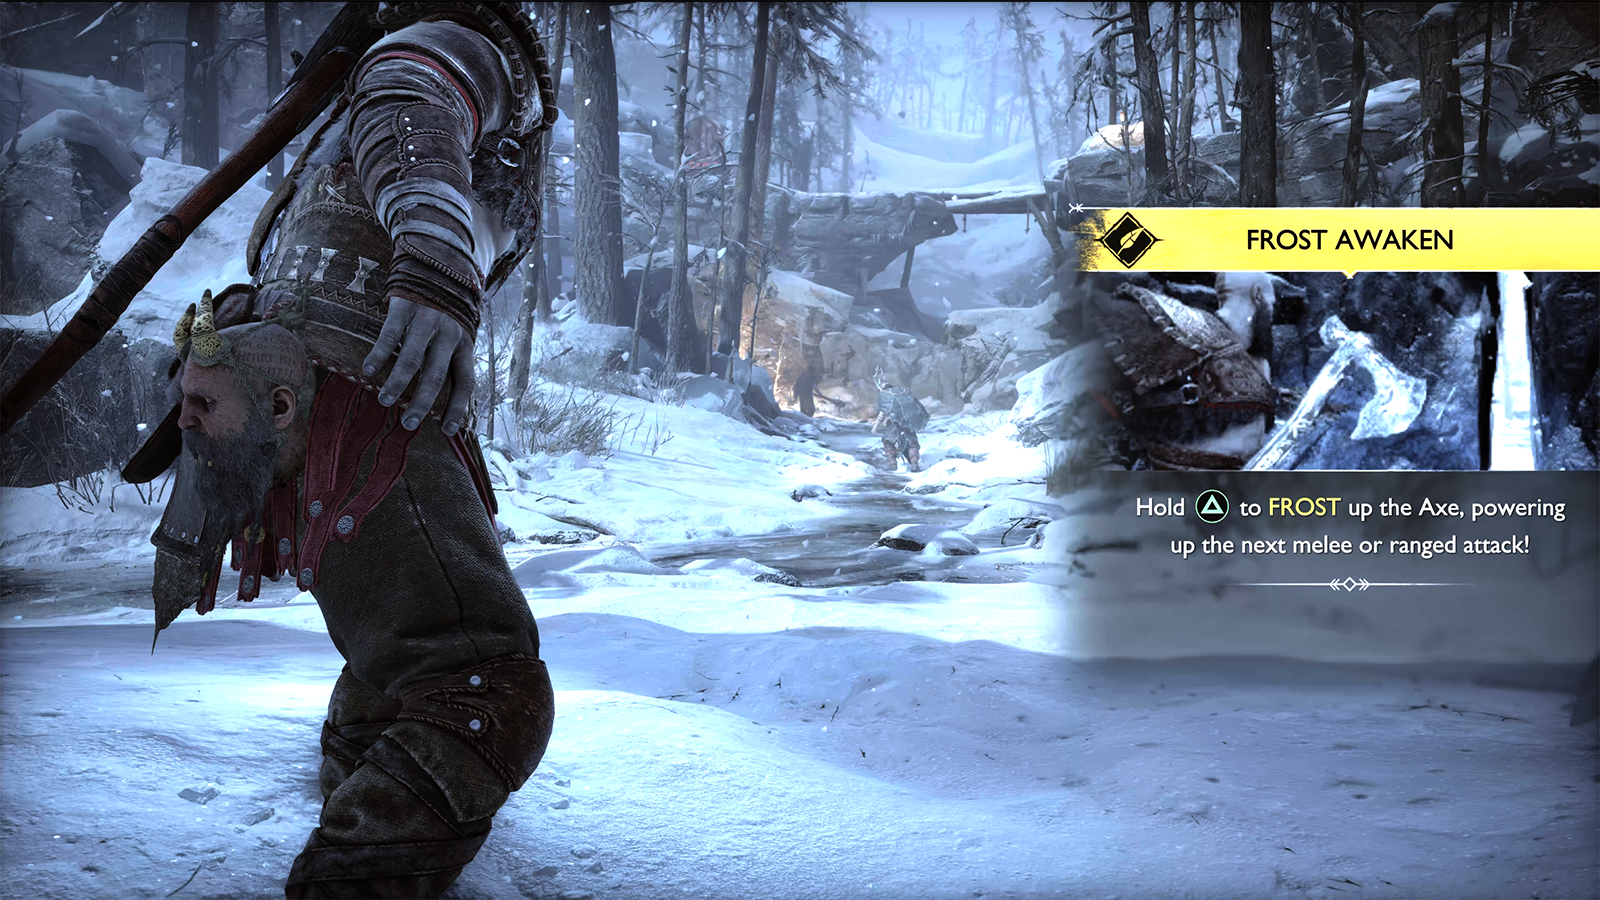
When you reach the top of the climb, you’ll find a chest with 68 Hacksilver. Push ahead and climb a little more to reach a low tunnel. Climb through it towards a new area filled with several Raiders and learn the Frost Awaken ability with the Leviathan Axe. Defeat them, and then continue climbing until you spot a ledge with a red chest. Follow the blood trail under the ledge and then take a left towards the Raider Scout. When you reach the wall, two more Raiders will appear.
Dispatch them, and then climb the wall. Open the red chest for one Forged Iron and 126 Hacksilver. Follow the ledge along and make sure to pick up the 25 Hacksilver beside a corpse. Follow the pathway along, loot the chest along your way for 94 Hacksilver, and pass through the crack in the rock.
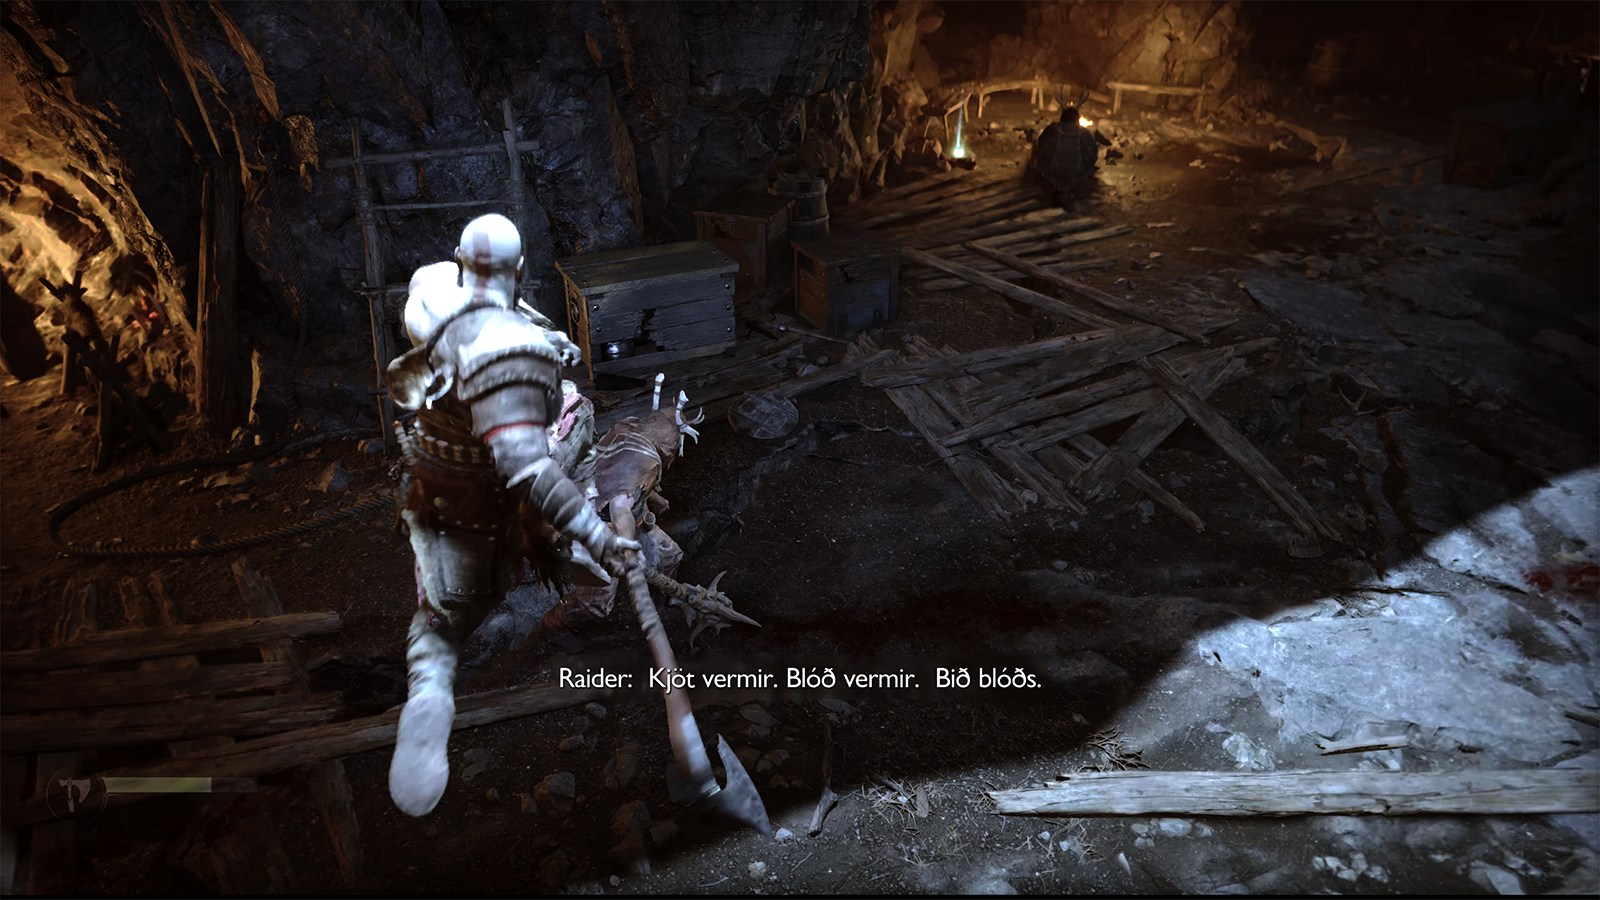
The cave is filled with Raiders, and you’ll learn how to use the Death From Above leaping attack. Take them out and explore the cave’s crevices to pick up 29 and 25 Hacksilver. More Raiders will appear, so take them out and continue following the blood trail, grabbing the 22 Hacksilver along the way.
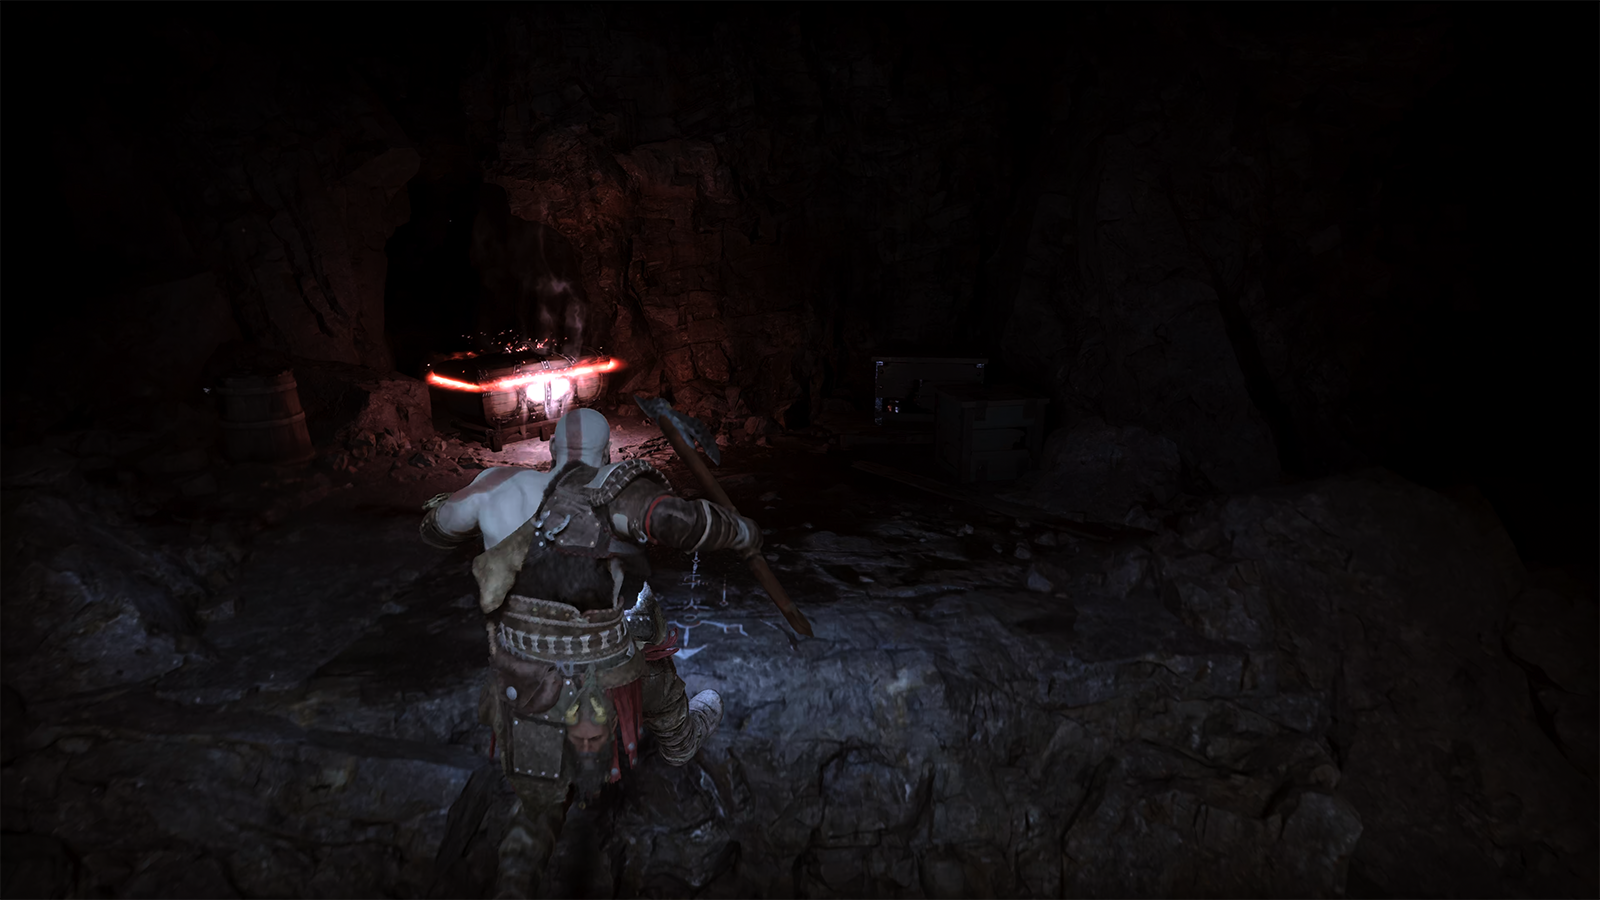
You’ll eventually emerge into an open area within the cave with several Raiders and a Scout Raider. Once you’ve defeated them, loot the chest by the entrance to the area and grab any Healthstones you find if needed. Once done, climb the tall ledge and defeat the Raider that ambushes you, as well as the other two back on the ground.
Climb the ledge again and then take a left and perform a jump across the gap towards the red chest with one Forged Iron component and 141 Hacksilver. Jump the gap and then climb the wall. Follow the cave tunnel and climb the next ledge to trigger a cutscene.
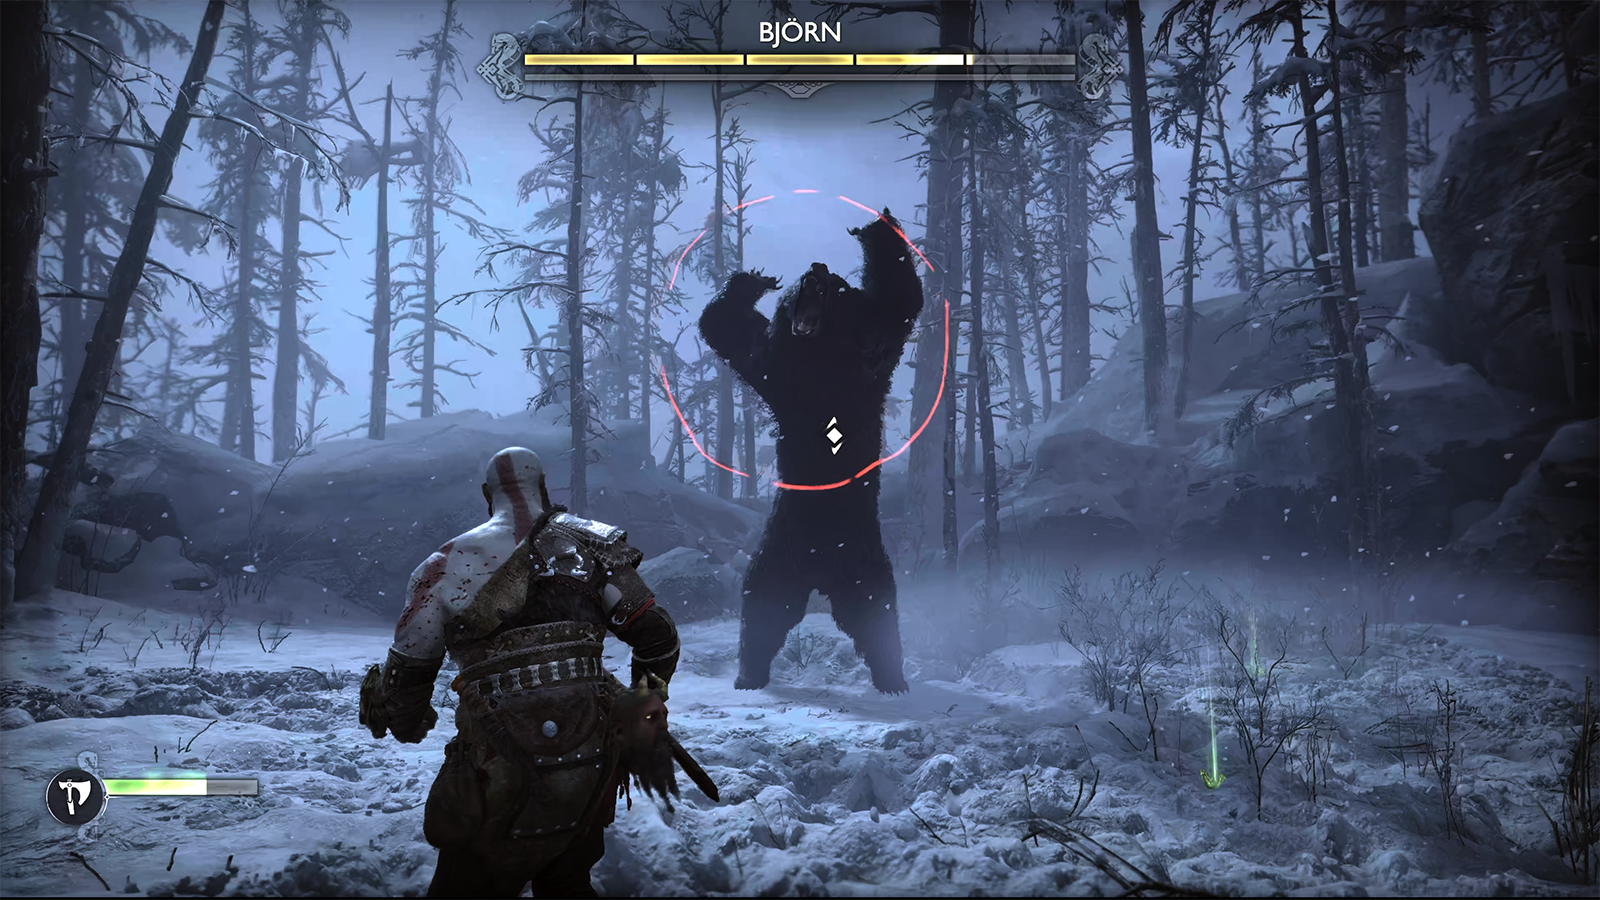
Defeat Bjorn
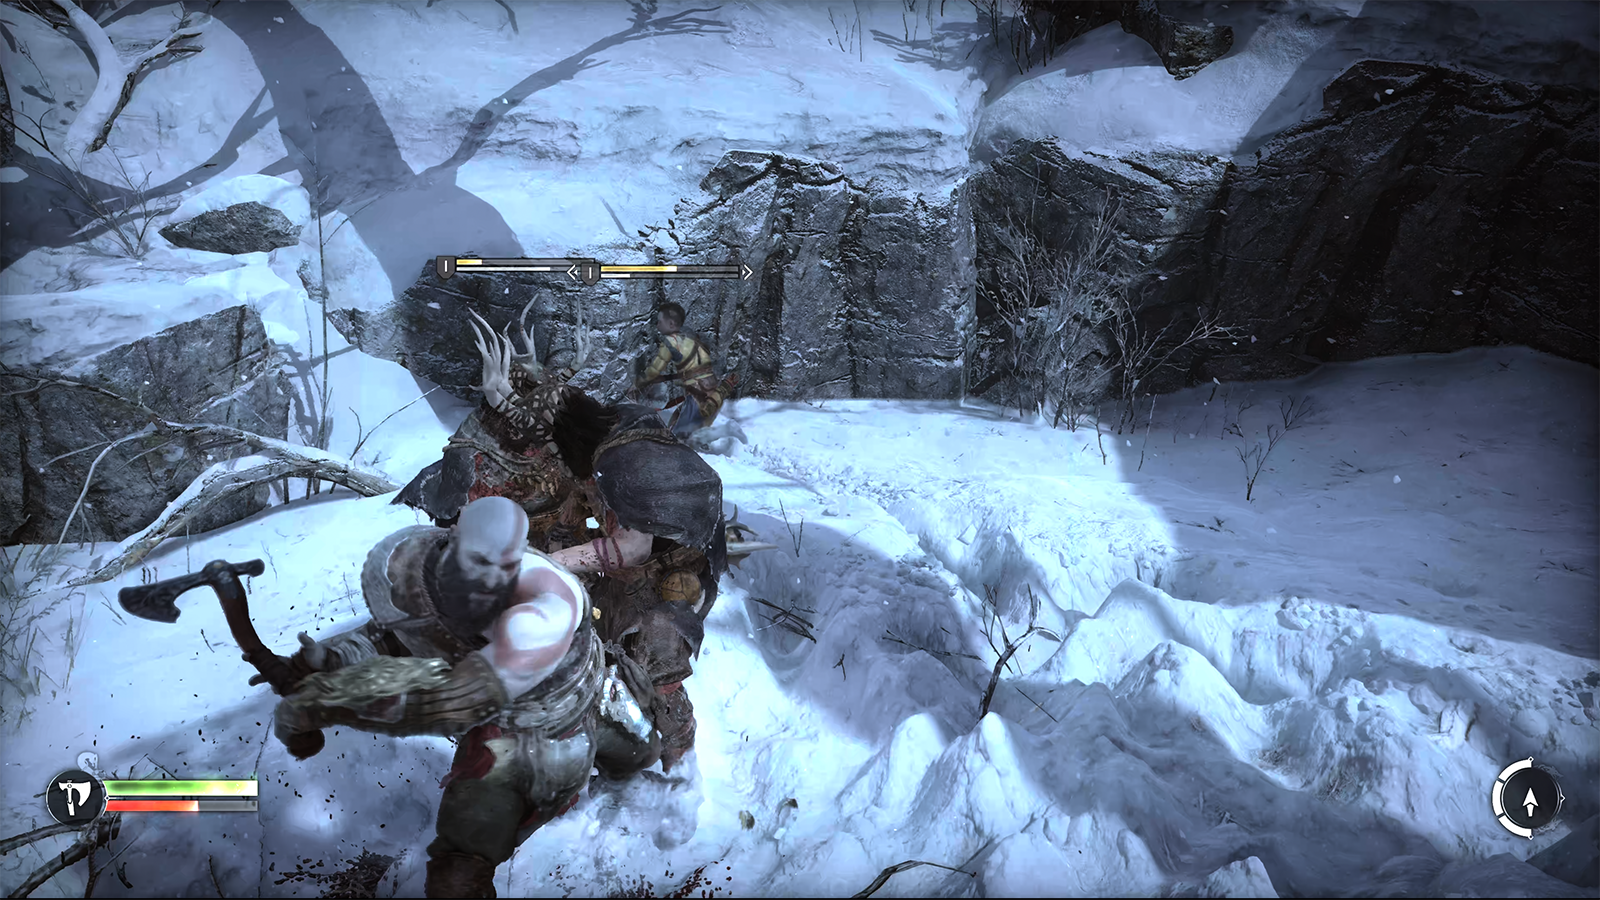
A giant bear known as Bjorn attacks Kratos. As the cutscene plays, you’ll need to mash the O button to wrestle the beast, starting your first official boss fight.
The fight against Bjorn is relatively easy. His attacks are telegraphed by blockable yellow rings and unblockable red rings, the latter of which you’ll need to dodge and avoid. Bjorn’s attacks include a yellow-ringed slam, a red-ringed slam that launched snow at Kratos and stuns you, and several yellow-ringed swipes.
Most of Bjorn’s attacks will leave him open to three or four attacks from behind, and blocking his yellow-ringed attacks will provide you with additional attack opportunities. Throughout the fight, Bjorn may grab Kratos and throw him across the boss arena, inflicting some damage, or will trigger a quick-time event in which you’ll need to mash a button – usually O – to escape.
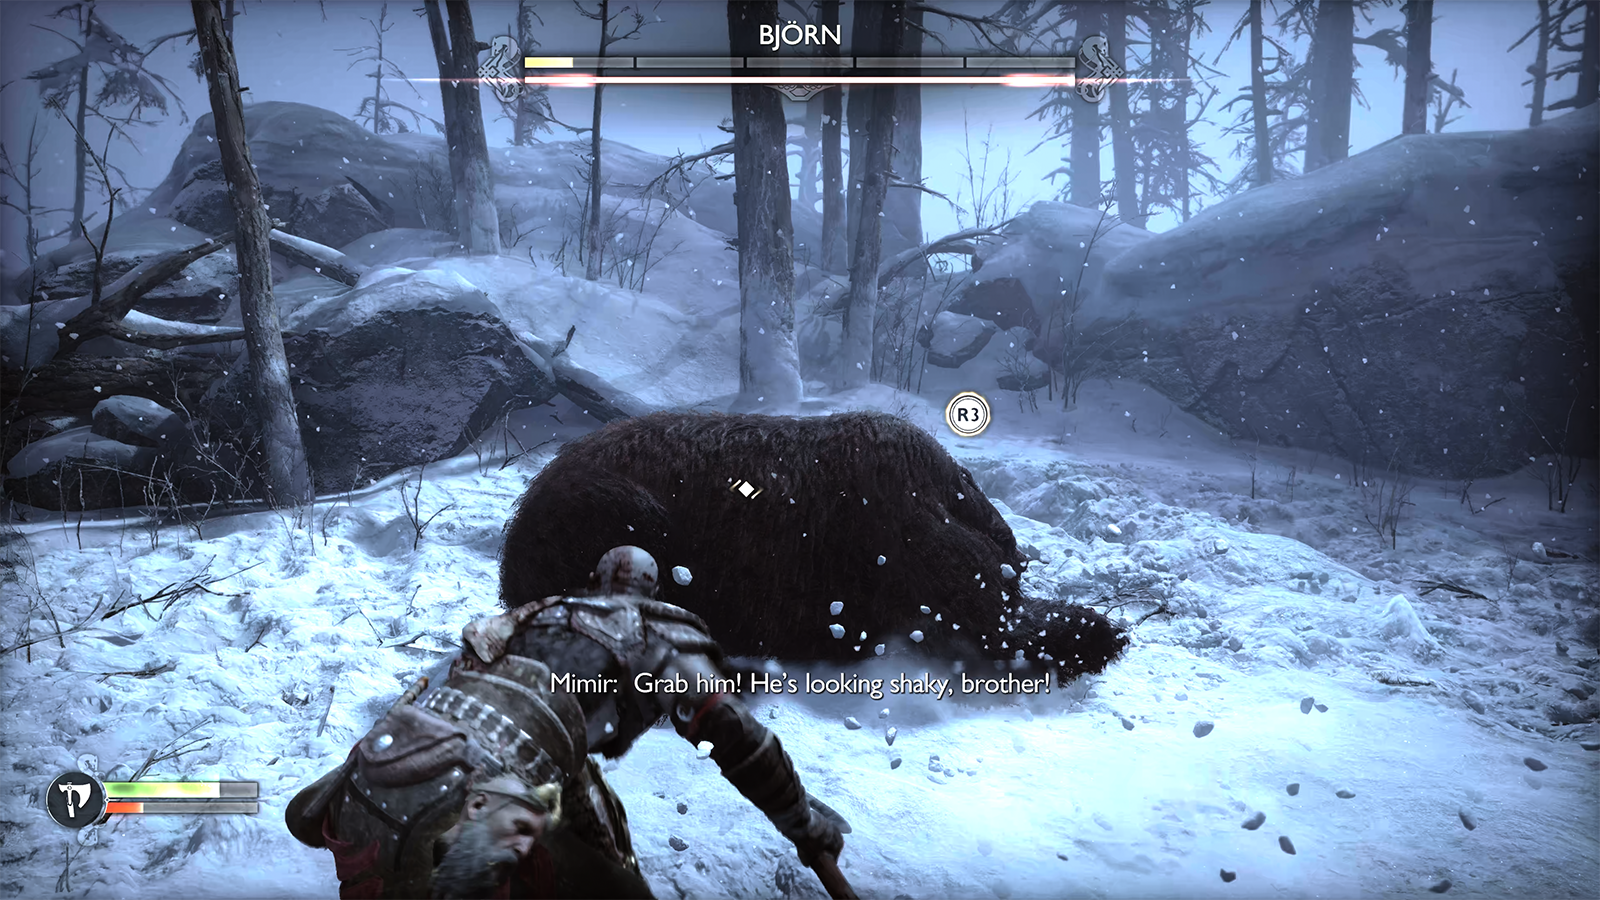
Once you’ve dealt enough damage, you’ll be prompted to trigger Spartan Rage by pressing L3 and R3. Enabling it allows Kratos to perform several quick melee attacks. This should inflict major damage to Bjorn, leaving you to continue attacking as before until you’re prompted to hit the R3 button and finally defeat the bear.
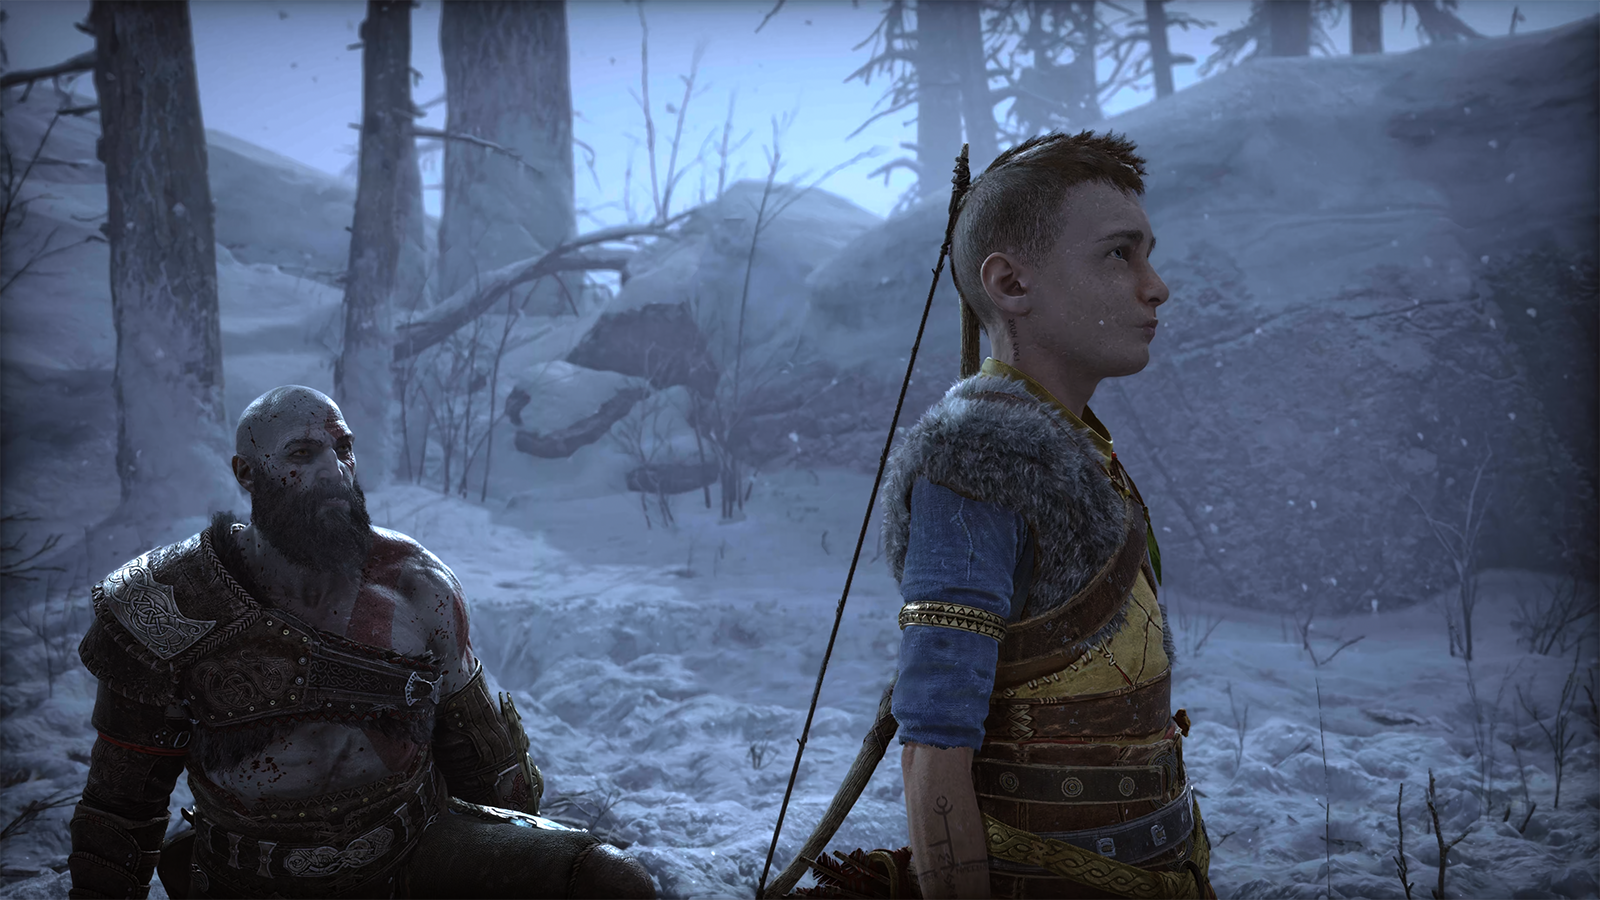
A cutscene will then play where Kratos is reunited with Atreus, and the pair agree to return home.
Return Home
The next objective requires you to return home. To start, head to the giant log ahead of Kratos and perform several Heavy Attacks to chop it down. Head through and follow Atreus, picking up any Healthstones along the way. You’ll eventually come to a Raider and will learn how to use Atreus in combat.
Defeat the Raider and then the two others within the nearby cave, and then follow the cave along to a ledge you can rappel down. Continue following the cave along, loot the red chest along the way for one Forged Iron crafting component and 105 Hacksilver, and then continue forward until you trigger a cutscene.
Continue following Atreus, lifting the nearby log when required, and then enter an open area where you’re ambushed by several Raiders and a Raider Scout. Defeat them, and then continue following Atreus, making sure to grab the 17 Hacksilver beside a hoppable log. You’ll eventually enter a cave and must pass through a crack in the wall to reach the Upper Wildwoods and the pair’s home.
Head back up the hill towards the house and then to bed to complete this objective.
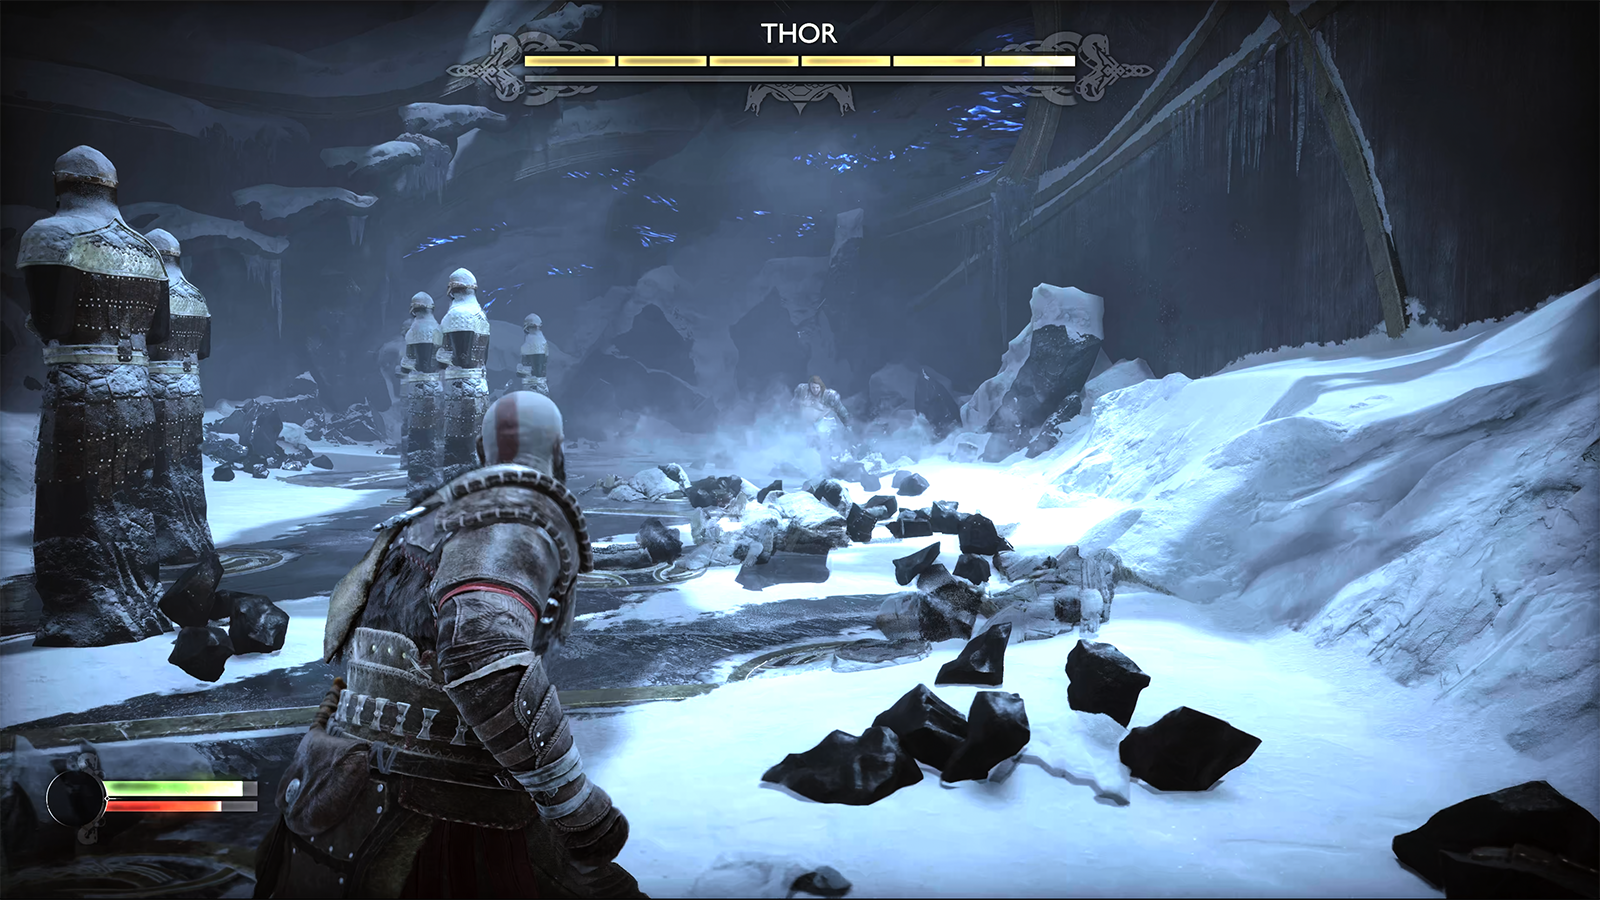
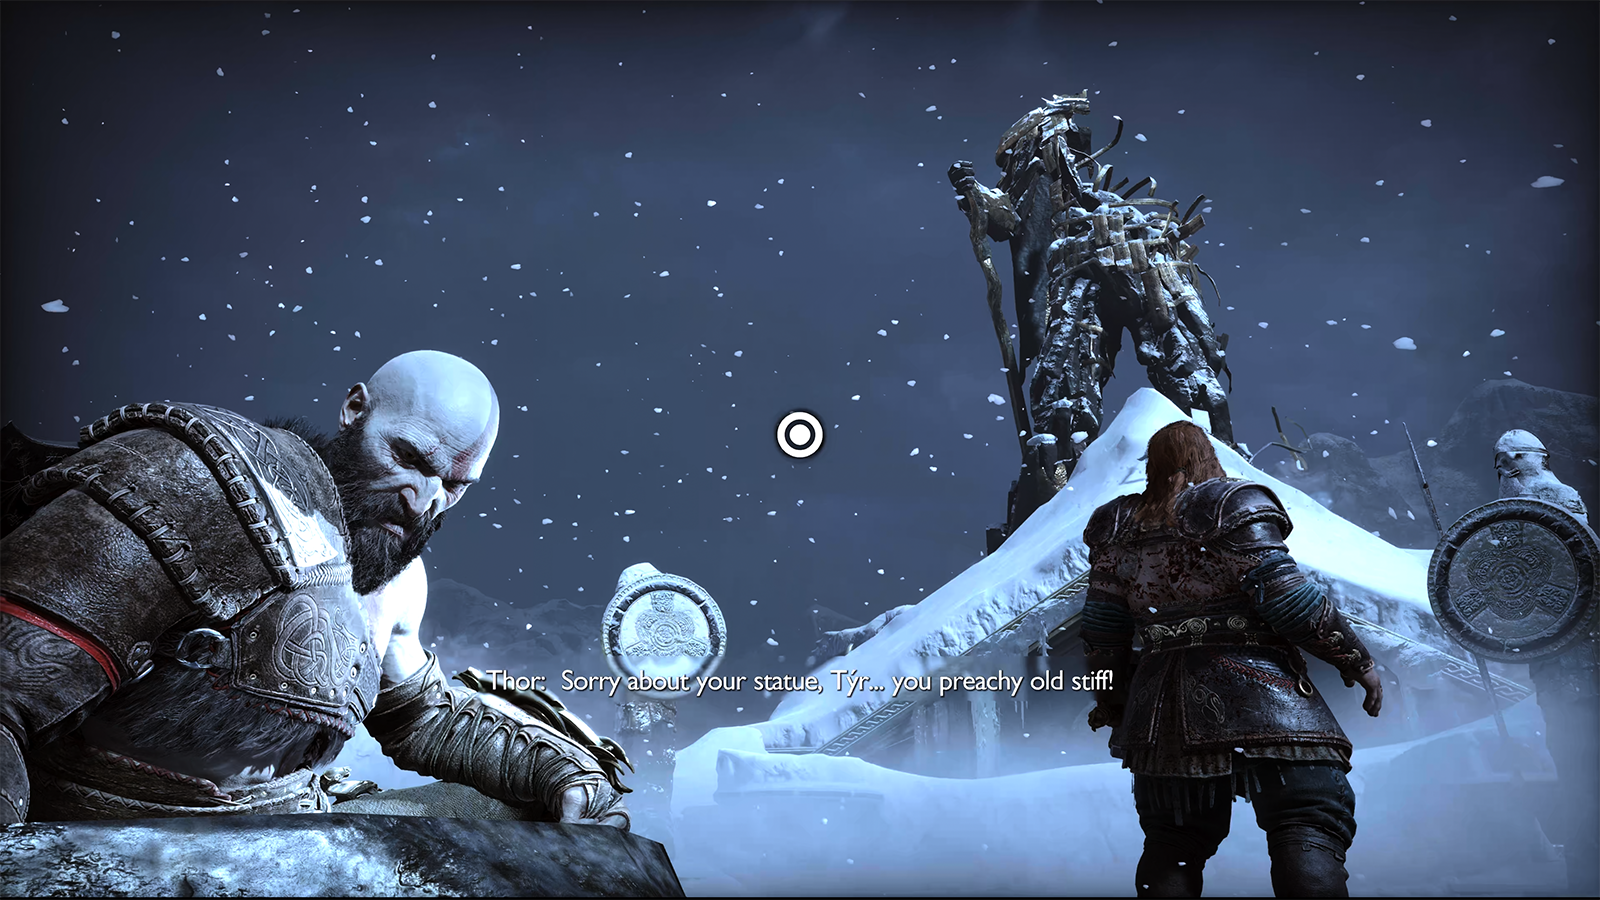
Defeat Thor
After a lengthy cutscene, you’ll be tasked with fighting your second boss; Thor. This is a long-winded fight and you’re going to want to make a note of any Healthstones available and use them when needed as Thor hits hard.
Thor’s attacks include a thunder clap that can send Kratos flying, a red-ringed grab and slam, and several punches. Dodge his thunder clap and his red-ringed grabs, and attack whenever there are any openings. You’ll only have your shield for the time being, but after inflicting enough damage, you’ll be prompted to hit the R3 button for a brief cutscene with a triangle quick-time event. At the end of the cutscene, you’ll acquire your Leviathan Axe.
The fight continues, but Thor’s picked up a new red-ringer slam attack. Dodge it and continue attacking Thor whenever there are openings. You should eventually build enough rage to trigger Spartan Rage, do it to inflict major damage on Thor. Eventually, you’ll see the R3 prompt, hit it for another cutscene, taking you to a new location.
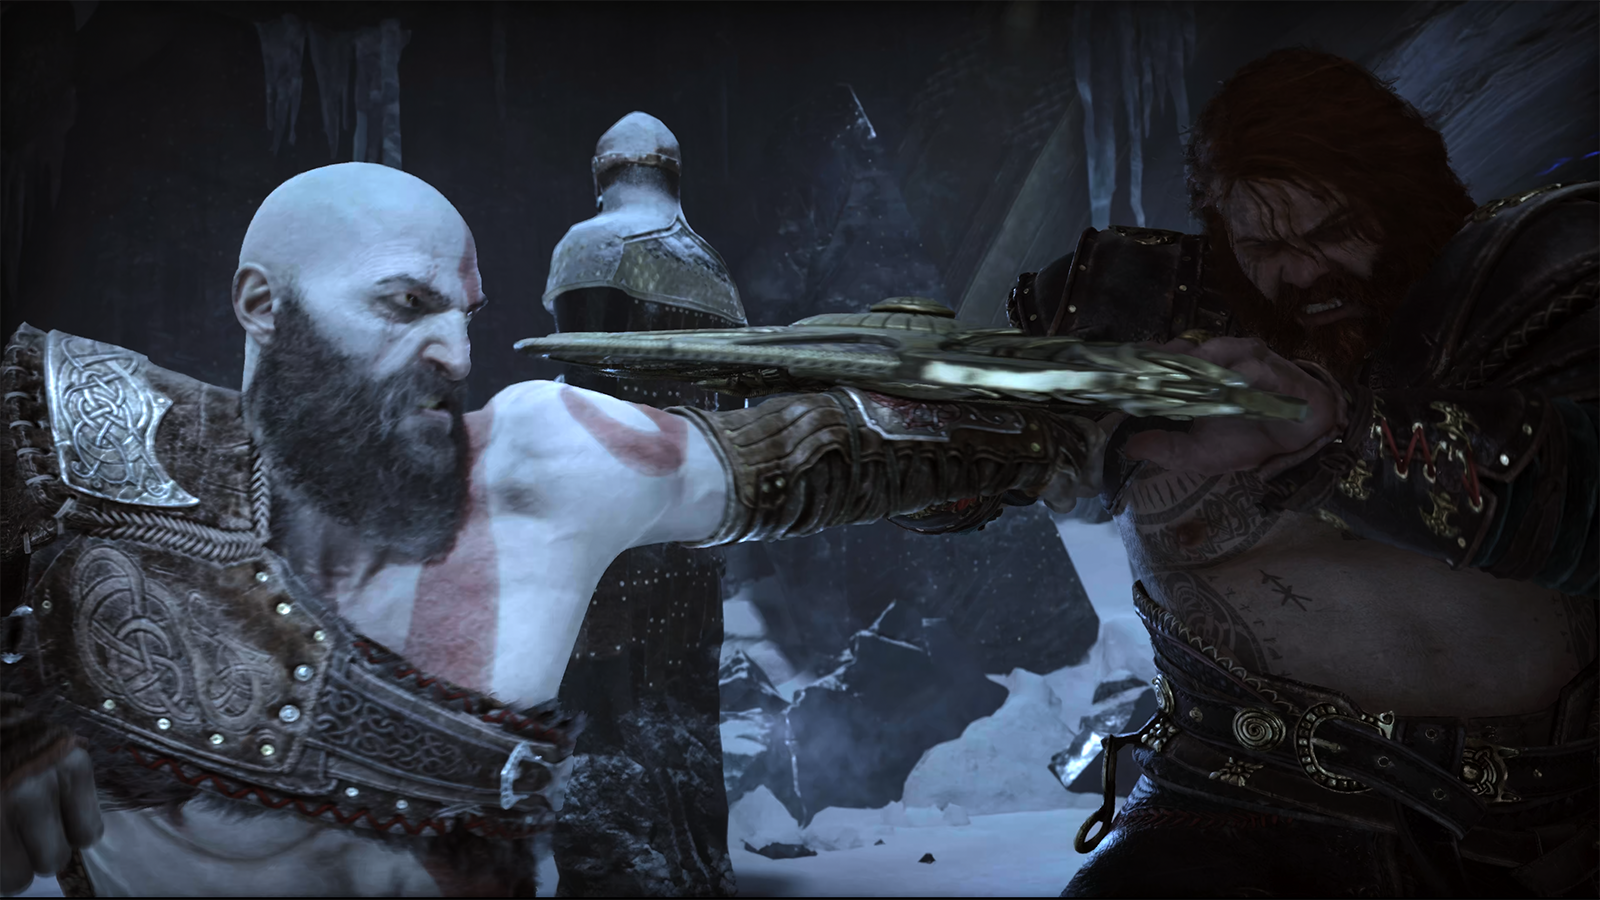
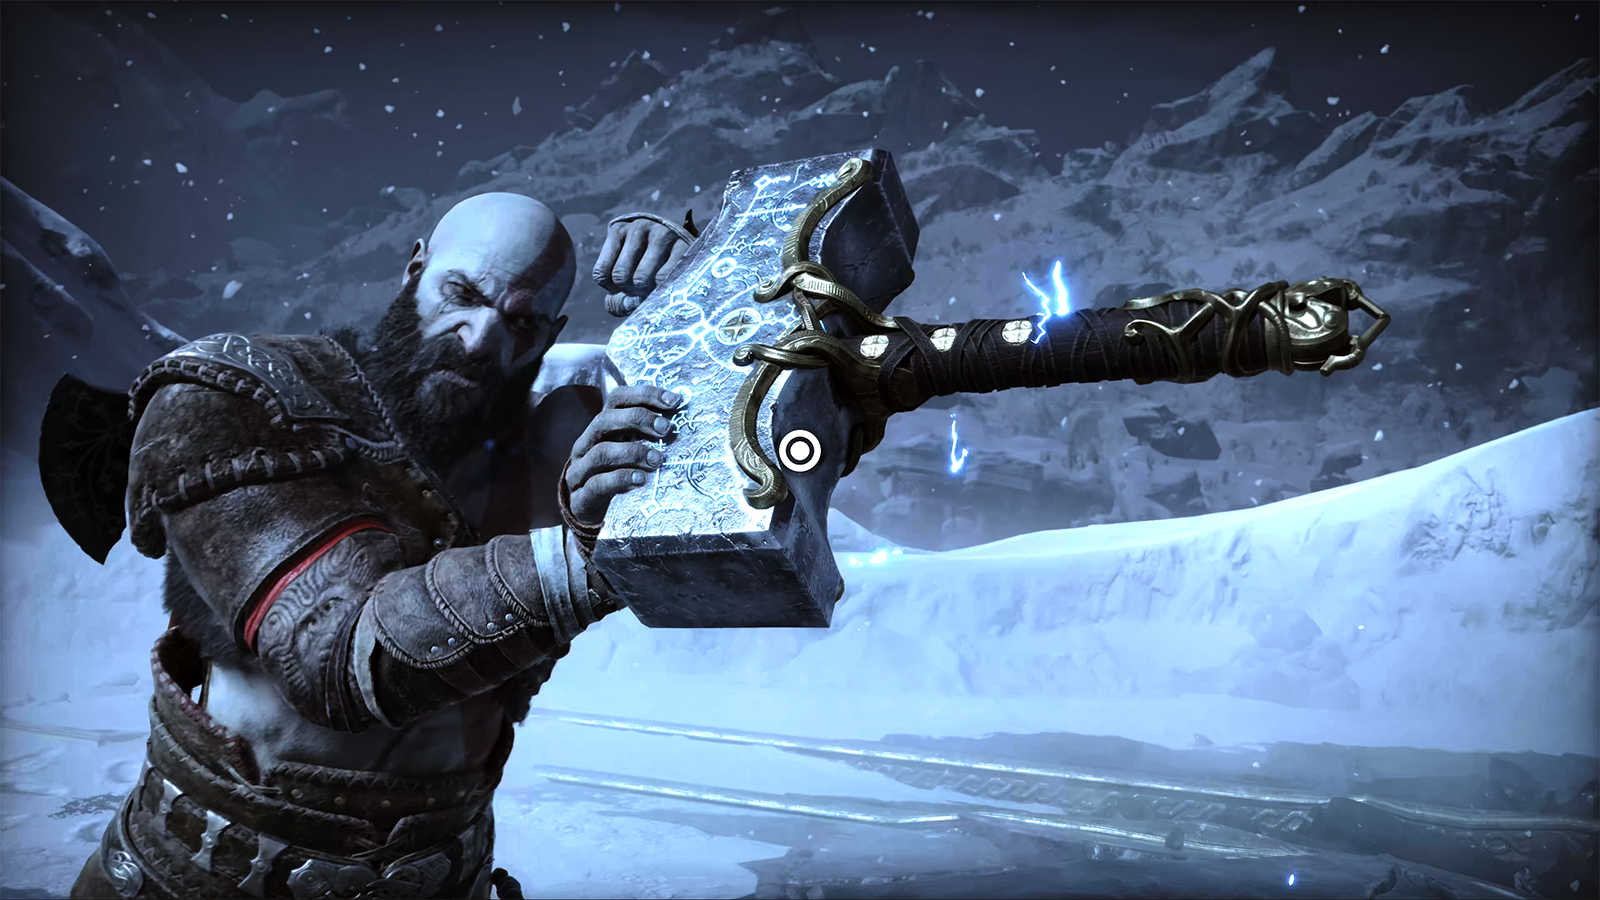
During the cutscene, you’ll be prompted to hit the O button to smack Thor with a stone beam. Round two against Thor then begins. He’ll use his previous moveset but has learned some new attacks; he can shoot lightning across the ground with Mjolnir – a move that can be dodged by rolling to the side – and he will now perform melee attacks with the famed hammer when in hand.
Throughout the fight, you can use any of the available beams to attack Thor, but many of them will likely be destroyed by the god. After inflicting enough damage, a cutscene will play and you’ll twice need to mash the O button to prevent Mjolnir from striking Kratos. With the second quick-time event you’ll be duped, and the fight will continue.
After dealing enough damage, you’ll get the R3 prompt and can hit it to start the third and final phase of the fight.
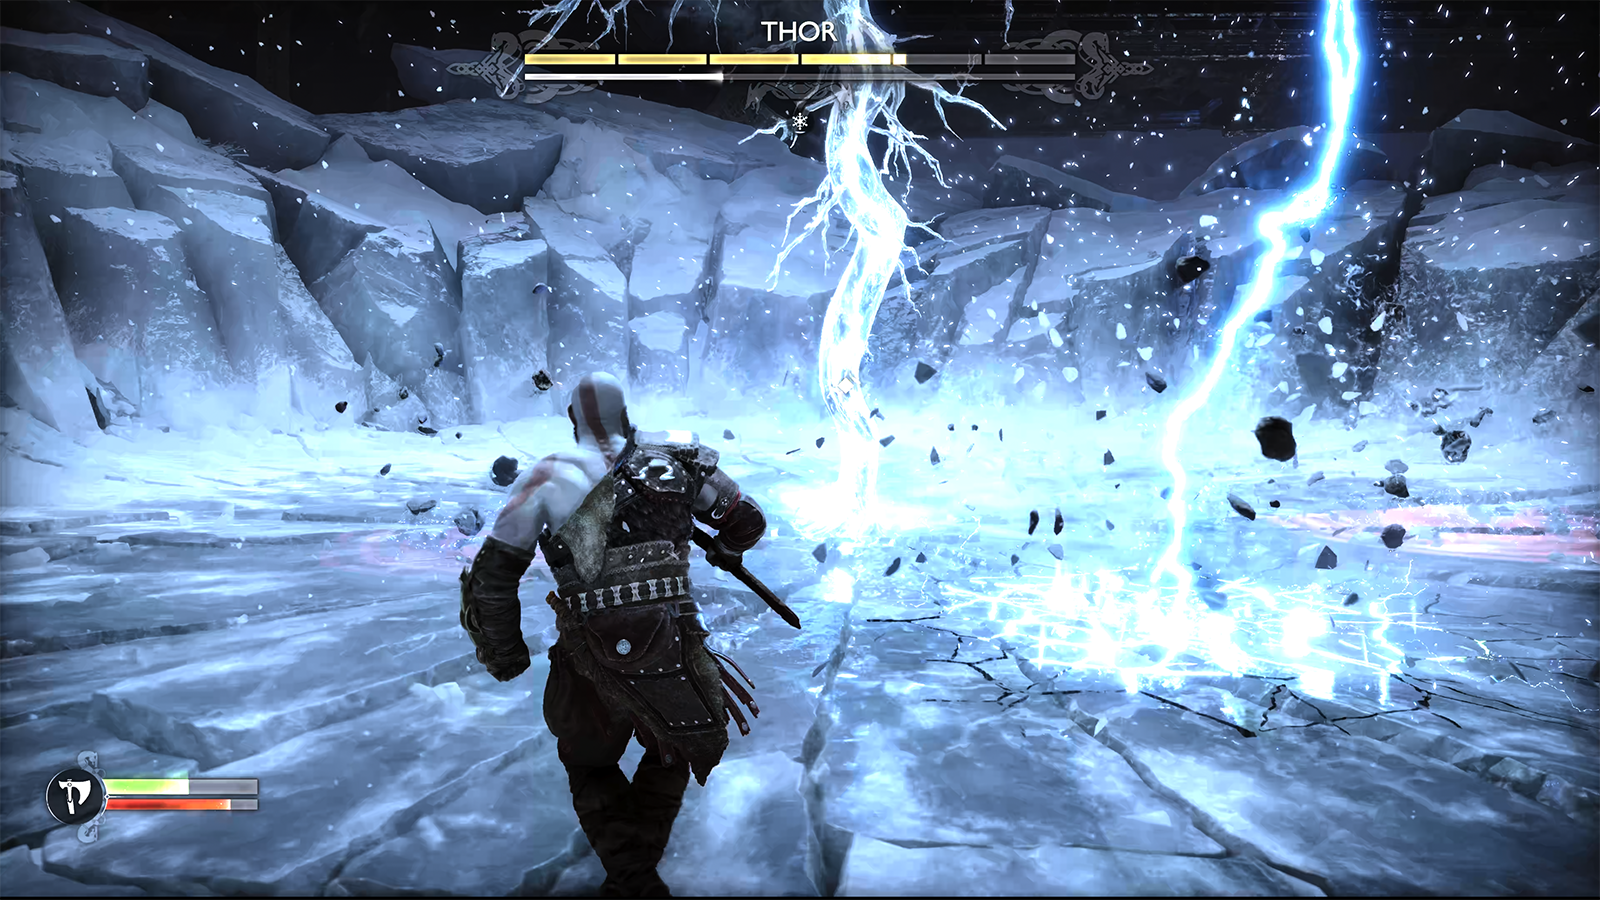
Thor will use all previous moves but can now also pound the ground to unleash red explosions around the arena, telegraphed by the large red rings on the ground. If you’re caught in these explosions, you’ll suffer major damage and will need to mash O to escape. You’ll want to dodge them or quickly through the Leviathan Axe to interrupt the attack.
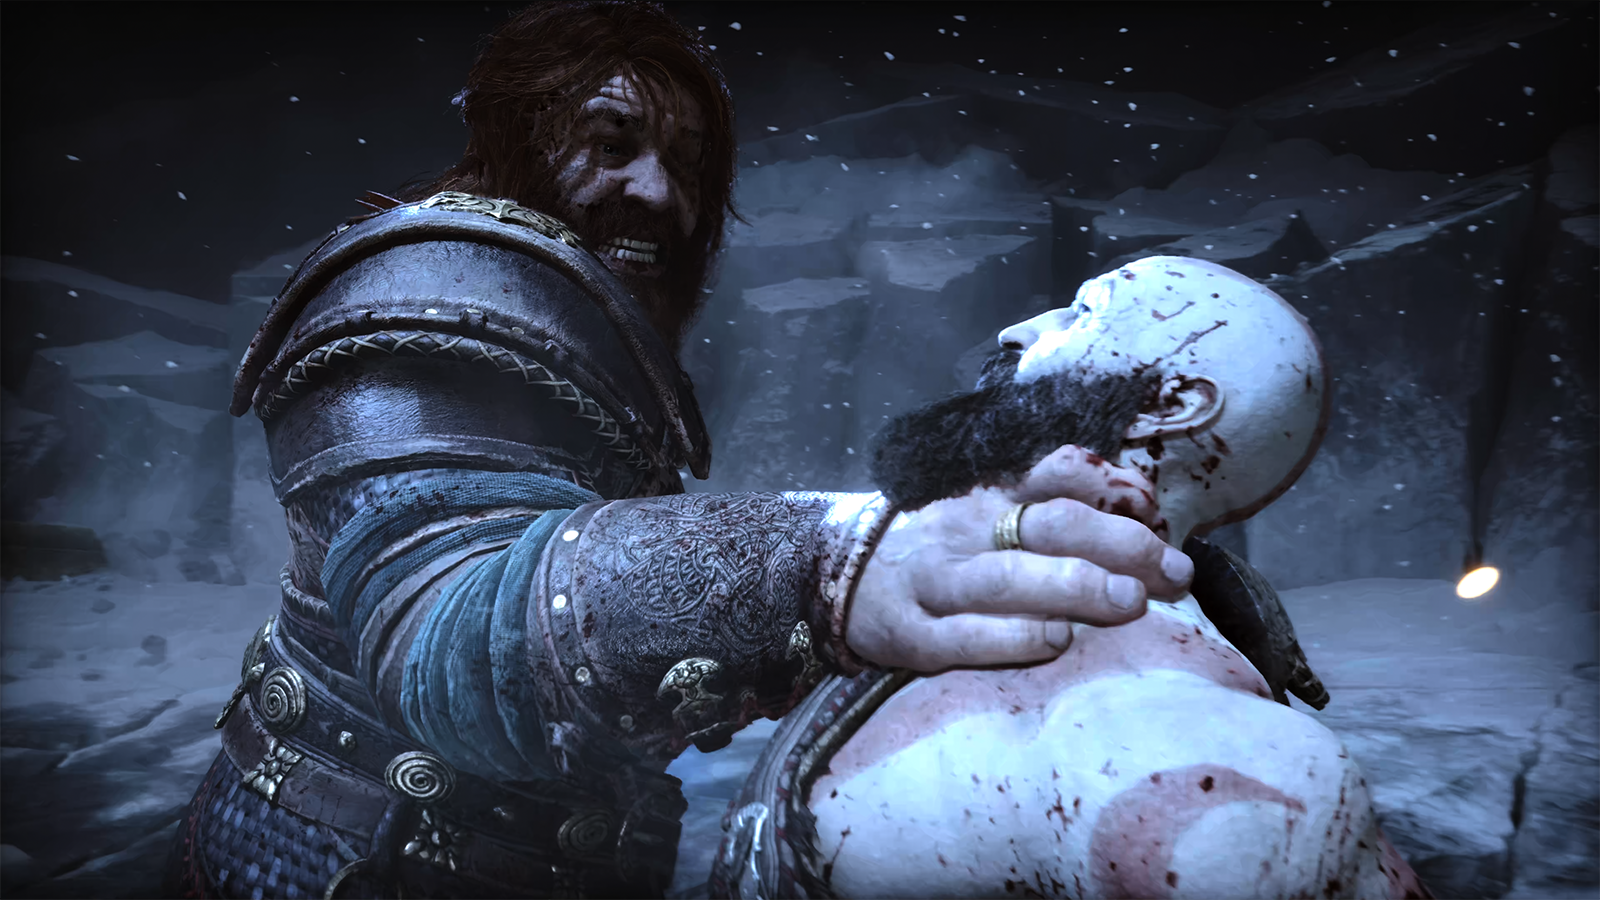
Continue attacking, dodging, and blocking Thor’s attacks, and when you’ve taken his overall health down by about half, a cutscene will play. There’s one quick-time event that requires you to hit the R1 button, and then you’ll need to finish the second half of the fight. Towards the end of the fight, you should have built up enough rage to trigger Spartan Rage. Use it to inflict some damage and then continue fighting Thor until a cutscene is triggered, ending the fight.
Return Home
As the fight ends, you’ll be greeted by Brok and Sindri and come to the realisation that Atreus was left alone with Odin. Follow the dwarves until they create a portal to transport Kratos back home. Rush to the house for a cutscene.
After equipping armour, you’ll leave the building and are given a new objective; follow Atreus.
Follow Atreus
As you follow Atreus, you’ll eventually enter the Lower Wildwoods region. Continue forward and use the Blades Of Chaos to climb the tall ledge ahead. Take an immediate left for a chest with 66 Hacksilver, and then continue forward toward the nearby corpse with 25 Hacksilver.
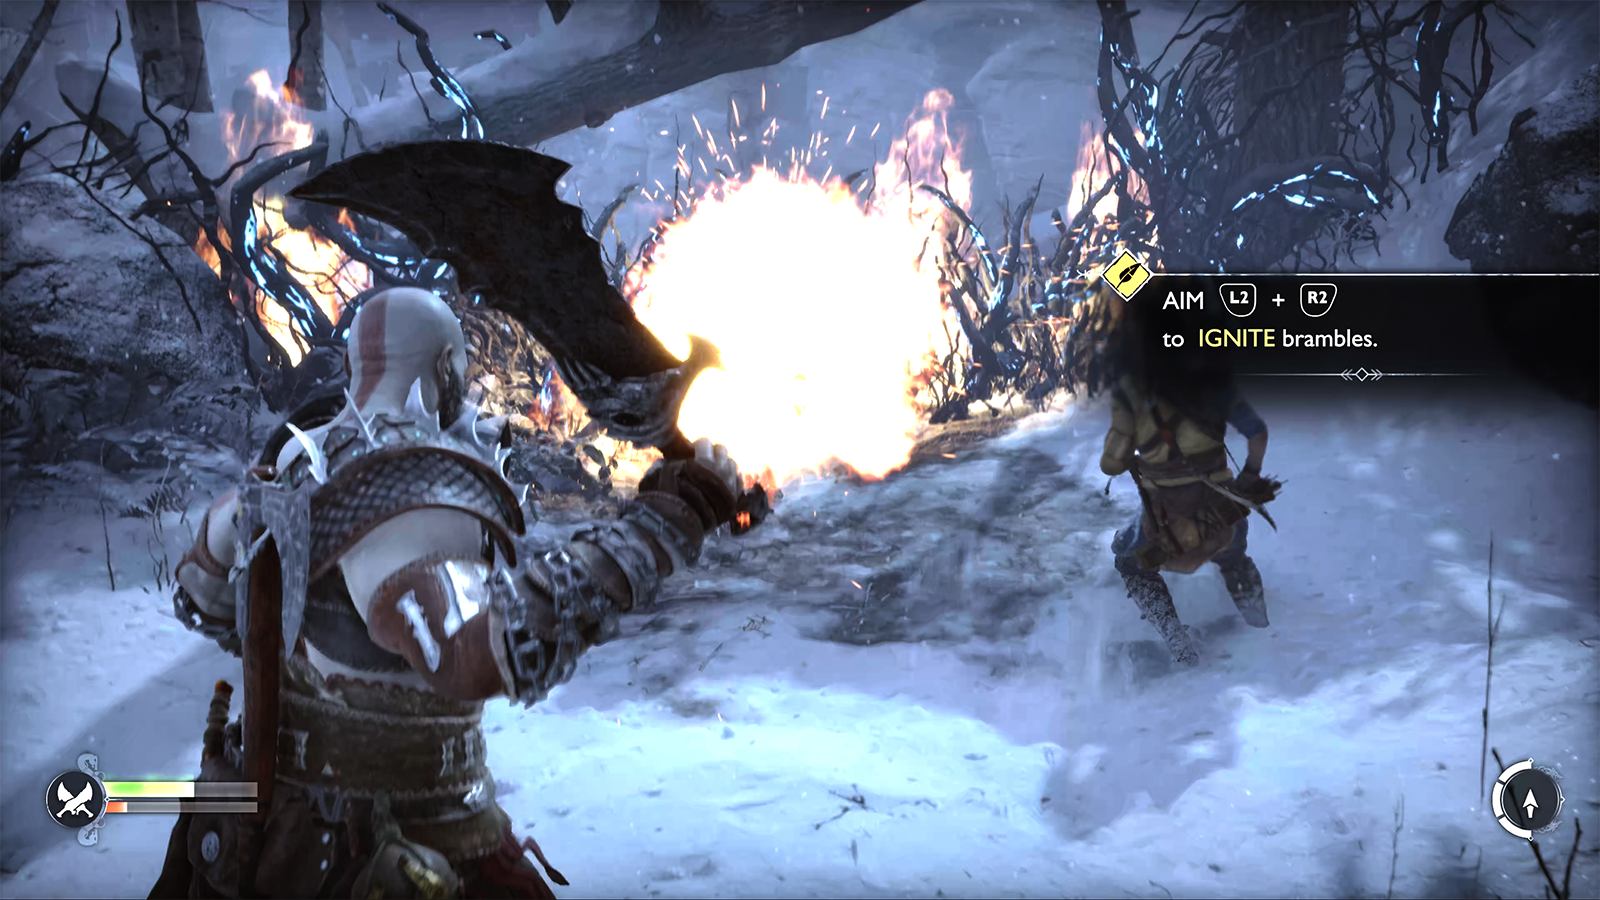
Follow the area around until you reach some bramble and, with the Blades Of Chaos equipped, aim and throw the blades with a Heavy Attack (L2 to aim and R2 for a Heavy Attack) to ignite the bramble and free your path.
Push forward until you reach a broken-down bridge. Backtrack and follow the path along until you reach a wooden fence, which you can use the Blades Of Chaos to destroy. Climb the ledge to be greeted by a new enemy type; Hel-Raiders. These enemies are initially resistant to the Leviathan Axe, and you’ll need to use the Blades Of Chaos to deplete their frosted health before dealing ordinary damage.
Push forward to jump off a ledge. Atreus will take a right, but if you take a left you can drop down into a small area to pick up 30 Hacksilver. Head back and follow Atreus into a new area with three possible directions; left, right, and a dead-end straight ahead.
First, take a left and follow the path along to reach a chest with 84 Hacksilver. It’s covered in bramble, so ignite it and loot the chest. Head back and take the right direction. You’ll be ambushed by two Hel-Raiders, but once defeated you can climb the ledge to your right and emerge onto a cliff. Grapple down and then climb through the small opening into a cave with several Hel-Raiders.
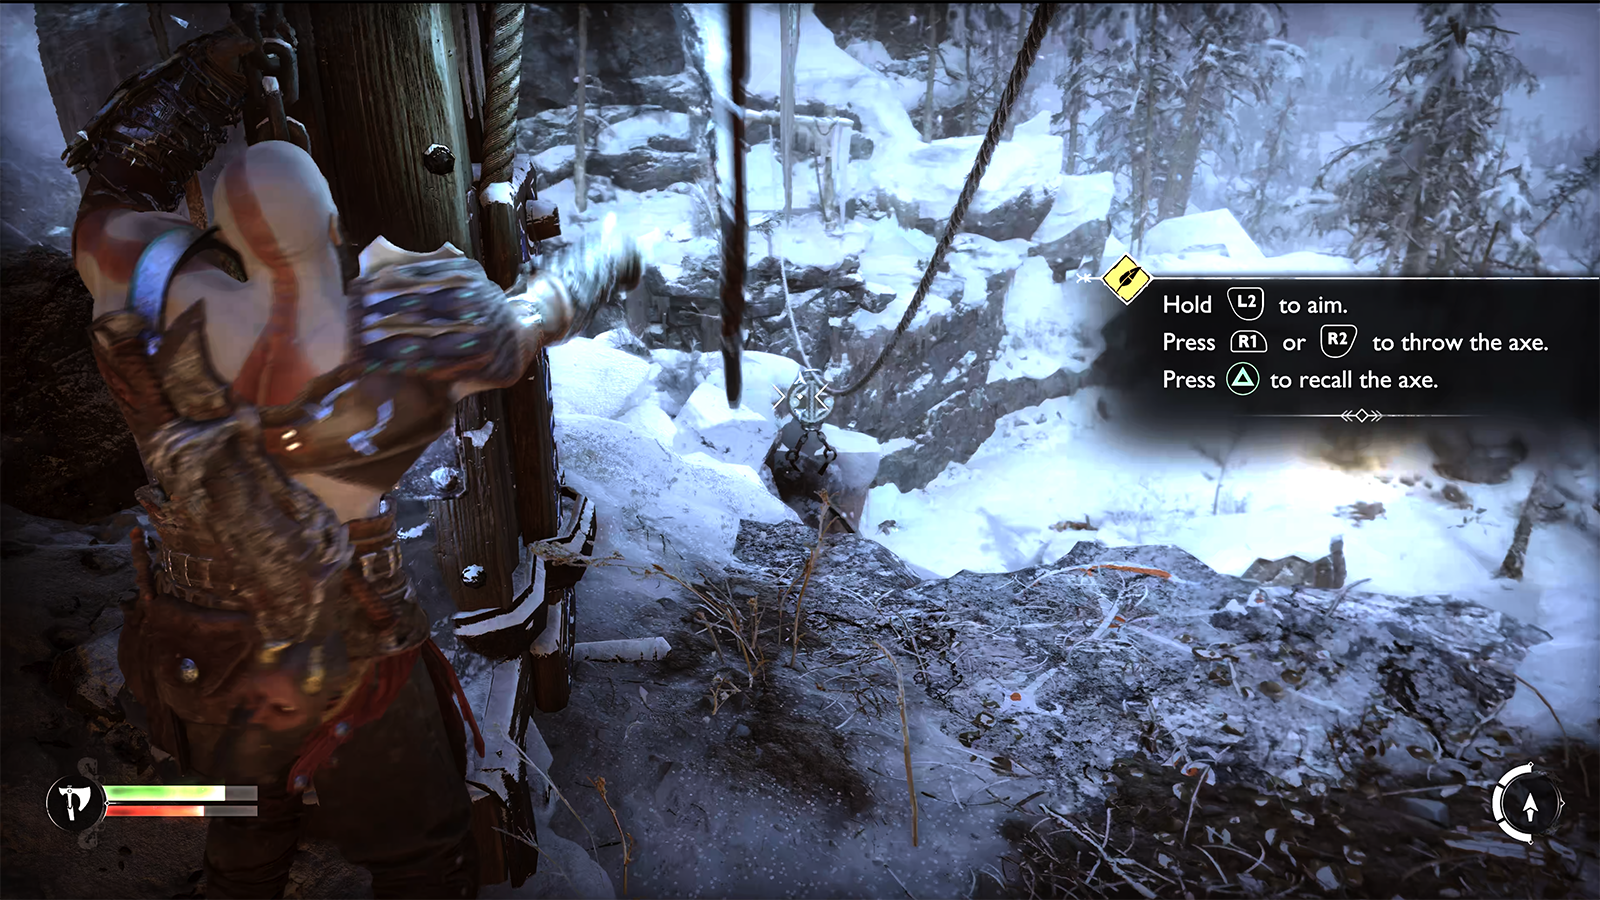
Defeat the enemies and pass through the crack in the wall. Ahead of you will be a pillar you can move with the Blades Of Chaos. Move it to the right and jump across the gap, and then climb the ledge to your right. From there, you’ll want to move the pillar back to its initial position so you can jump the large gap. Once crossed, you’ll find some chains. Pull it, and you’ll find that it doesn’t move, but a target has been unveiled on the grappling rope. Throw the Leviathan Axe to smash it, and then pull on the chains.
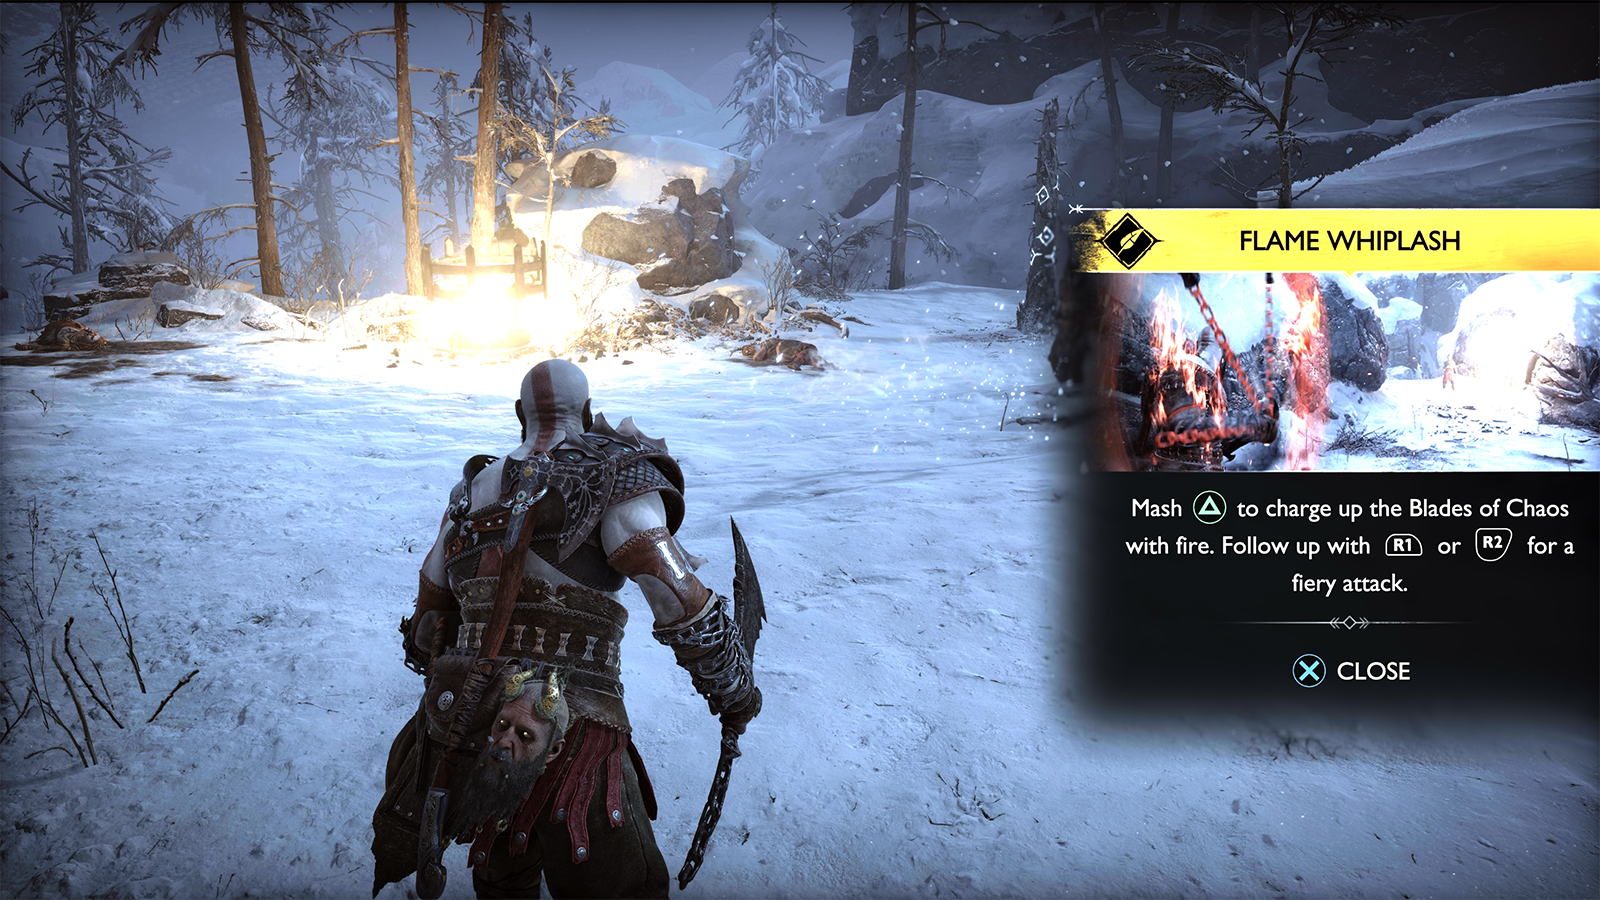
Slide down the rope to a new ledge and then drop down into an open area where you’re ambushed by several Hel-Raiders and will learn the Flame Whiplash mechanic (Mash triangle and then follow up with Light or Heavy Attacks). Take out the enemies, and ignite the nearby bramble to pass through a crack in the wall.
You’ll be ambushed by two more Hel-Raiders. Defeat them and analyse the nearby Rune. Beside it is an area you can drop down with a chest and some Hacksilver. Grapple down and take out the sole Hel-Raider there. Grab the 27 Hacksilver and the 80 Hacksilver from the chest, and then climb back up.
From there, continue forward and climb the nearby wall. When you reach the top, you’ll need to fight some Hel-Raiders. After defeating them, climb the wall to trigger the chapter’s final boss.
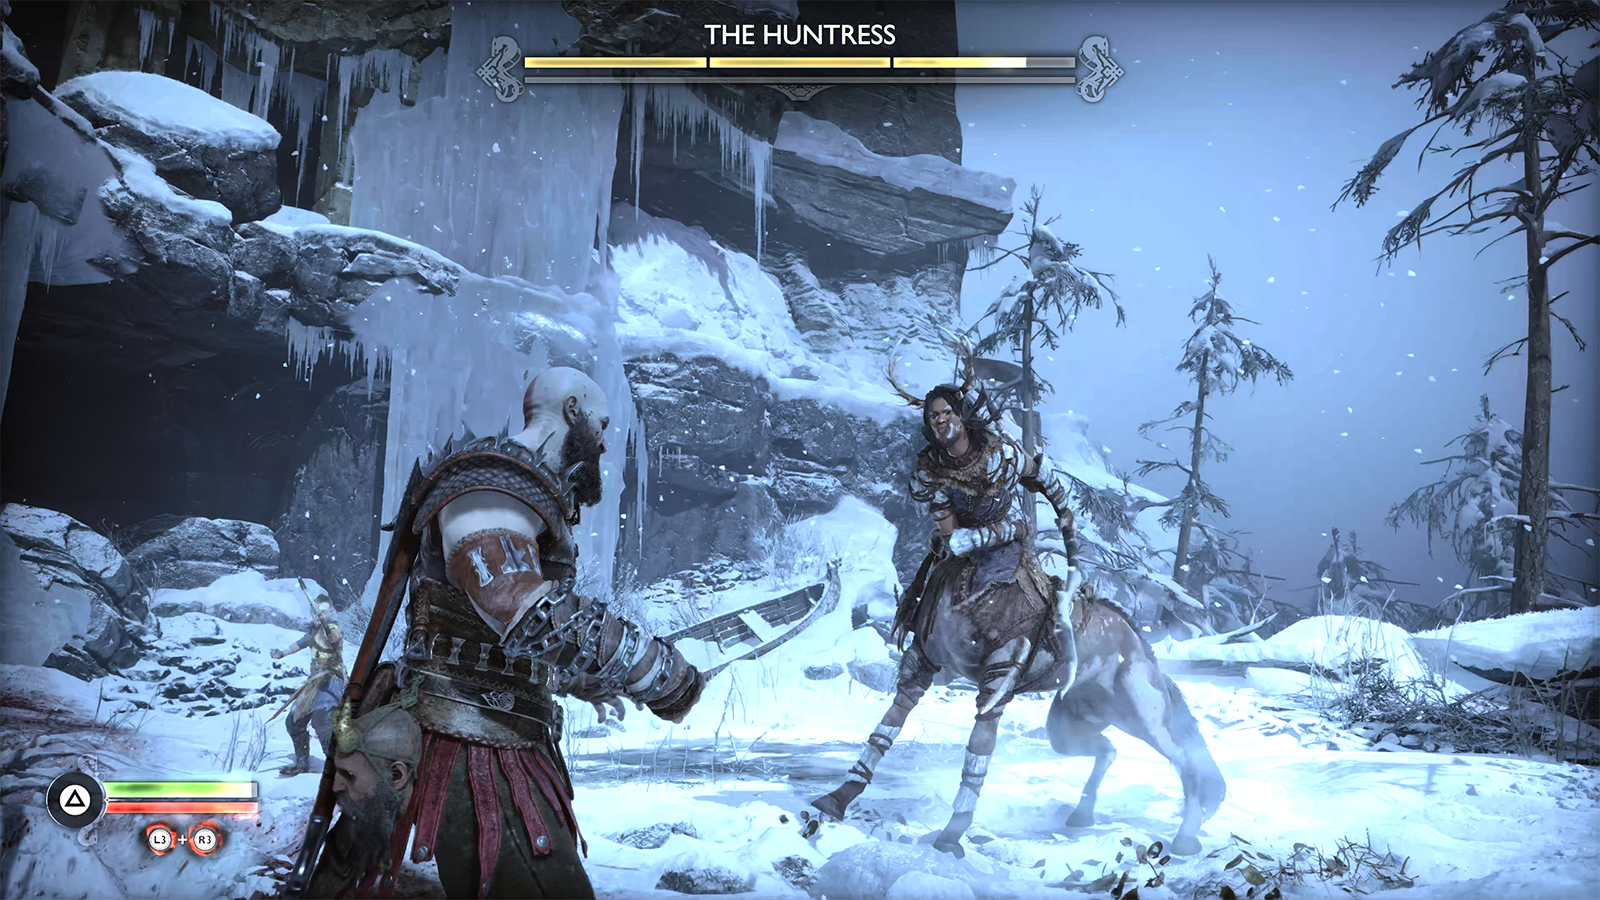
Defeat The Huntress
The Huntress is a new enemy type in God Of War Ragnarok; a Stalker. Stalkers will primarily focus on ranged attacks, firing arrows in quick succession, a group of arrows that explode when they hit the ground, and a series of mine-like arrows that explode after some time.
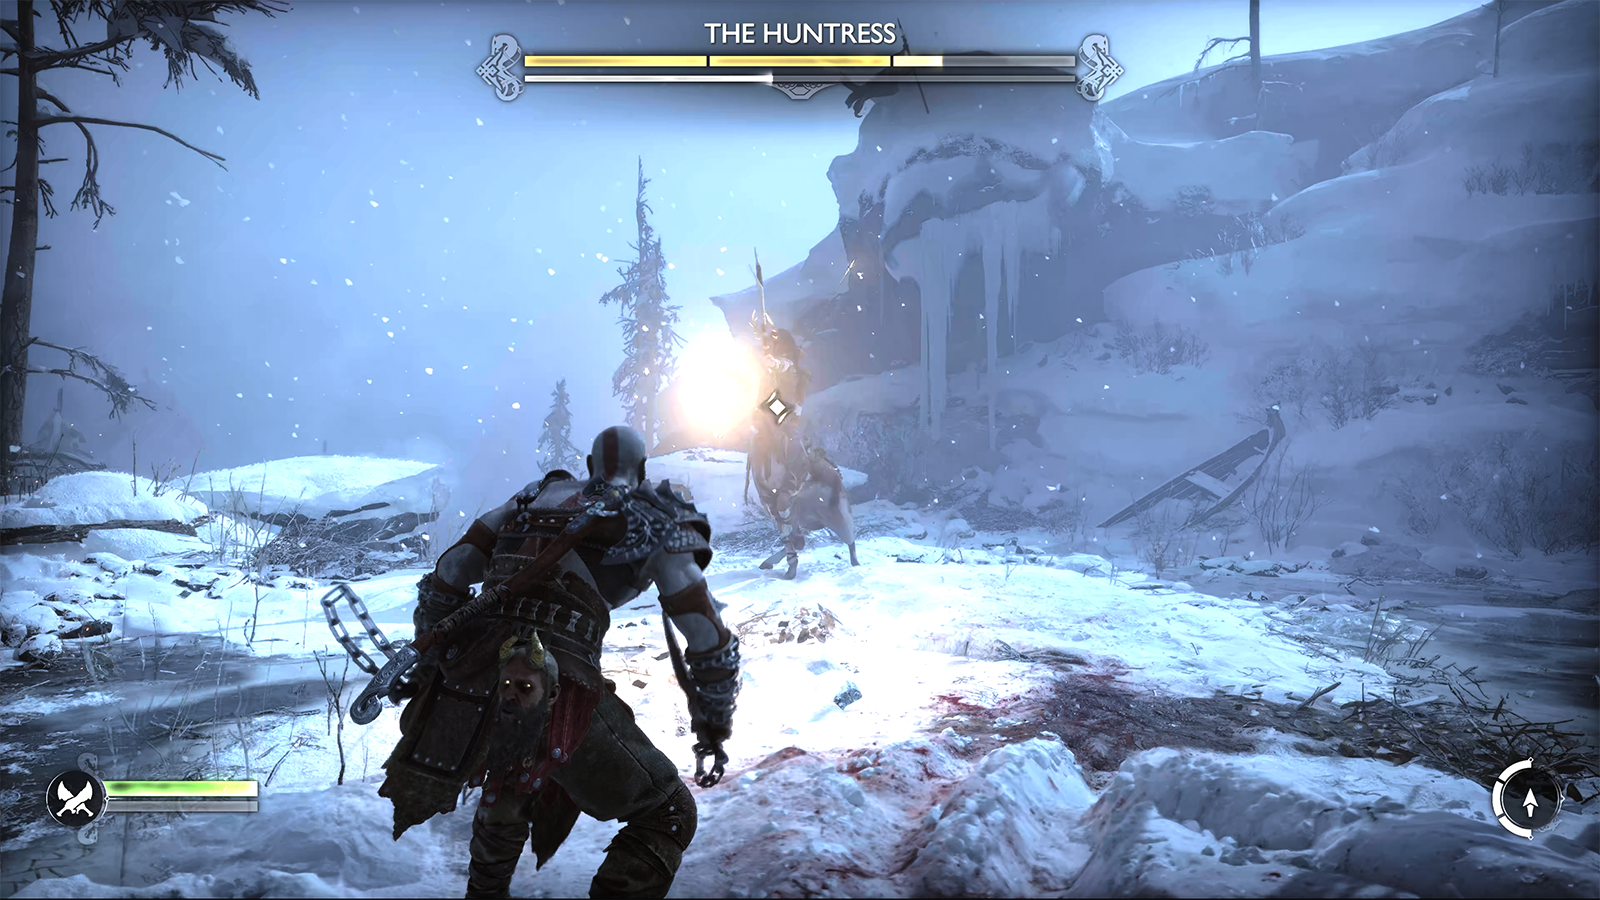
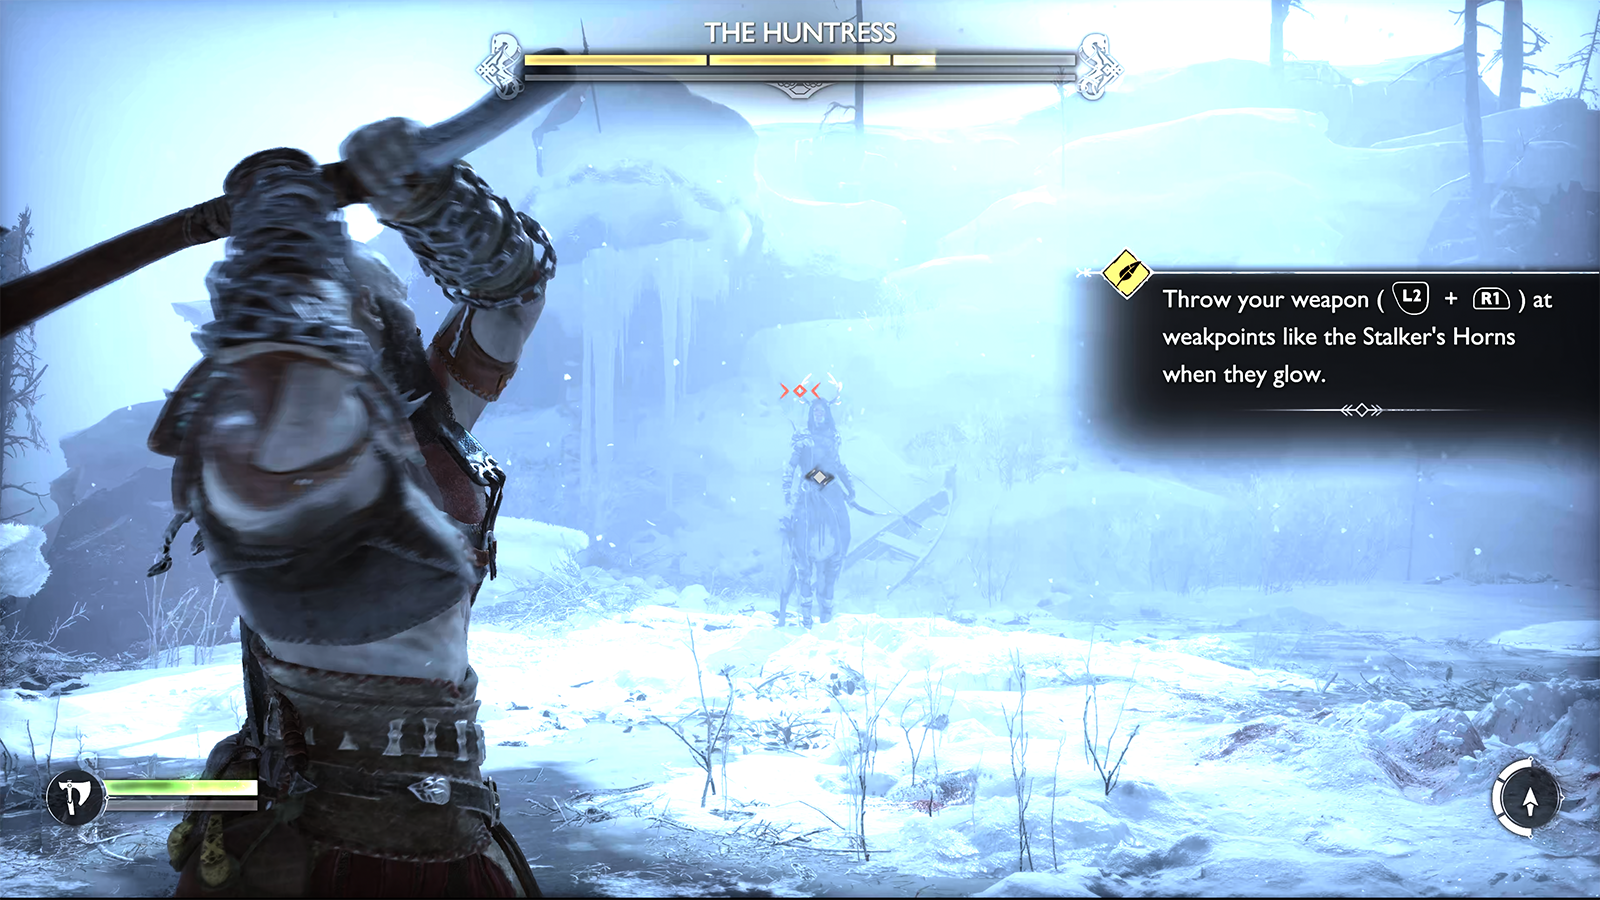
Whenever you get close to the Stalker she’ll run away, so, as noted by Atreus, you’ll need to throw the Leviathan Axe when the Stalker’s horns glow. Doing so will stun her, allowing you to inflict some damage.
You’ll need to dodge the Stalker’s ranged attacks and wait until her horns glow to attack her. The fight can be very long, but take your time to dodge her attacks, heal, and stun her. Eventually, you’ll get the R3 prompt to defeat the boss.
Claim your rewards for defeating her, and then climb the nearby wall. After that drop down, collect the Lore Scroll, and then follow the ledge along into the temple. Follow the path along to the right and pass through the crack in the wall to find a red chest with one Forged Iron crafting component and 122 Hacksilver.
Return back to the main temple and head towards Atreus at the foot of the stairs. If you attempt to move the pillar, you’ll be blocked by the nearby tree log. Smash the log and then move the pillar. Before climbing the stairs, take a quick left and climb the nearby ledge to a yellow chest with 90 Hacksilver.
Follow Atreus to trigger a cutscene. After that, you’ll need to Return Home. Follow Atreus, climb the nearby ledge, and collect the 28 Hacksilver on the ground. Follow the pathway along until you reach a ledge that you can grapple down.
You’ll be ambushed by several Hel-Raiders. Defeat them, including the Raider Chief, and collect the nearby Hacksilver and Healthstones. You’ll then need to lift up the nearby log, and after passing it, follow Atreus. Loot the red chest containing one Forged Iron and 110 Hacksilver, and then climb the nearby ledge to return home.
You’ll bump into Sindri who will lead you to the broken portal you would have noticed at the beginning of the game. Pass through the portal to complete the Surviving Fimbulwinter chapter.
While we put together the rest of our walkthrough guide on God Of War Ragnarok, why not head back to our chapter guide?