How to get to the third shrine on The Great Sky Island in The Legend Of Zelda: Tears Of The Kingdom
The Legend Of Zelda: Tears Of The Kingdom‘s tutorial takes place on the Great Sky Island, and you need to complete several shrines to learn abilities before leaving it and descending onto Hyrule. While the first two shrines are simple enough to reach, the third shrine, the Gutanbac Shrine, is a little more complicated.
To get to the third shrine on the Great Sky Island in The Legend Of Zelda: Tears Of The Kingdom, you’ll need to make your way to the mountain the shrine is located on and use your new Manifest ability to create a climbable surface of logs for Link using the nearby trees. Our guide on how to get to the third shrine will detail just how to do that.
Leaving The Second Shrine
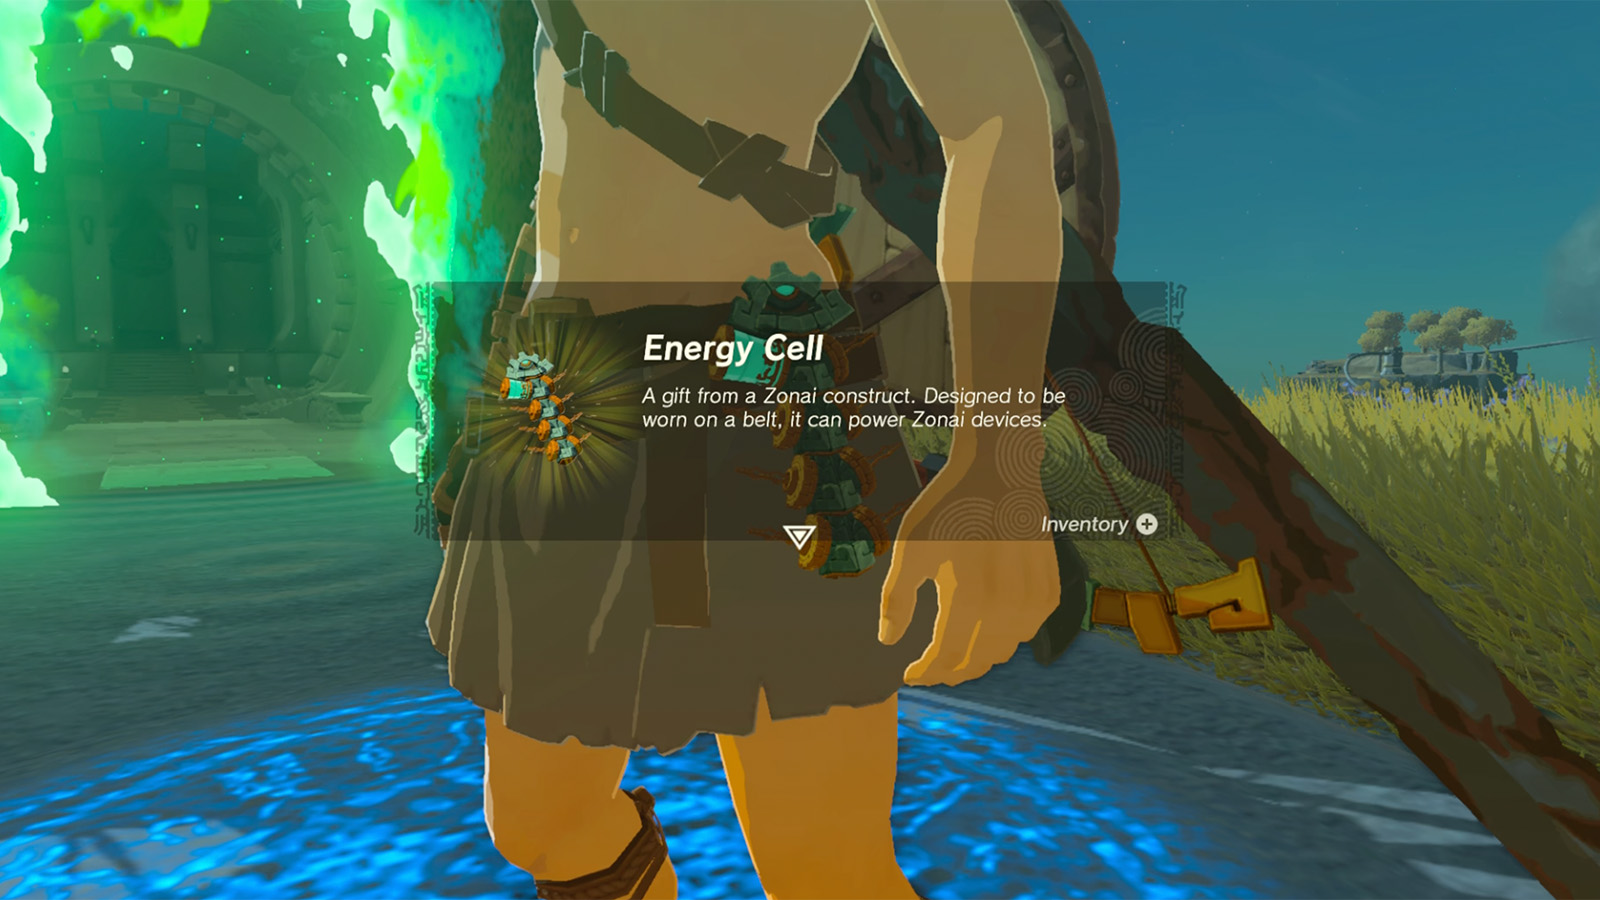
Once the Steward Construct has given you the Energy Cell outside of the second shrine, follow its advice and head down to the nearby cliff, taking a minute to open the chest with five arrows hidden behind a destroyable rock wall directly on your right.
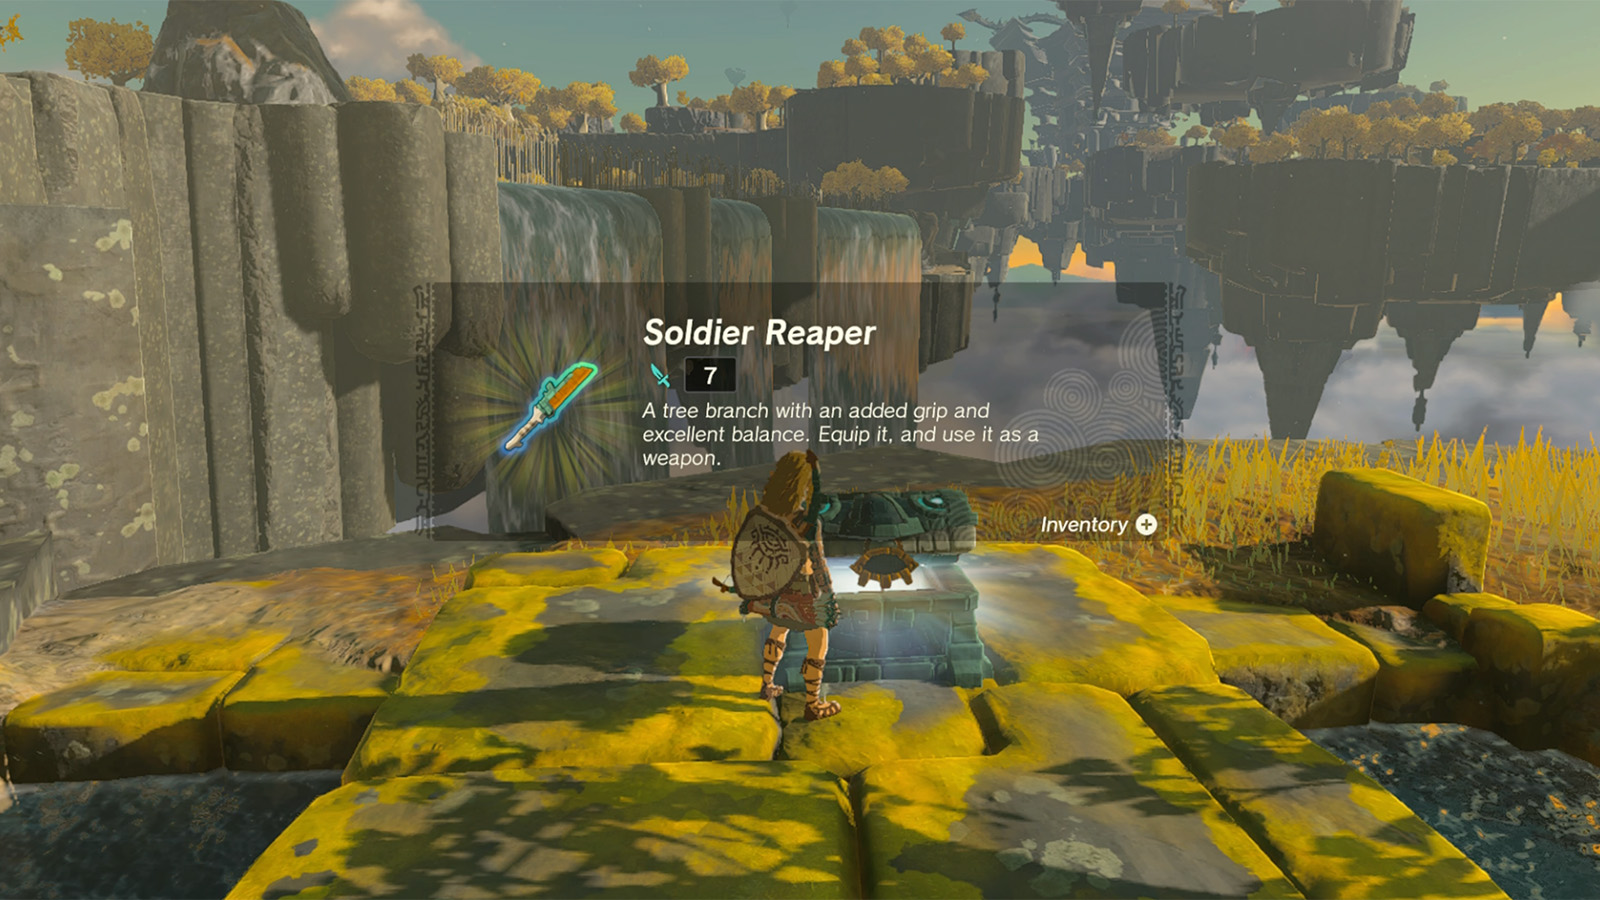
On your way to the cave, you’ll come across two Soldier Constructs fighting two Chuchus, a third Soldier Construct, and then two additional soldiers guarding a chest with a Soldier Reaper weapon and a cooking pot to the left of the cave’s opening.
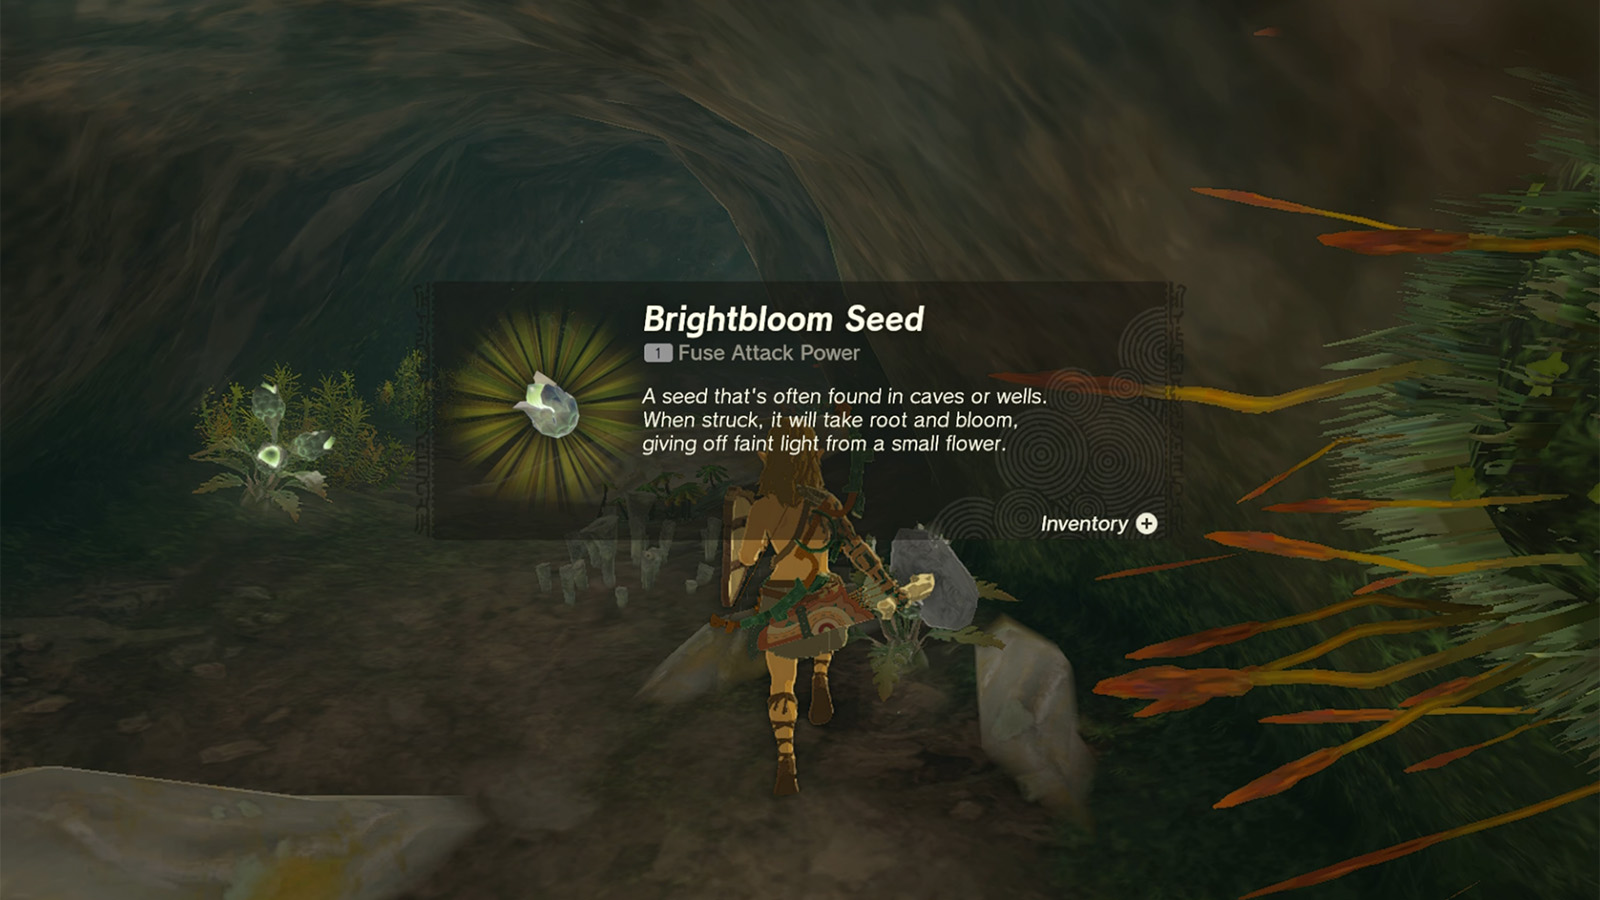
Take some time to cook up any available meat, fish or vegetables, and then enter the cave, picking up all Brightbloom Seeds as you come across them. You’ll have to fight three Keese and a Bubbulfrog on your way and don’t forget to smash up the sparkling black rocks for resources and the destroyable rock wall deeper into the cave.
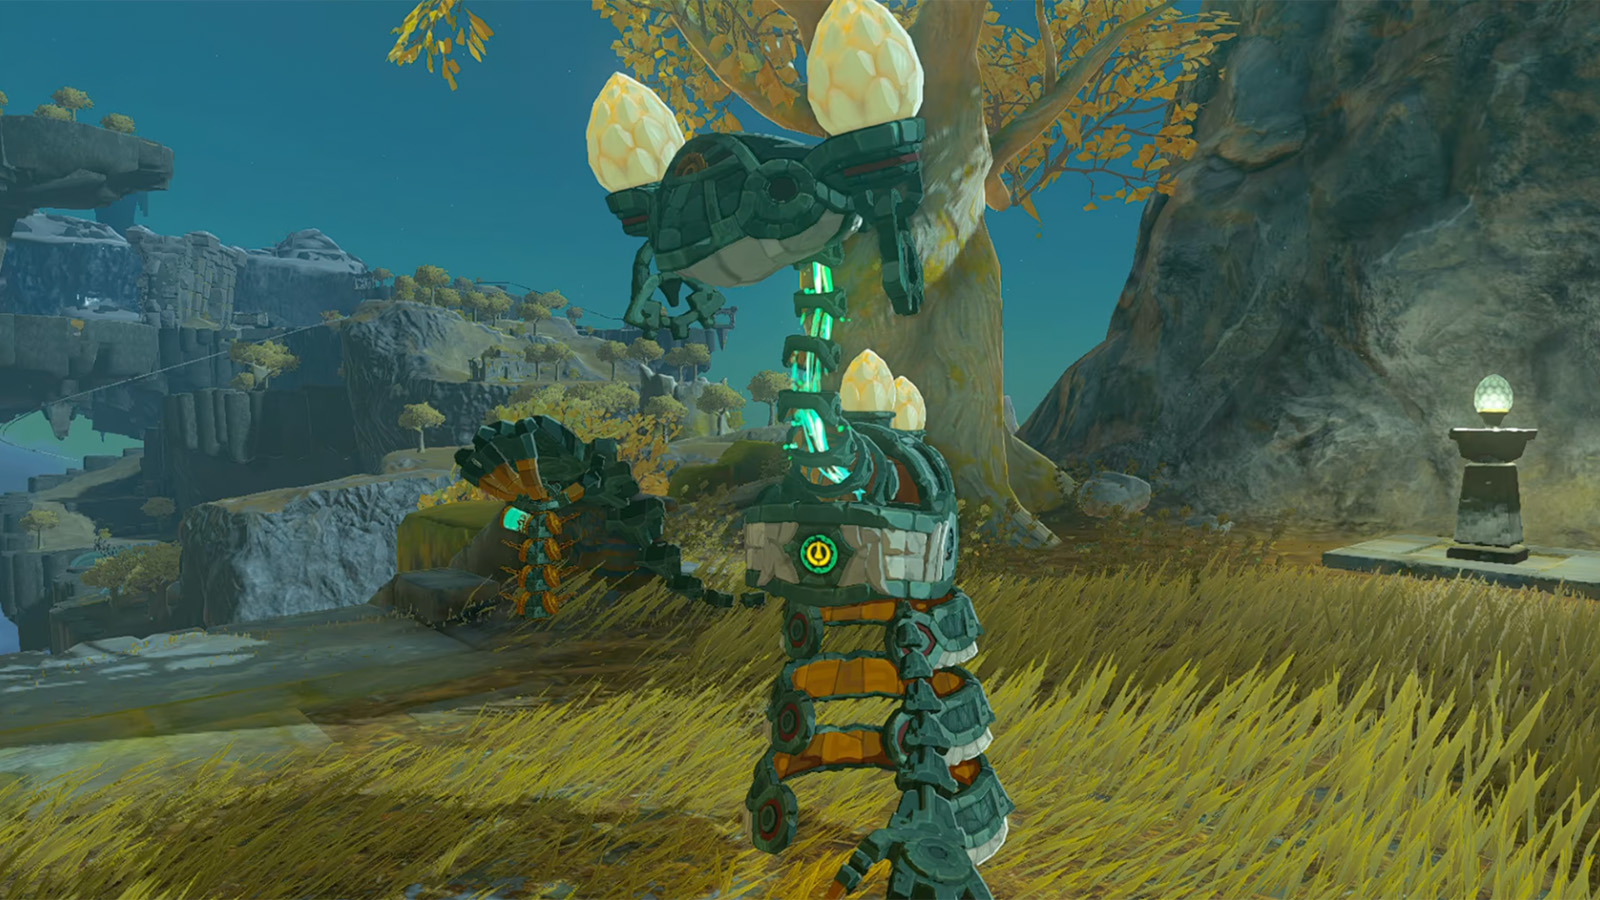
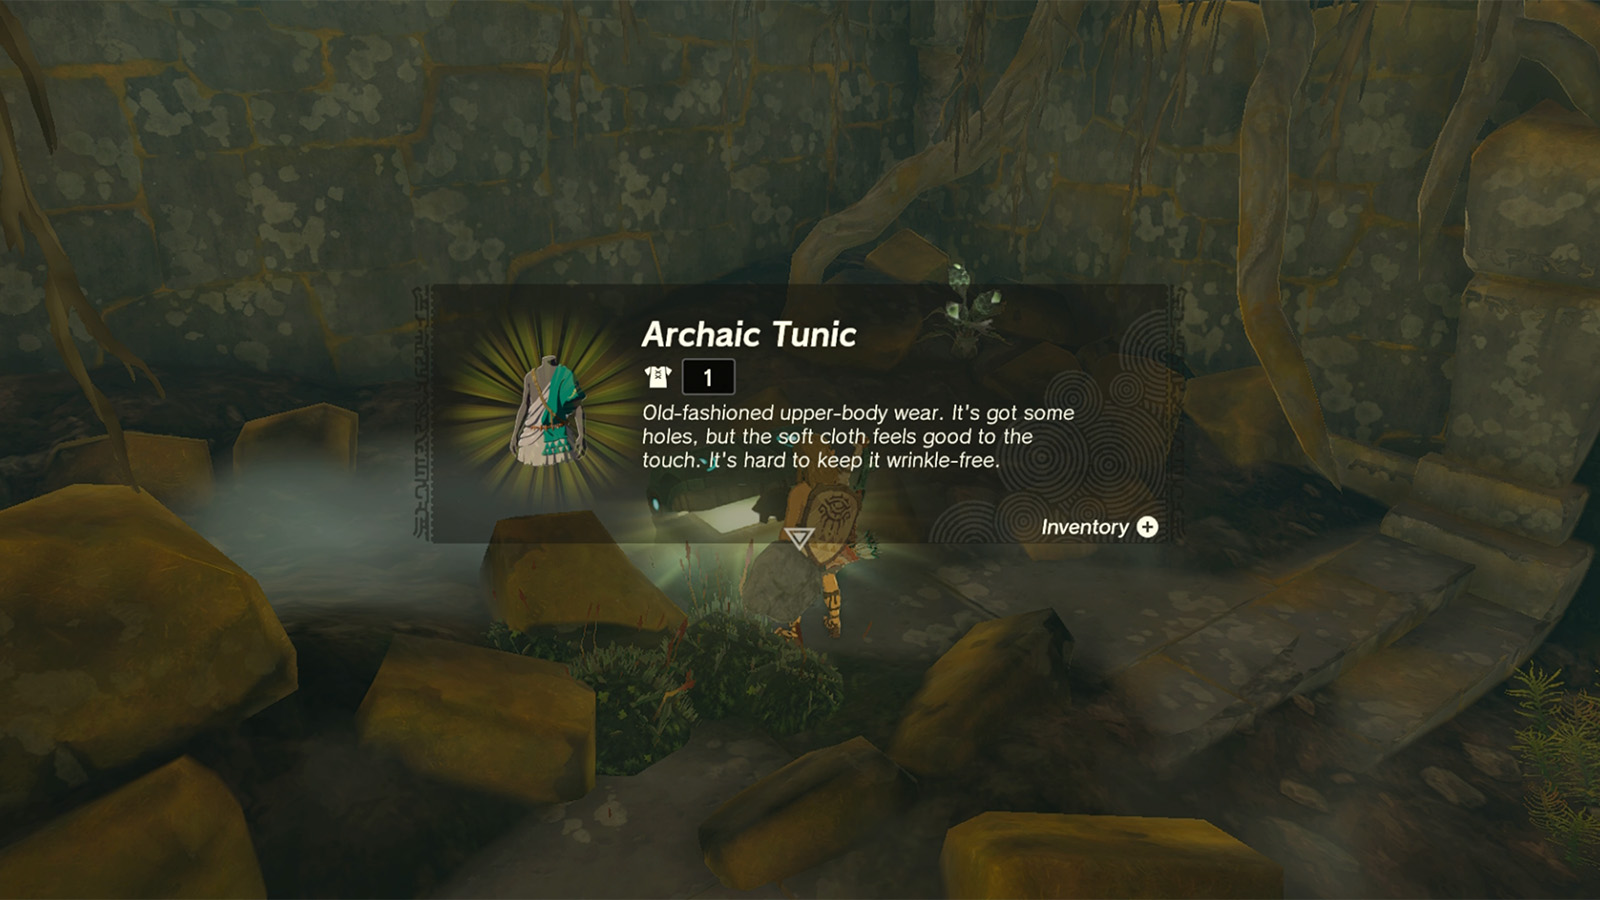
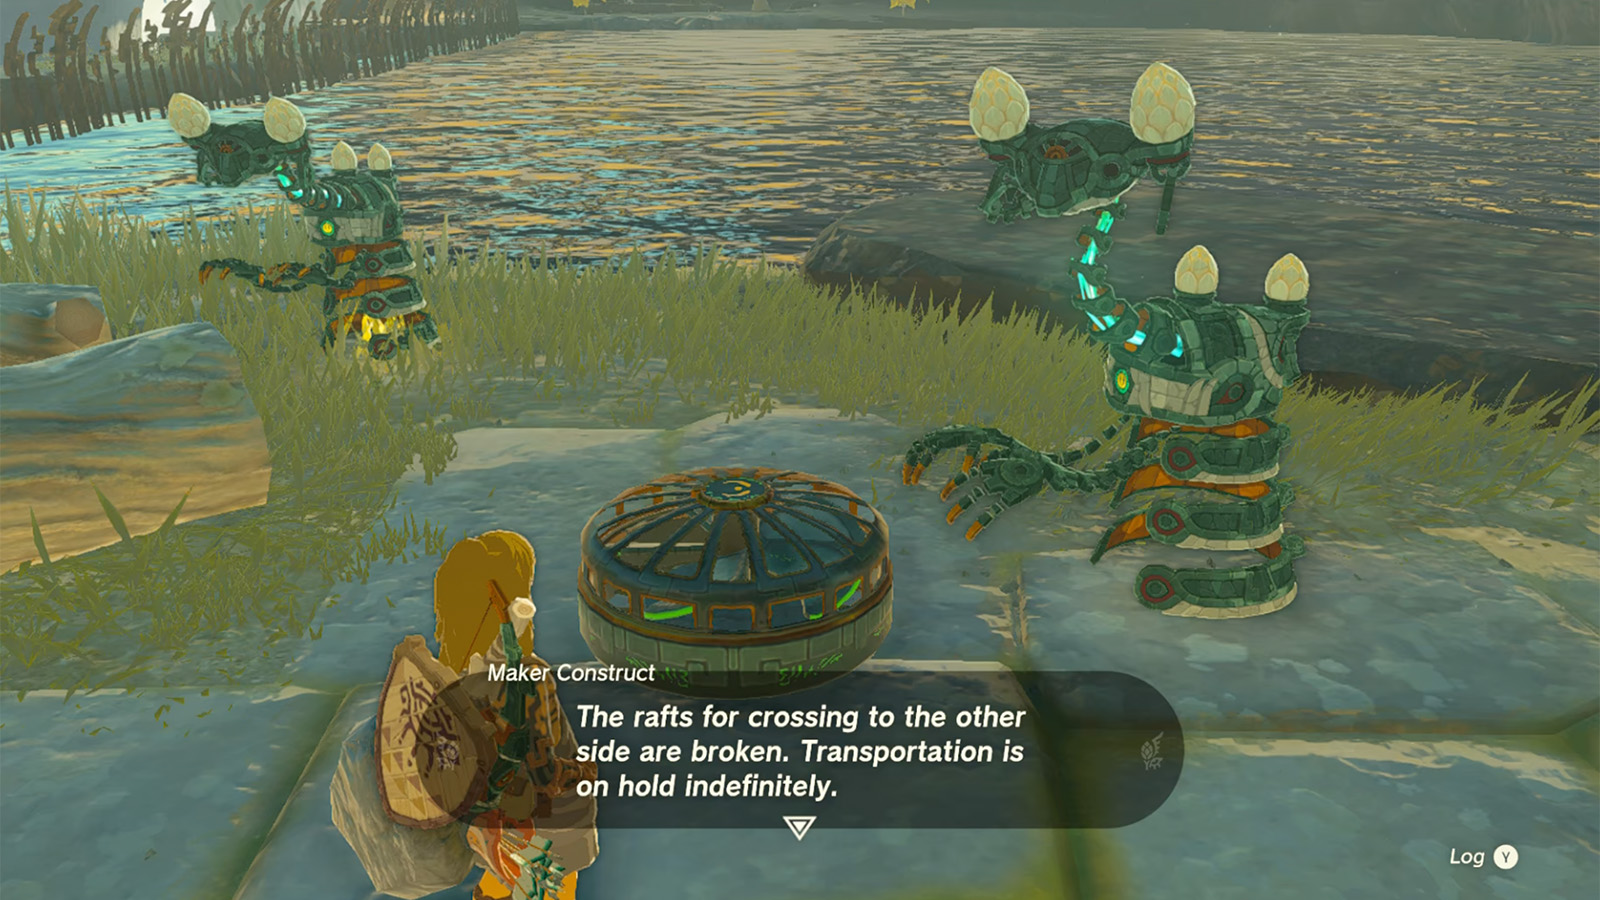
As you head through the cave, you should find a chest with the Archaic Tunic, and then should emerge into an opening with a large lake ahead of you. Speak with the Maker Constructs, and you’ll learn how to use Energy Cells.
Before constructing a boat using the nearby crafting pieces, take a right from the cave exit towards a group of floating blocks. Use Manifest to move them and descend the blocks to a small floating island with one Soldier Construct, several endurance-increasing Stambulbs, and a chest with Amber that you can access by using the floating platforms.
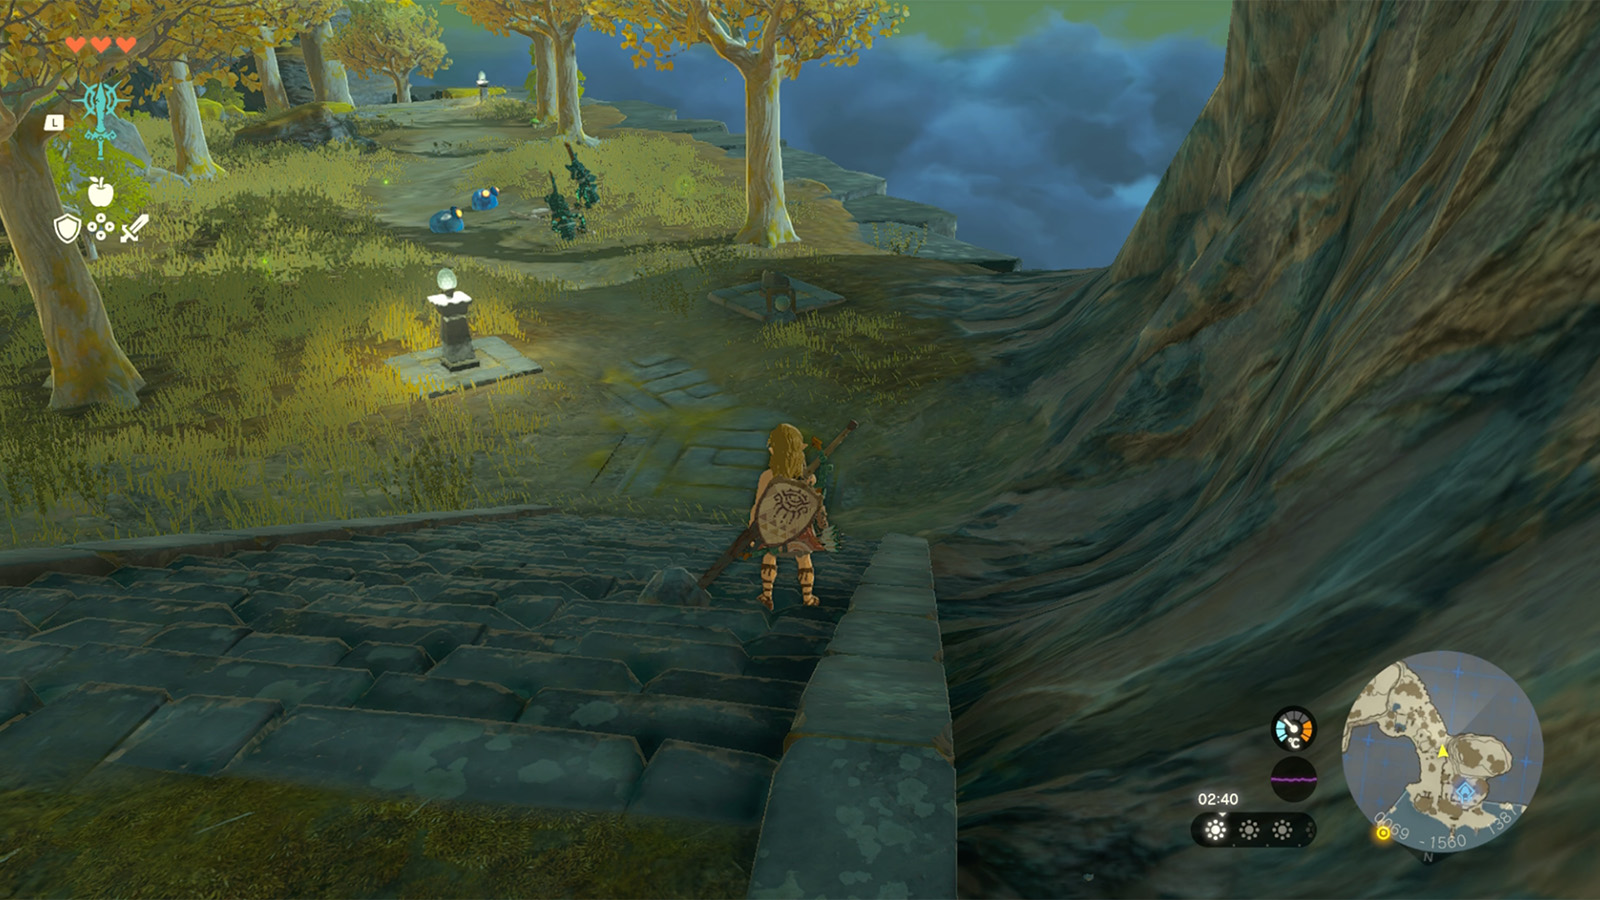
Once you’ve grabbed that, return to the lake and create a boat with a fan or two. Smack it to switch the fans on and then zoom across the lake, where you can speak with a Ranger Construct to learn how to start campfires to stay warm and cook. Grab the nearby resources (Rushrooms and Stambulbs), and then climb the nearby stairs to the first landing.

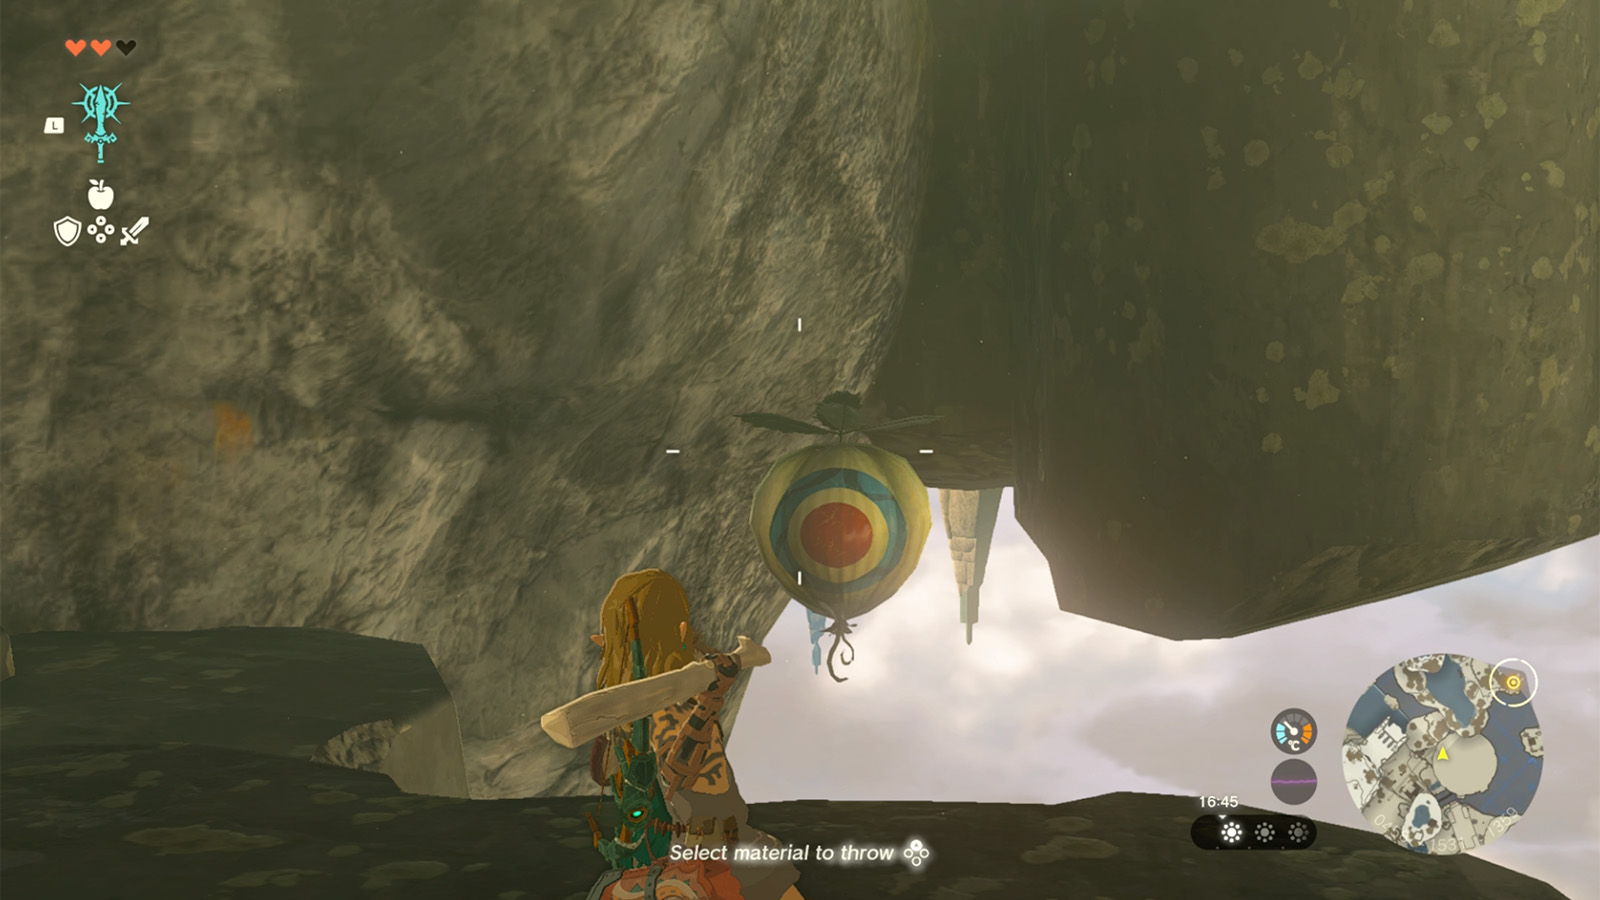
On your right should be a dip in the ground with a destroyable rock floor. Perform a jump attack with a fused weapon to destroy it and fall. It’s a small cave with Rushrooms, Stamella Shrooms, searchable Constructs, and a balloon you can pop for a Korok seed using an arrow or by throwing a weapon.
Caves And Brightbloom Seeds
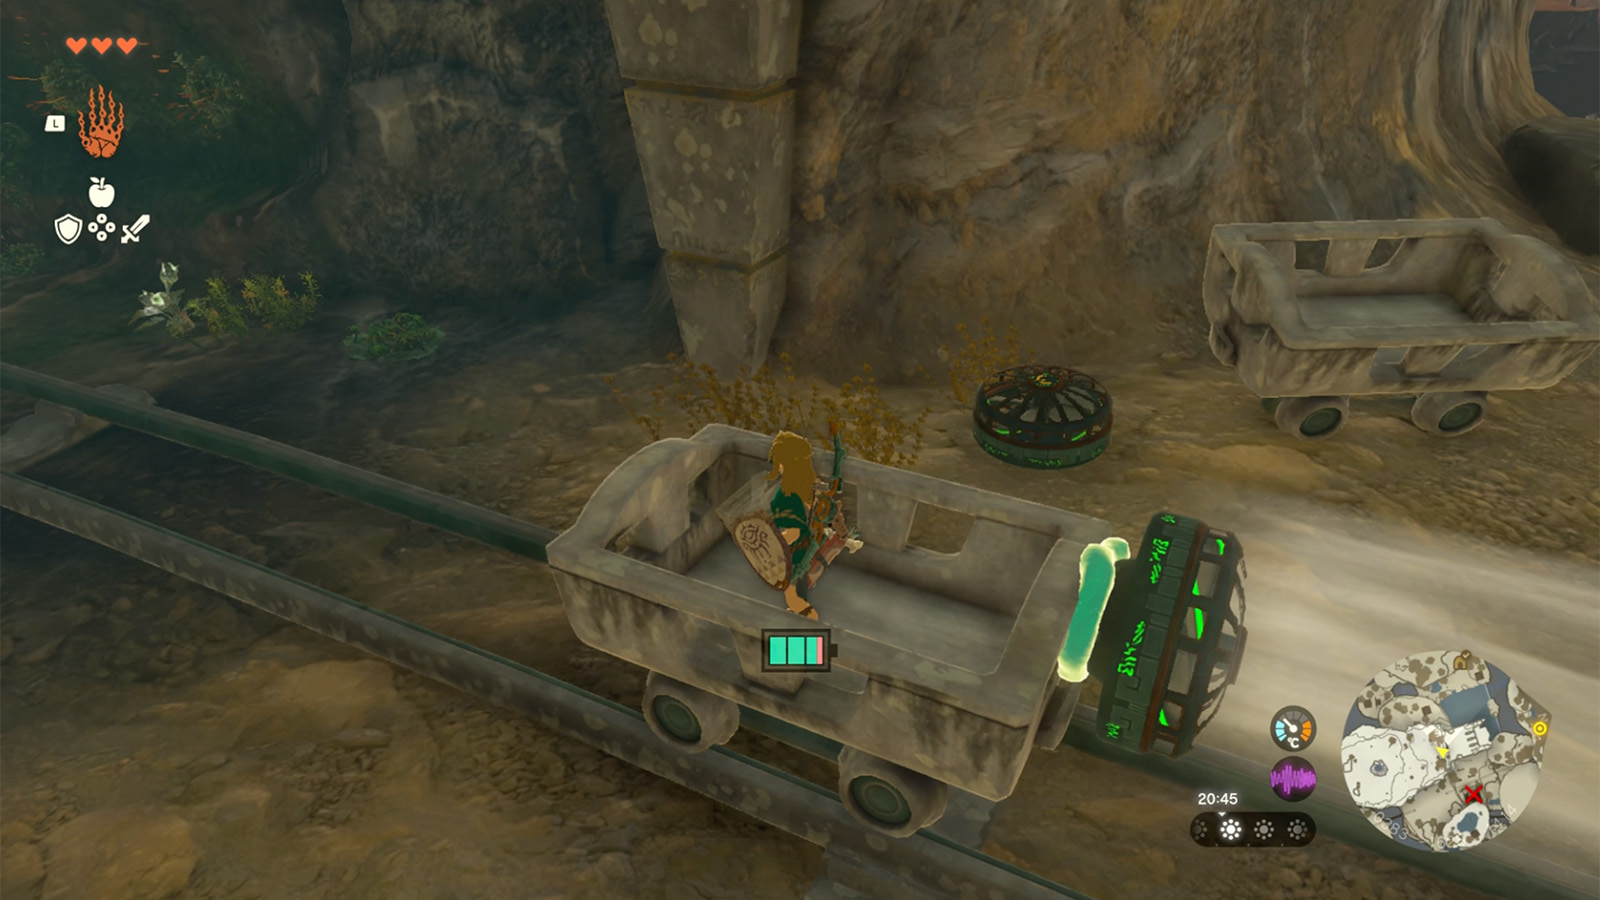
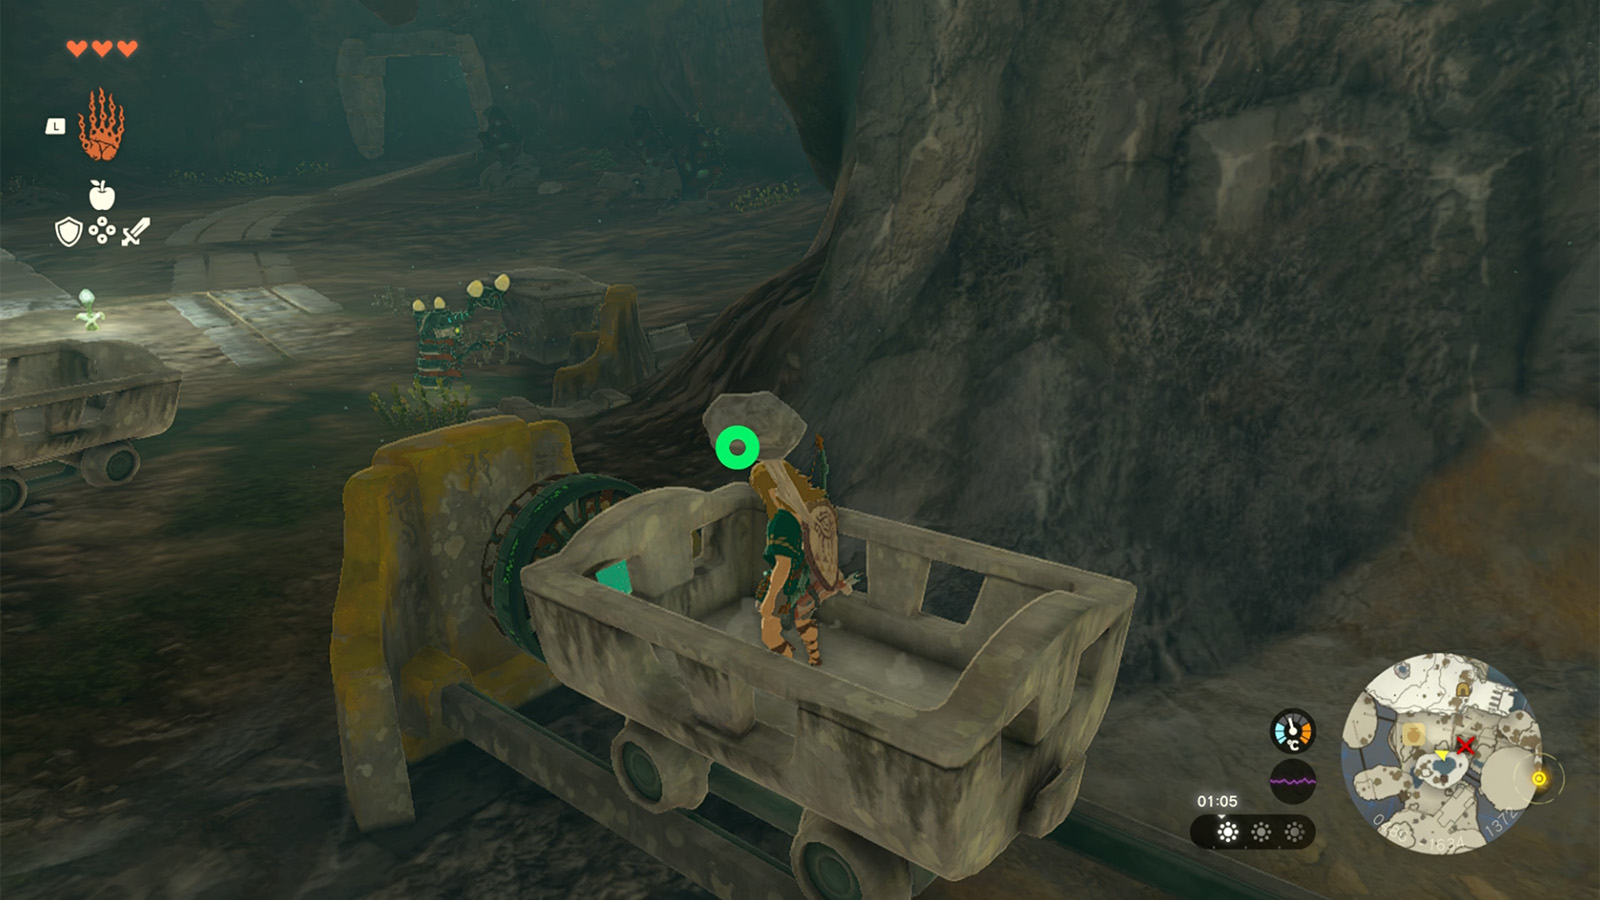
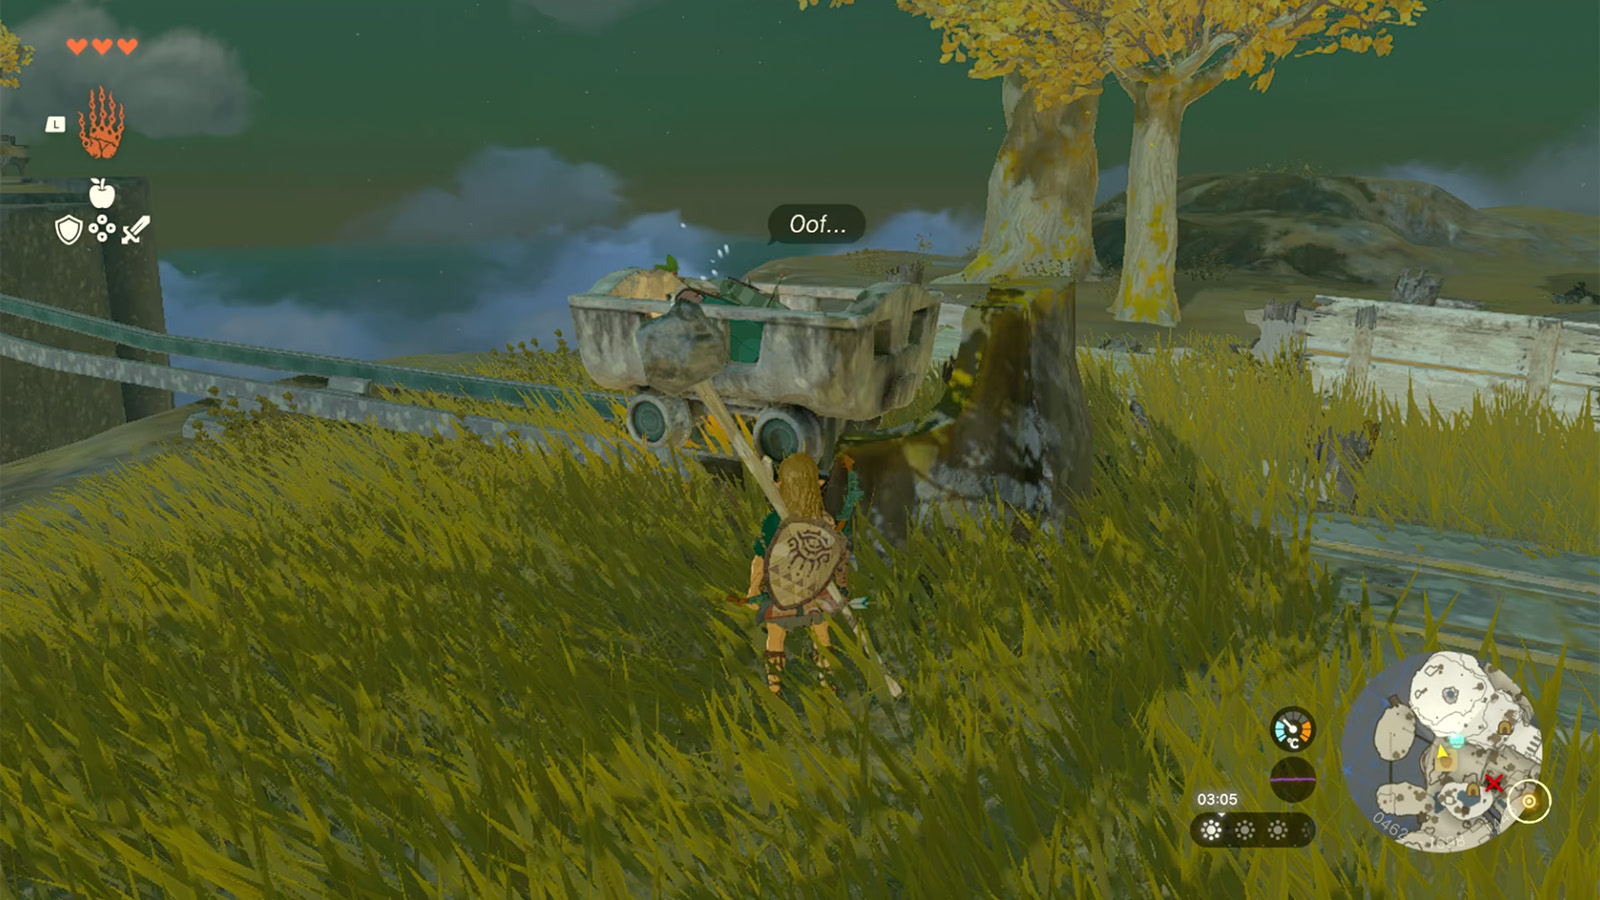
Climb back up the hole, and follow the path up, facing the two Chuchus on your way. Continue forward, and you’ll reach a mine cart rail. To your left are three Soldier Constructs that can be destroyed for an Opal. Once you’ve done that, return to the mine cart rail, and you can either ride through or manually walk. We suggest the former, so use Manifest, place a mine cart on the rail, and then add a fan to its back.
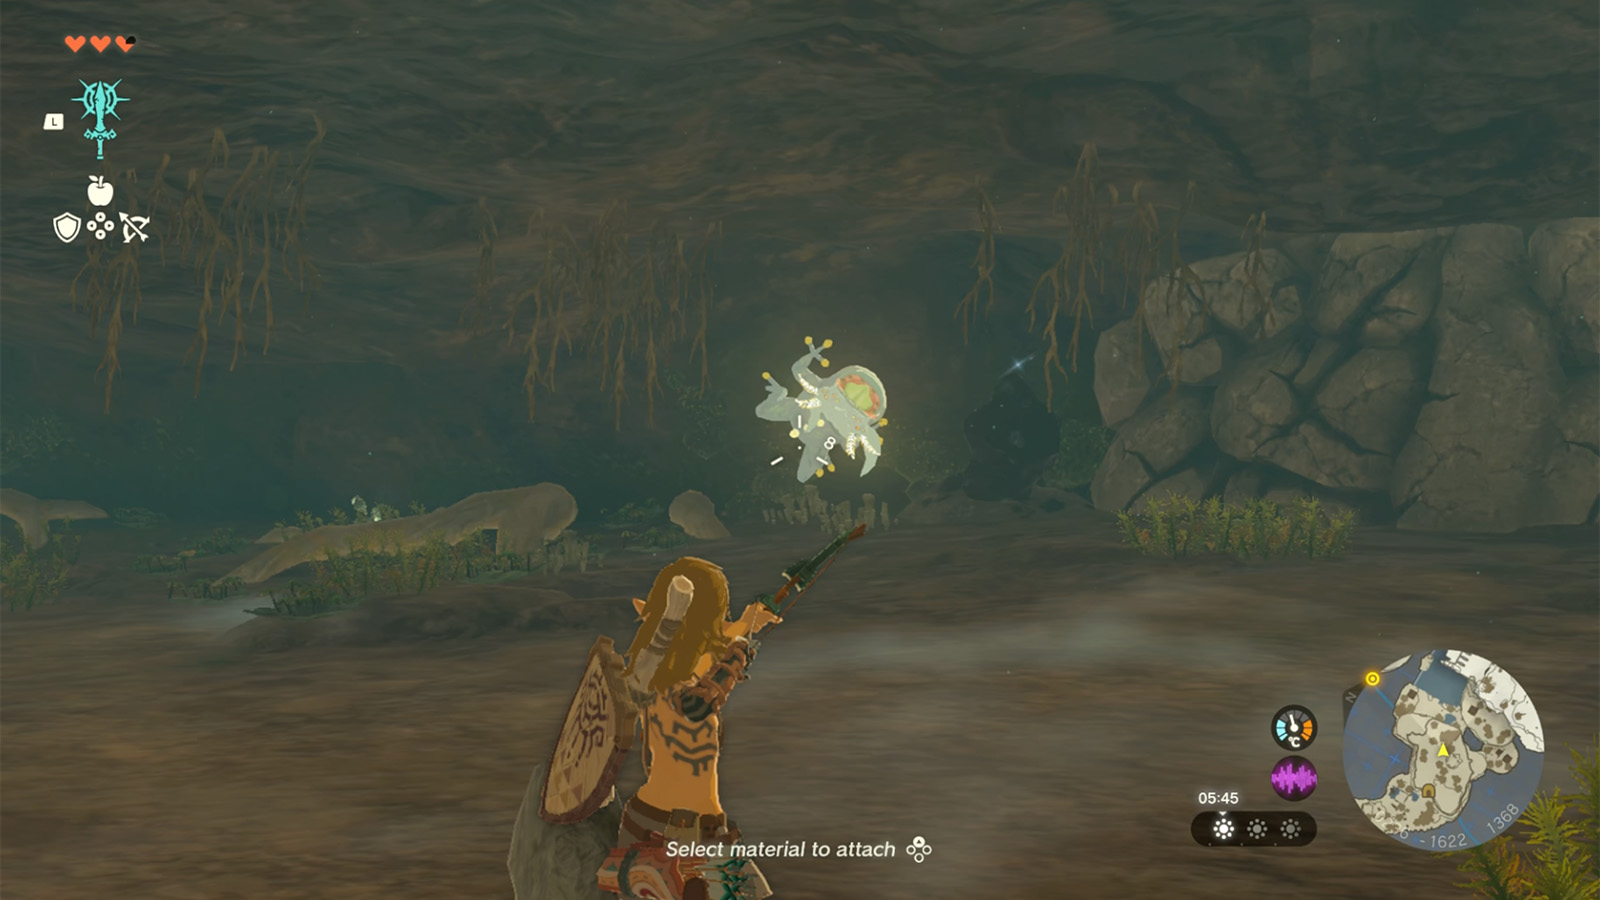
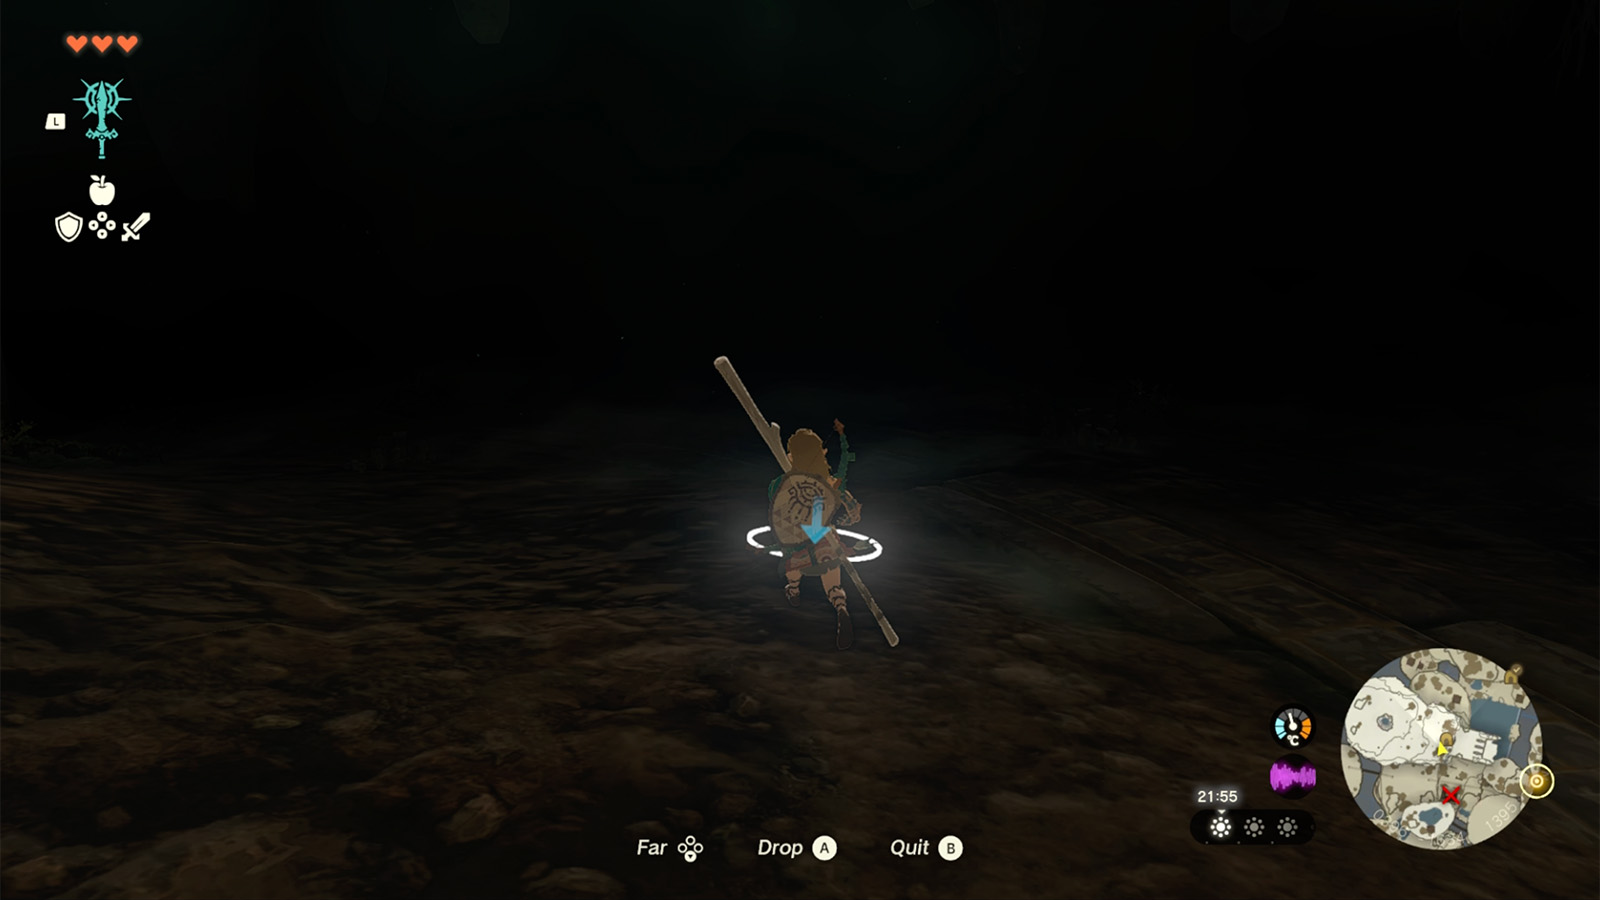
The mine cart will eventually stop, so get out and speak with the nearby Mining Construct, who teaches you about how to use Brightbloom seeds to brighten dark areas. Follow the cave and when it gets too dark, open your menu, grab a Brightbloom seed, plop it on the floor, and then hit it to illuminate your surroundings.
Keep following the cave while using your Brightbloom seeds, and you’ll reach an opening with several sparkling minable rocks that you can destroy for Zonaite. Speak with the nearby Constructs to learn more about Zonaite and how it can be traded for Crystalised Charges and Zonai Charges.
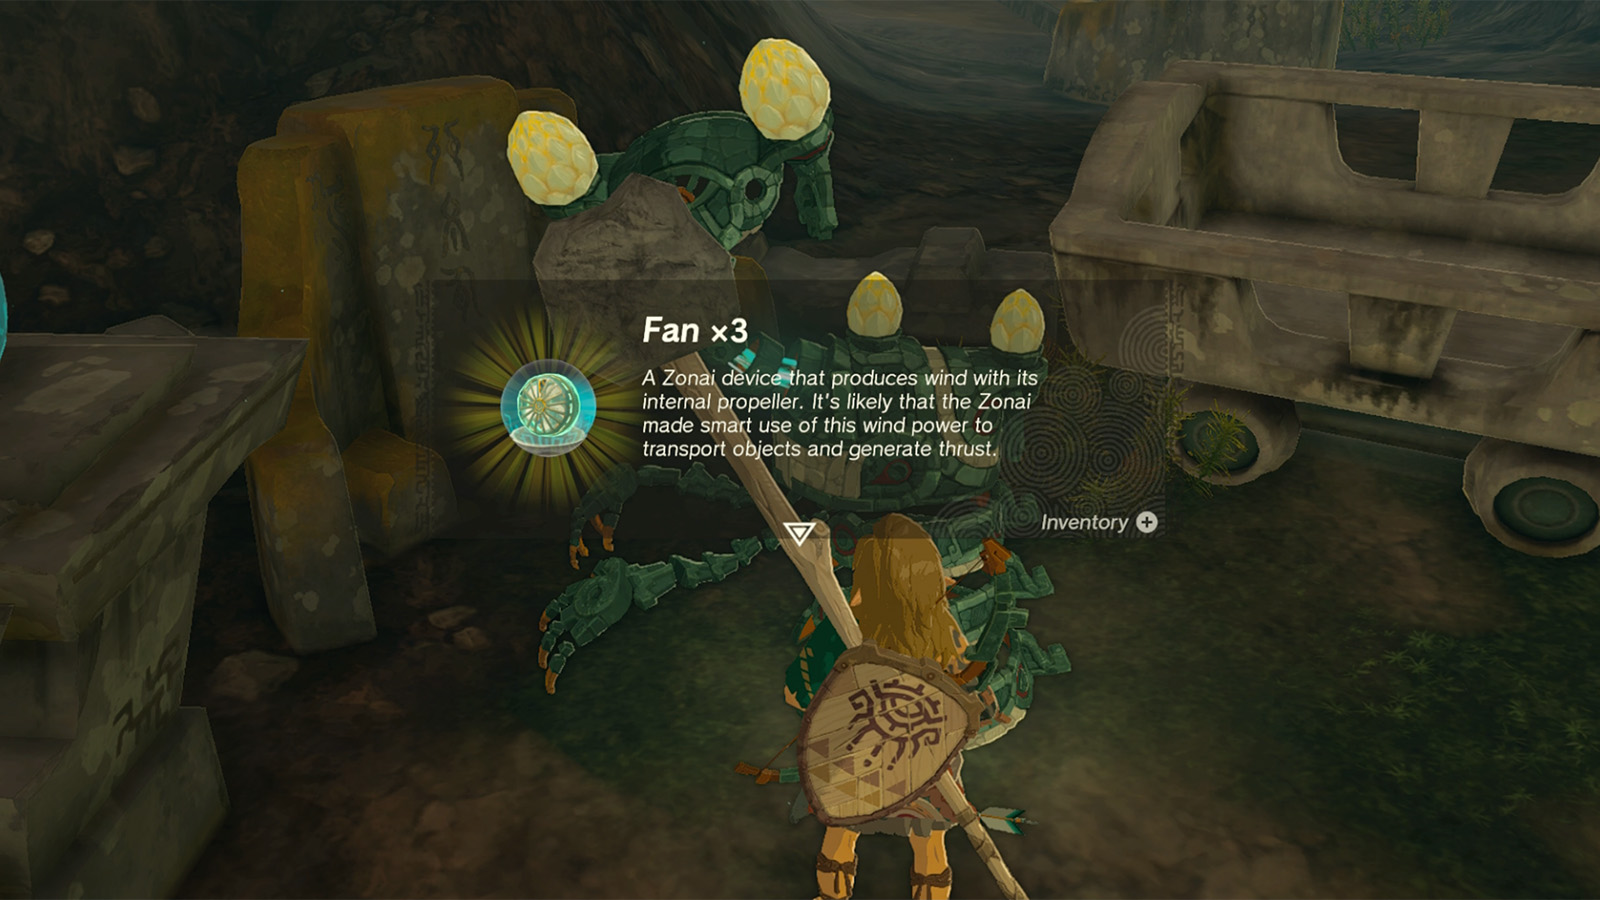
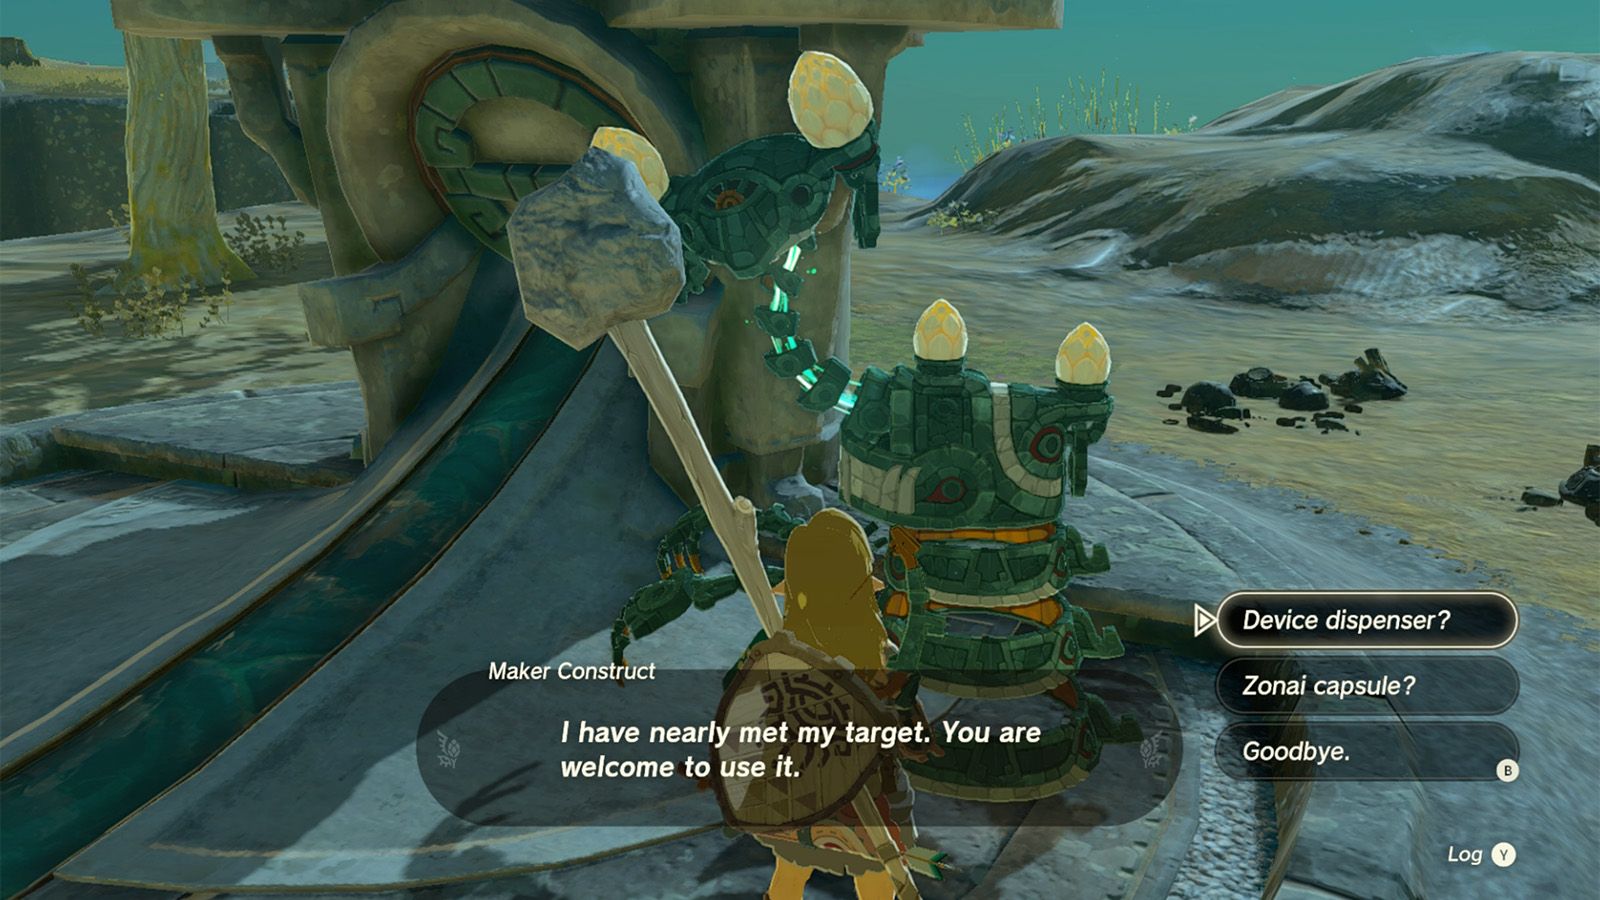
Speak with another Mining Construct for three fan devices, and then create another fanned mining cart with the newly-received fan and nearby mine carts. Ride along the rail to a new floating island, where you can use a Device Dispenser to claim Zonai devices.
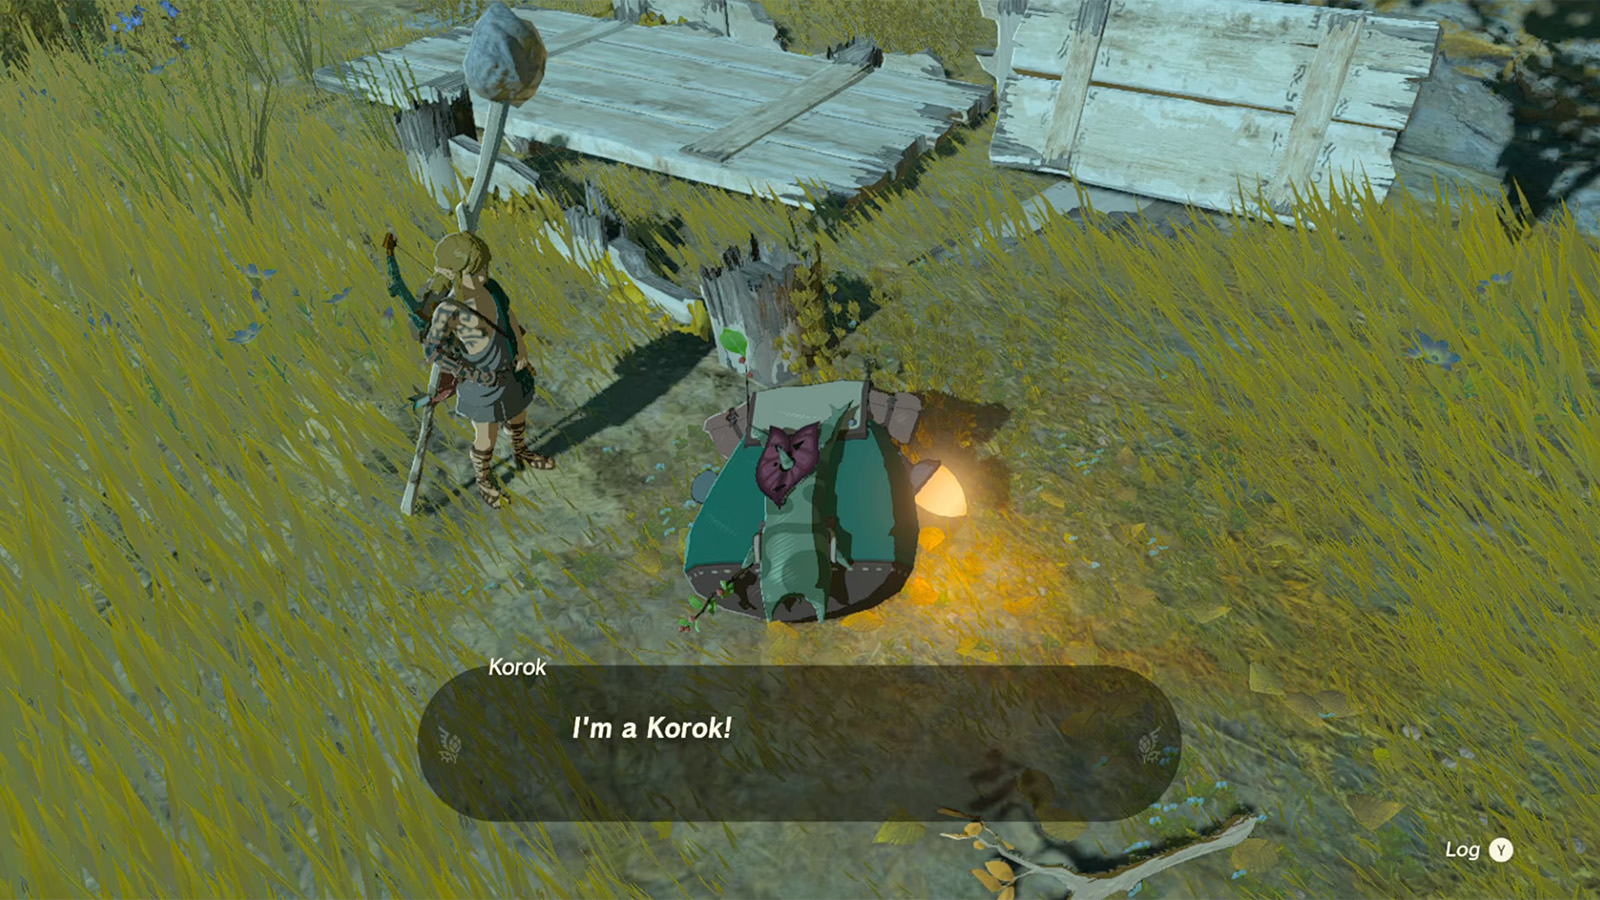
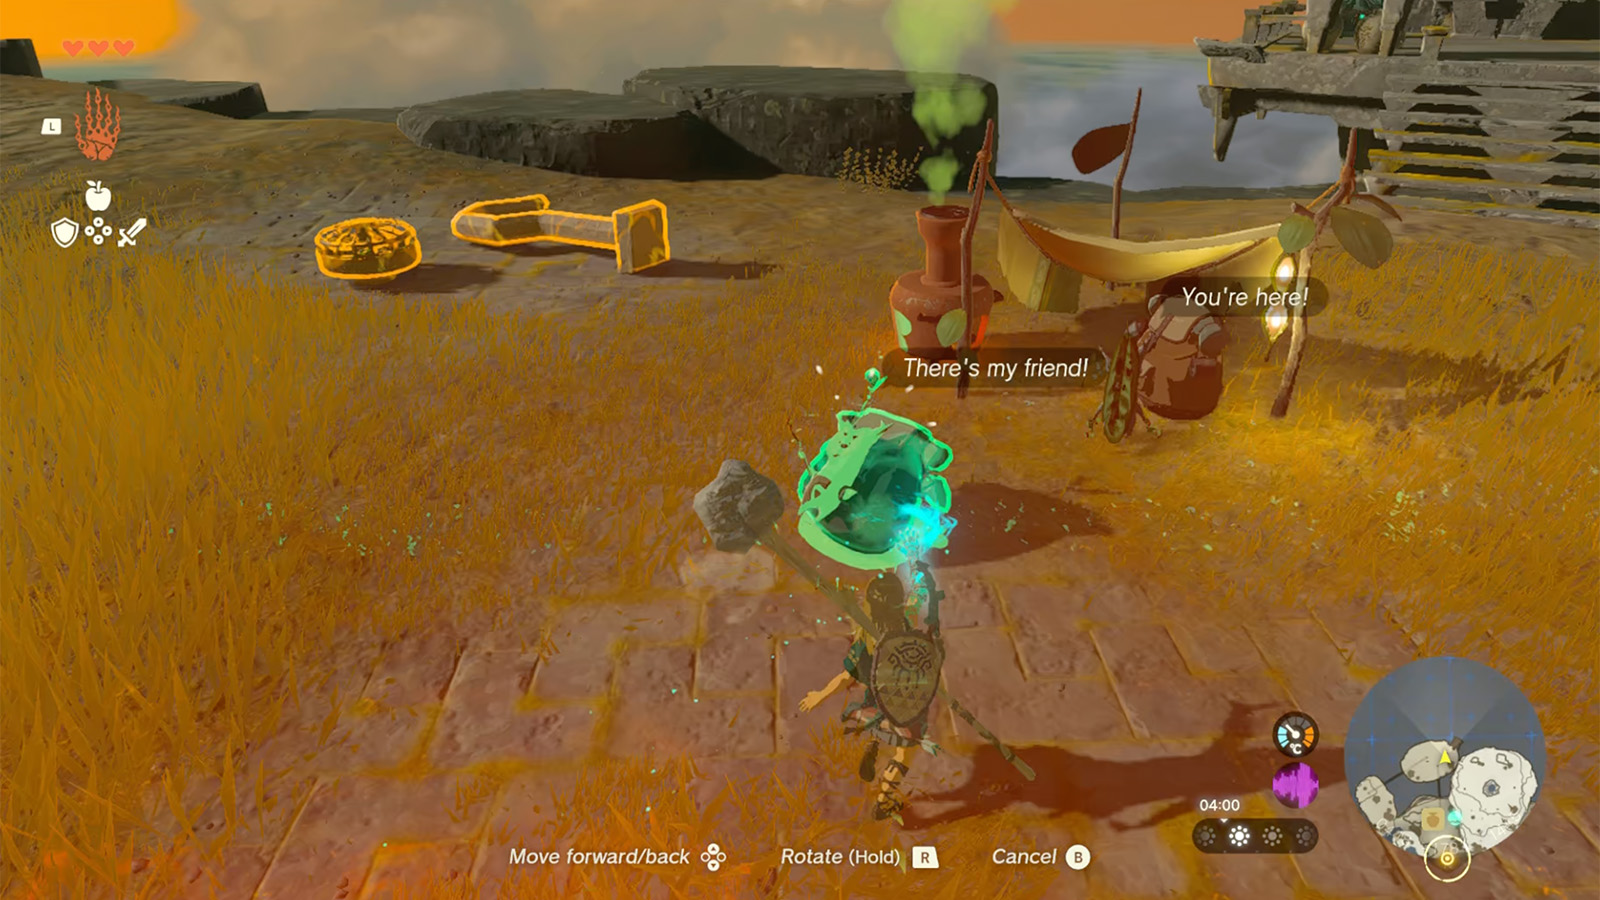
Nearby is a Korok who needs to cross to the next island to reunite with his friend. Construct another mining cart with a fan and place it on the rails. Before using it, plop the nearby Korok inside with Manifest, and once on the other side use Manifest again to plop the Korok beside his friend for two seeds.
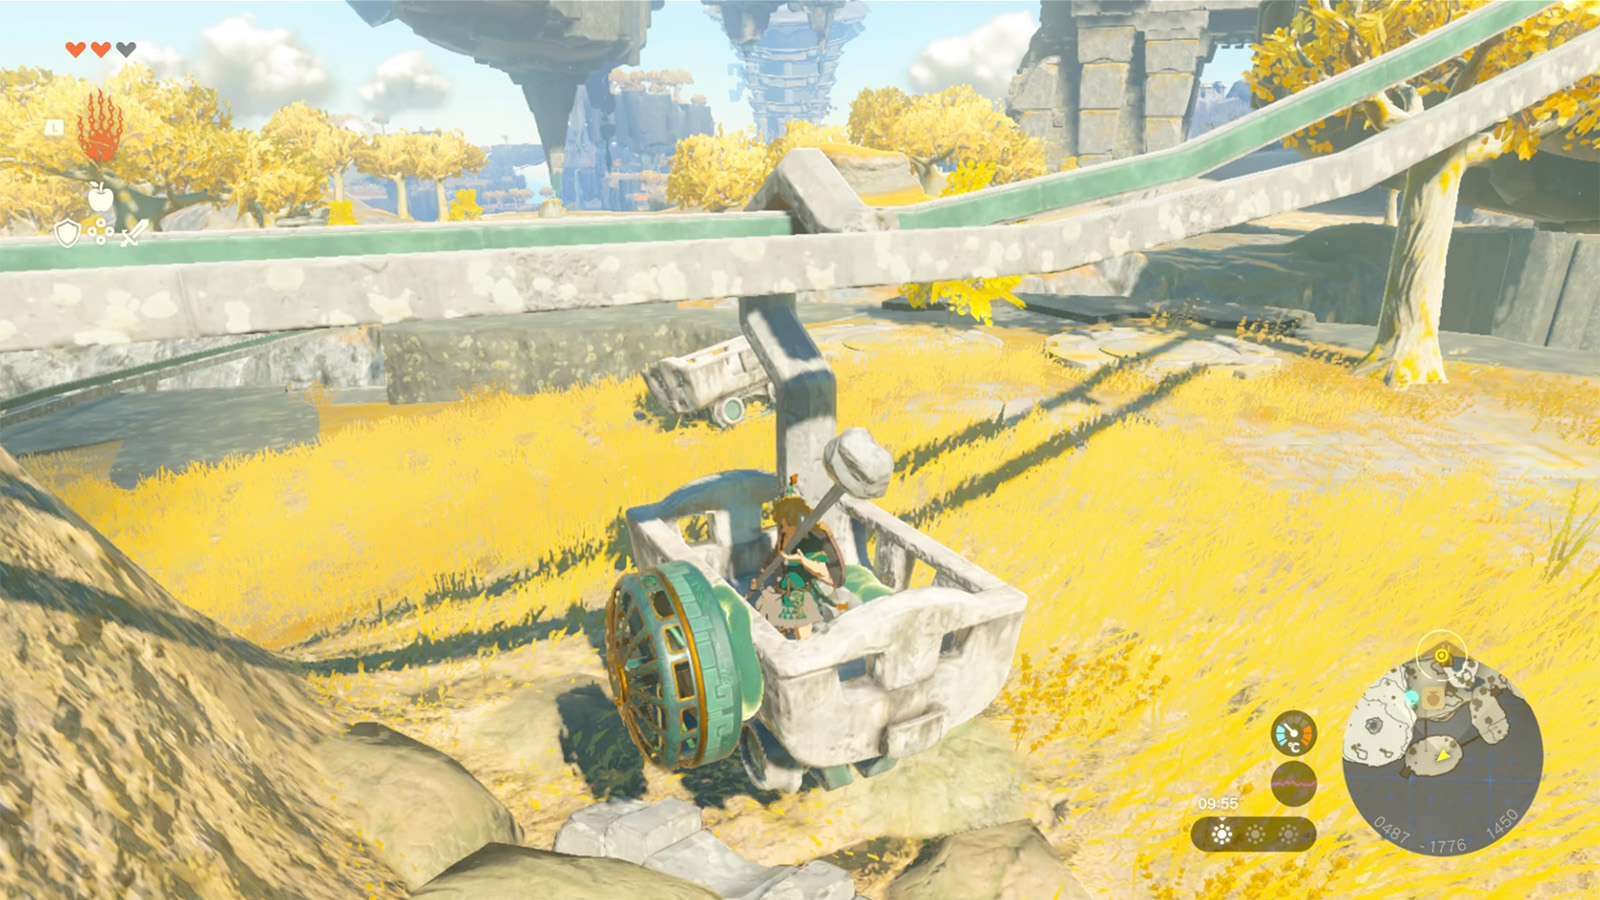
Explore the area for a cooking pot and a chest with Zonaite, and then climb up the nearby hill to the rail. Now, a mining cart won’t work here as the rail is broken halfway up. Instead, use one of the nearby hooks and place it on the leftmost, unbroken track. Add a mining cart and fan to it, jump in, smack it, and then ride up to the next island.

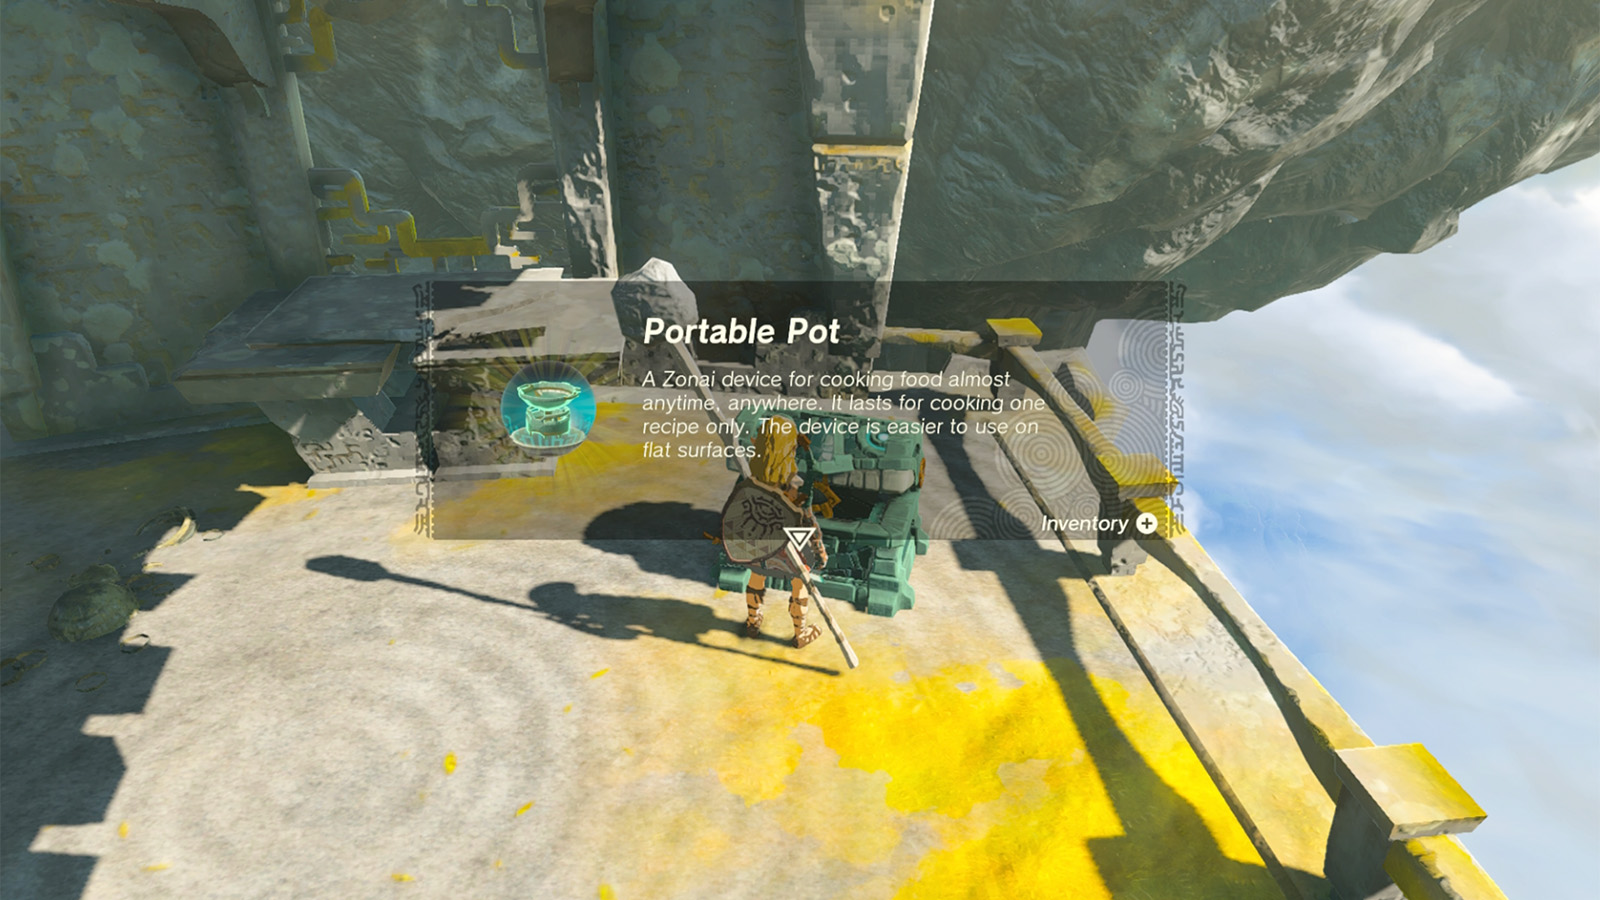
Explore it for several Zonai Charges and a chest with a Portable Pot. You’re not far from the third shrine now.
Climbing The Mountain
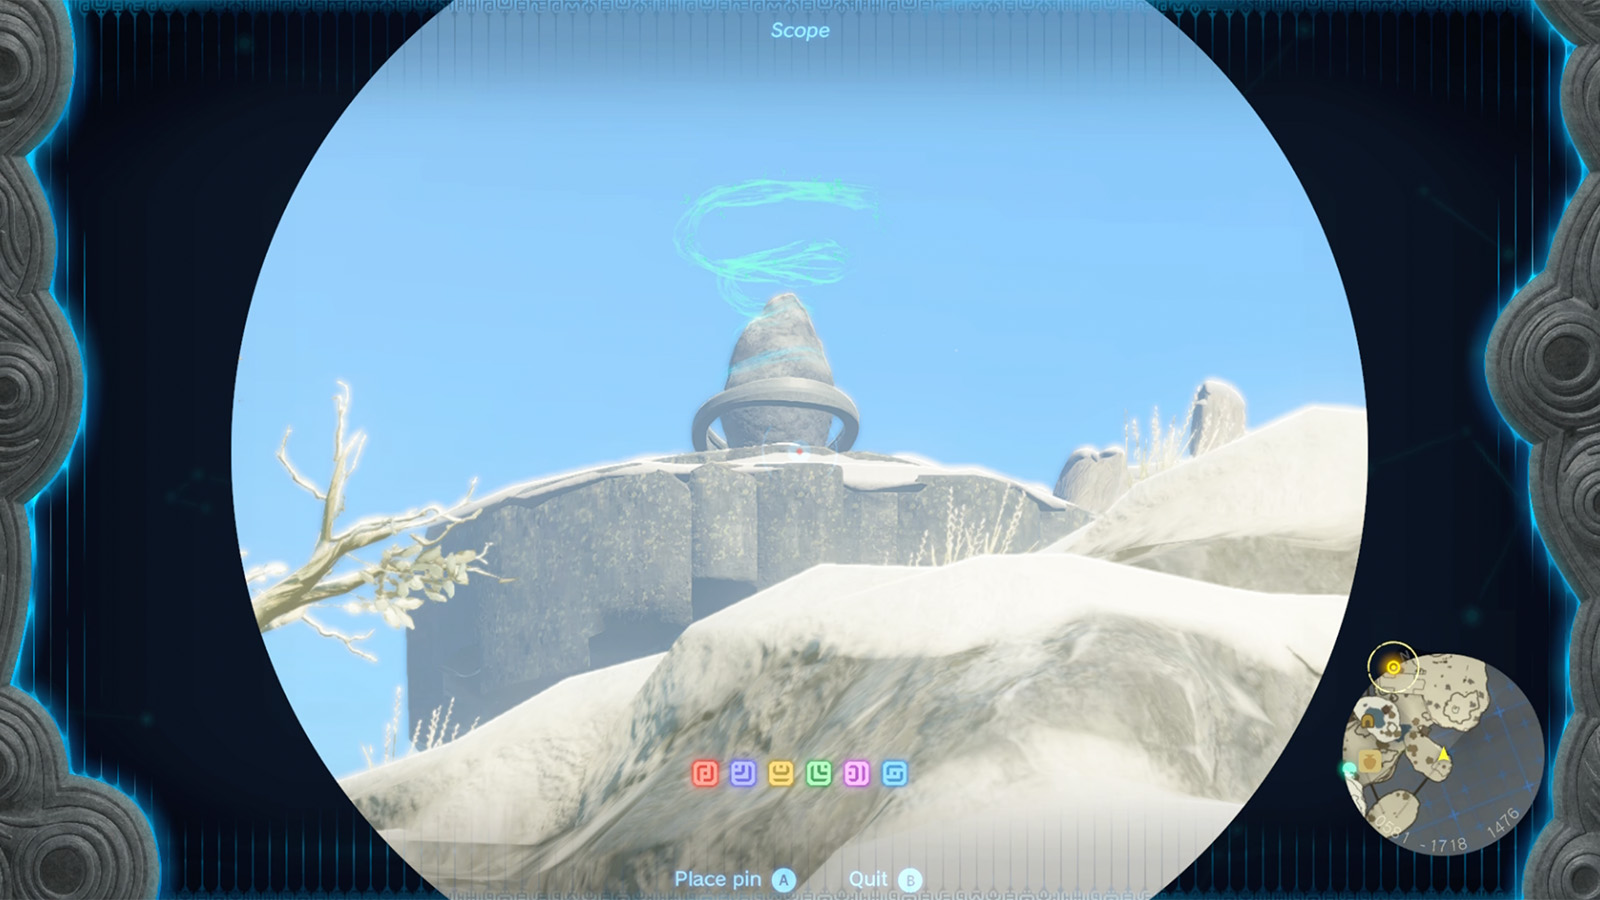
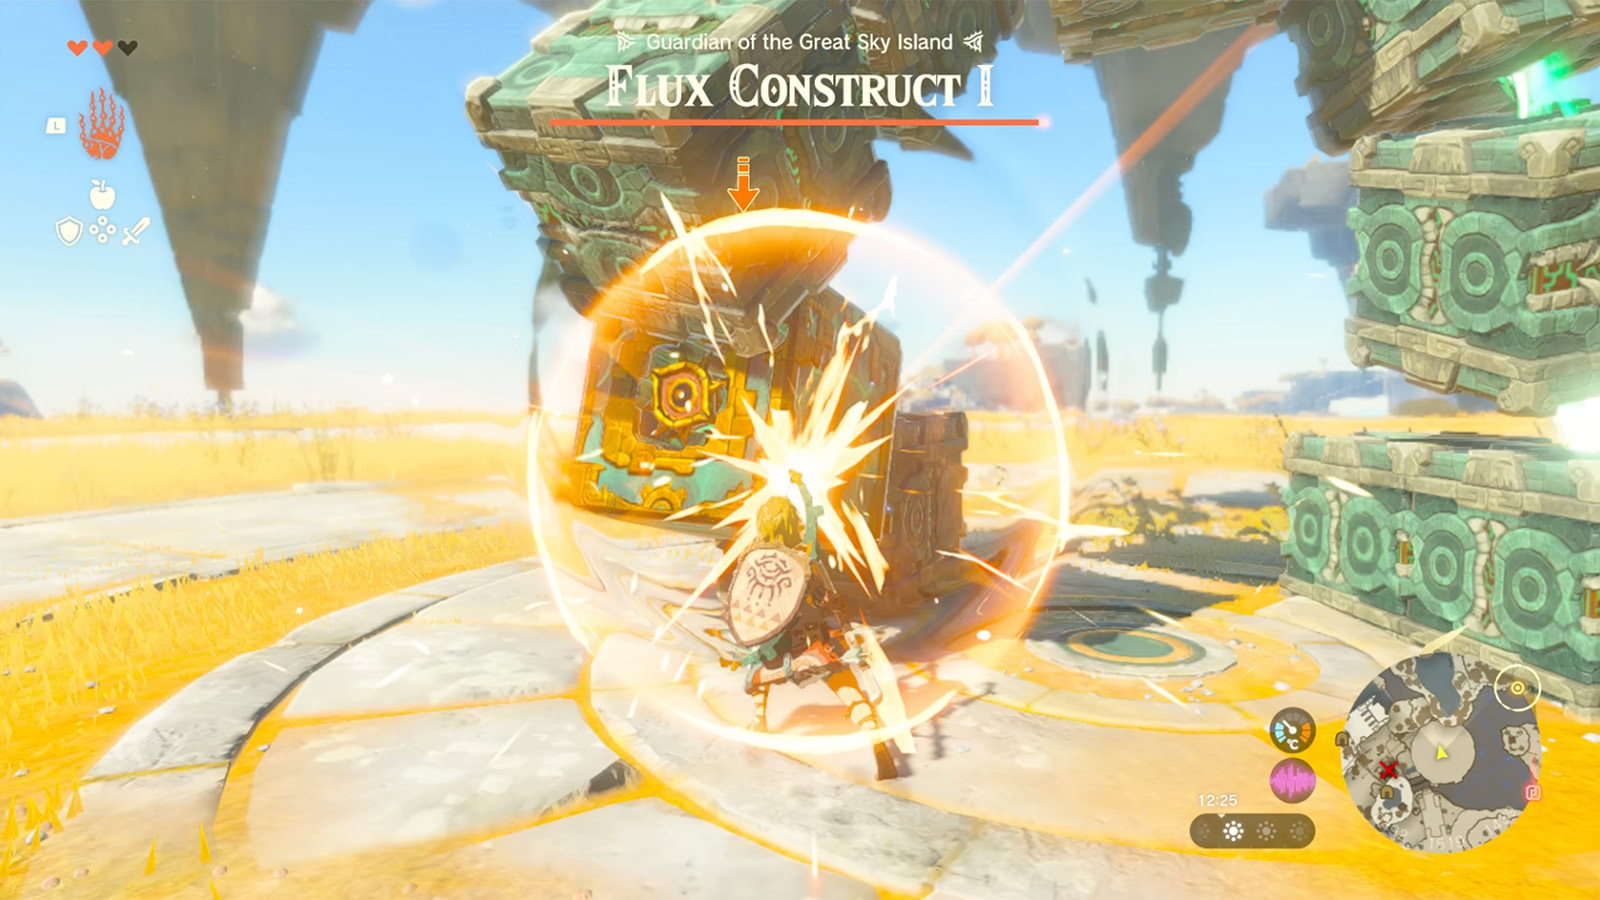
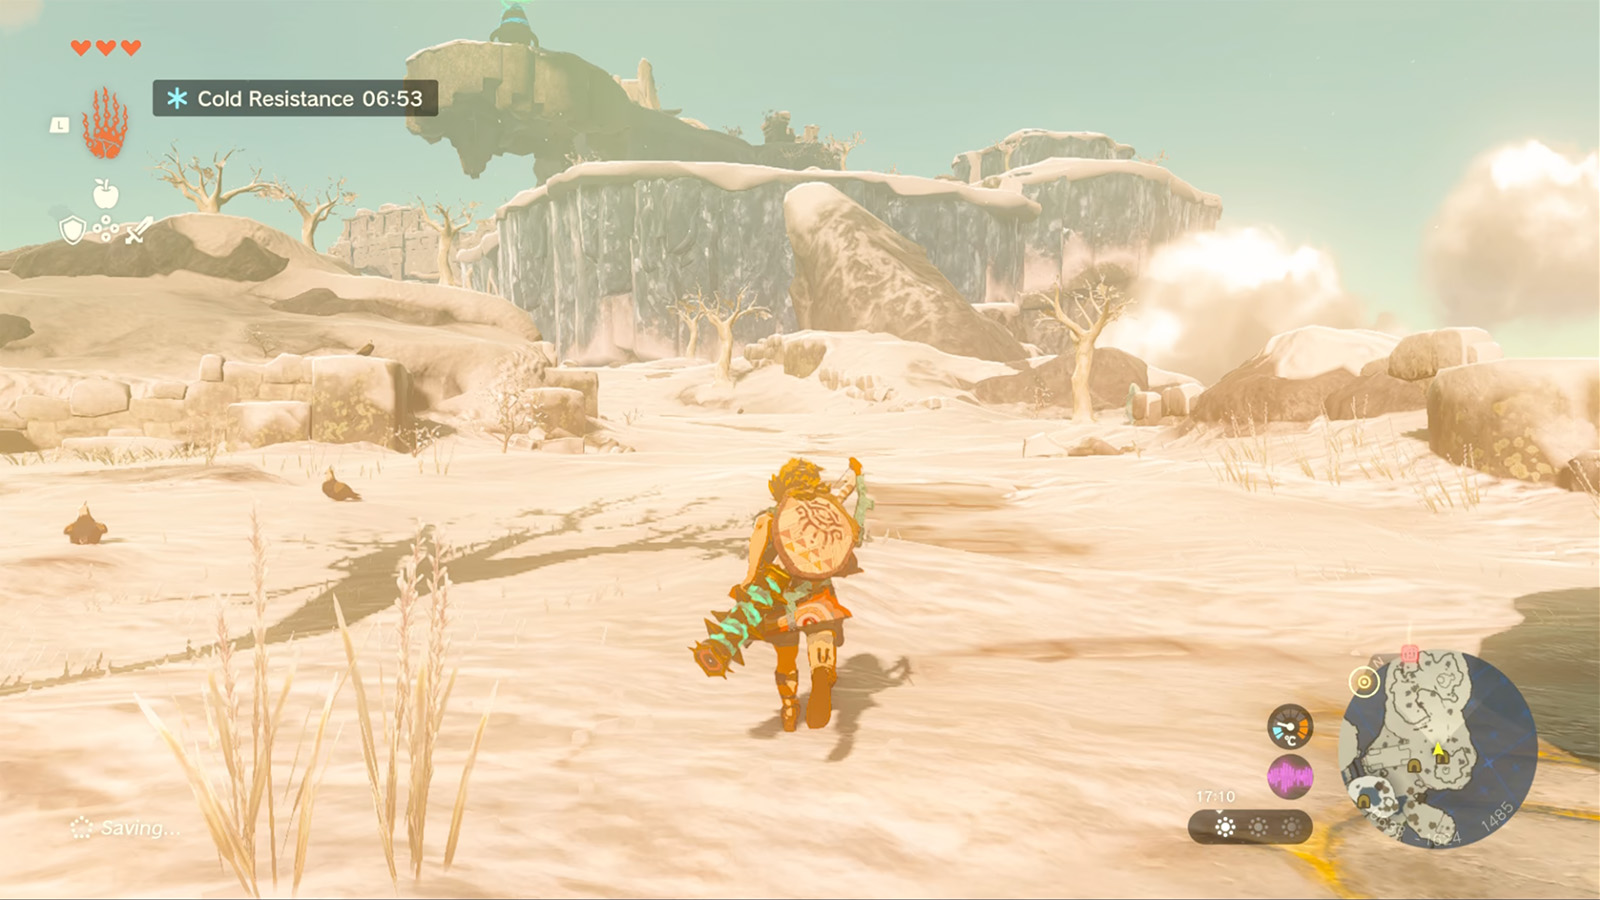
On the island, there are three places you can go. To the left is a floating island with the Flux Construct I boss, which you can defeat for some great resources. Straight ahead is the entrance to the snow-capped mountain, which you’ll need to climb to reach the shrine but right now will lead to a quick death due to the cold temperature.
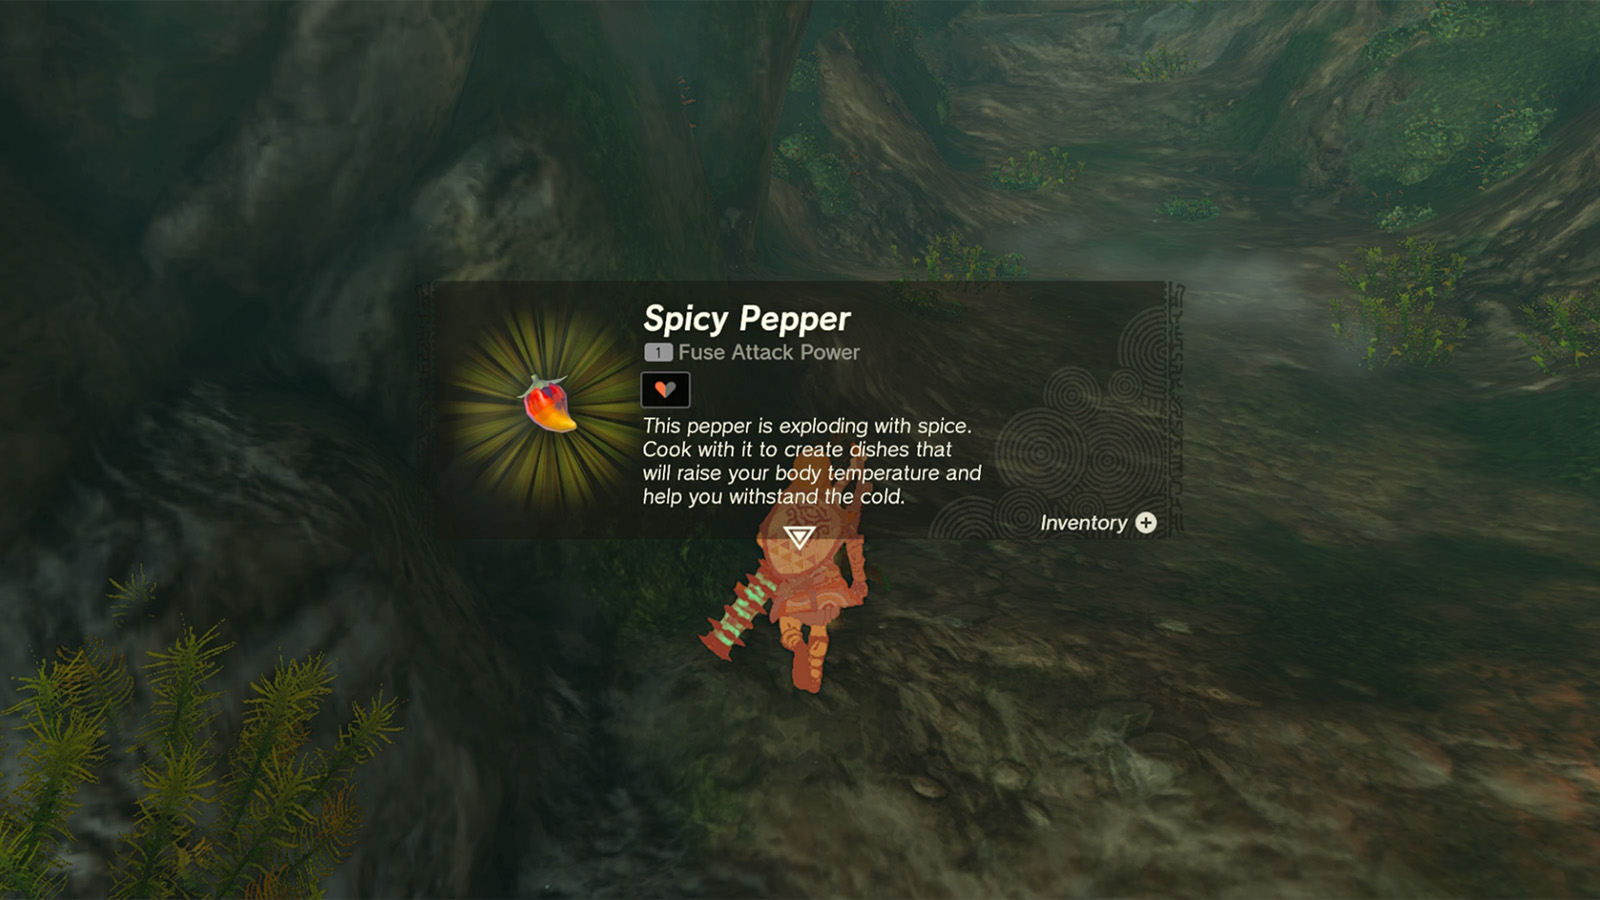
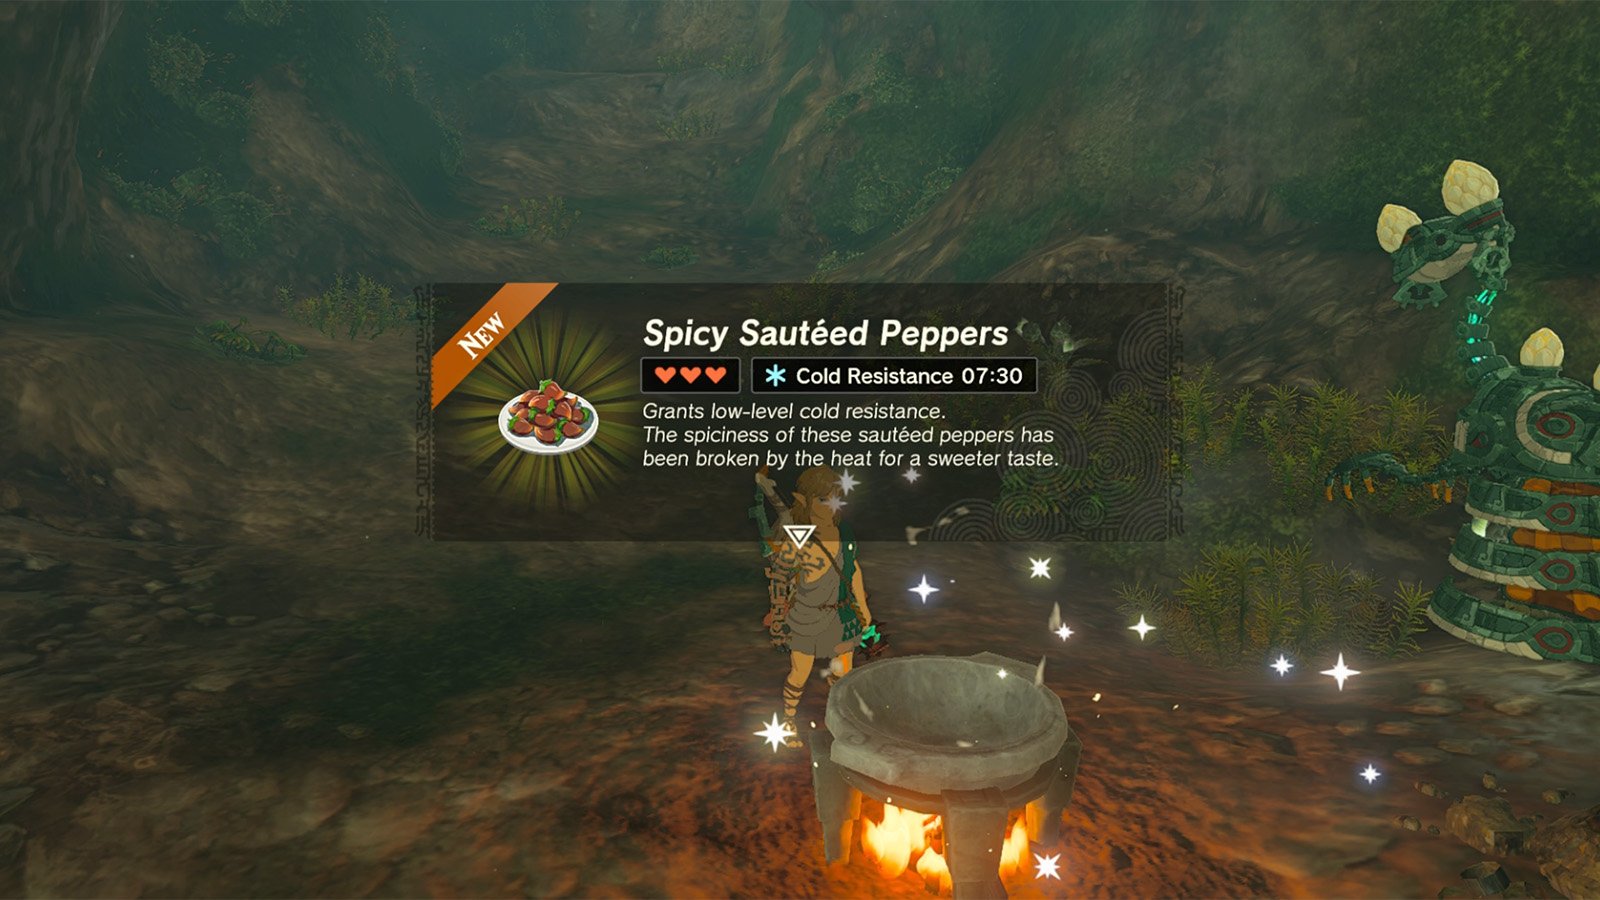
To the right of the mountain entrance is a small cave, enter it to find a cooking pot and a Ranger Construct, and several Spicy Peppers. Cook some spicy peppers to create a cold resistive meal, and then follow the cave along and climb it to the top, where you’ll emerge onto the snowy mountain with the third shrine straight ahead. Eat your cold resistive meal now.
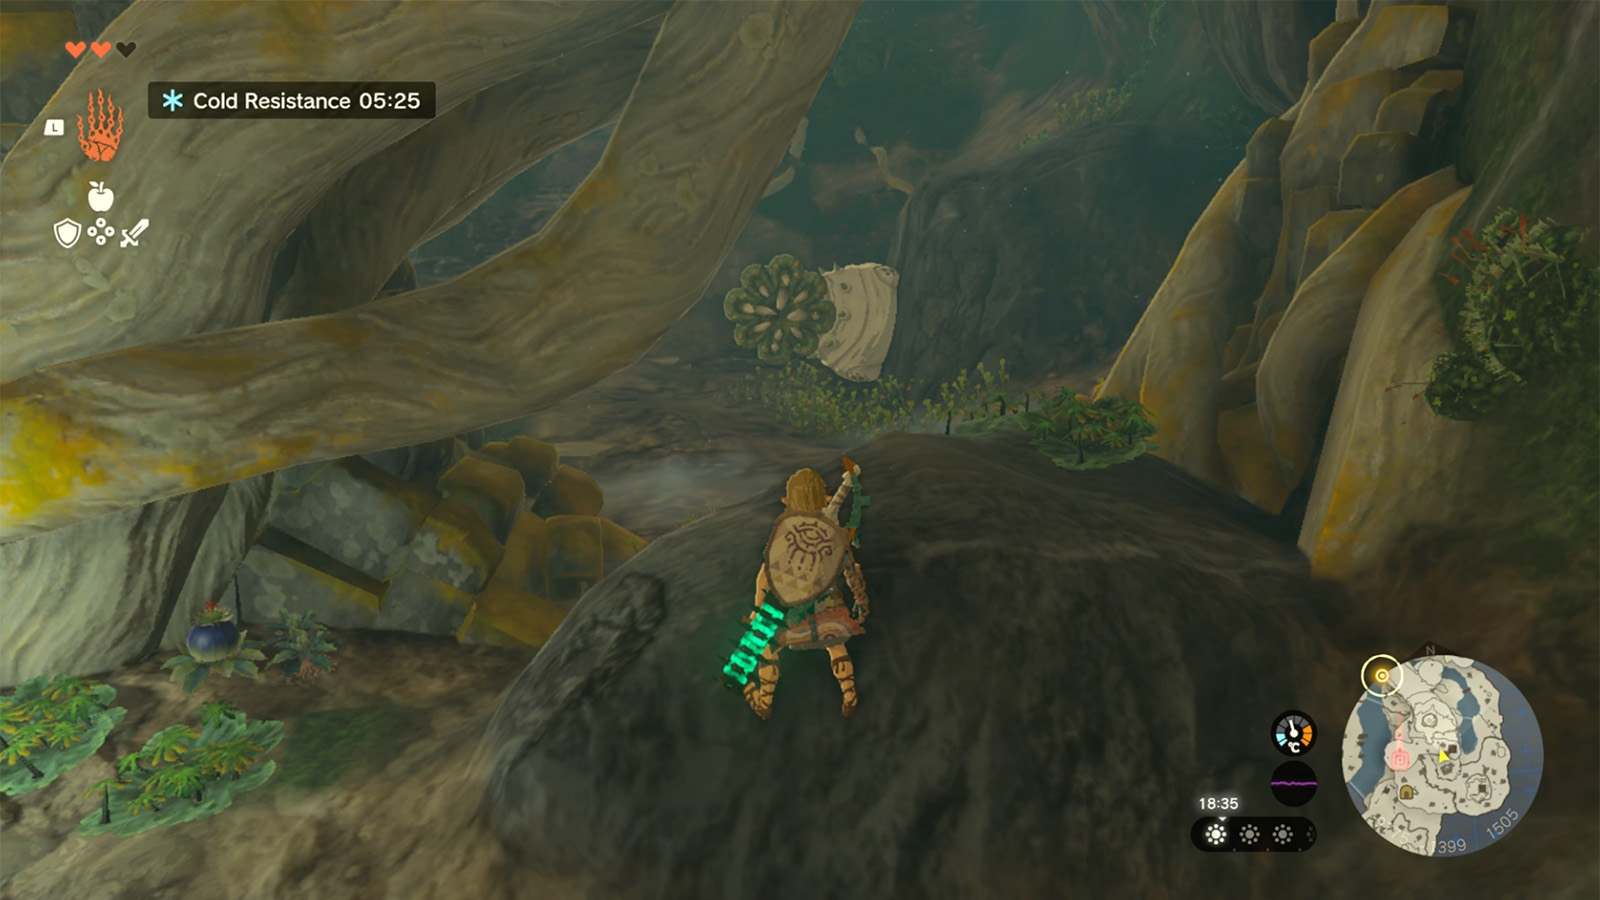
If you continue straight ahead, there is a Bottomless Cave you can enter that will take you further up the mountain, just be careful to avoid the nearby enemies and make sure to pick up the Bomb Flowers, which can be fused to arrows for some bombastic action.
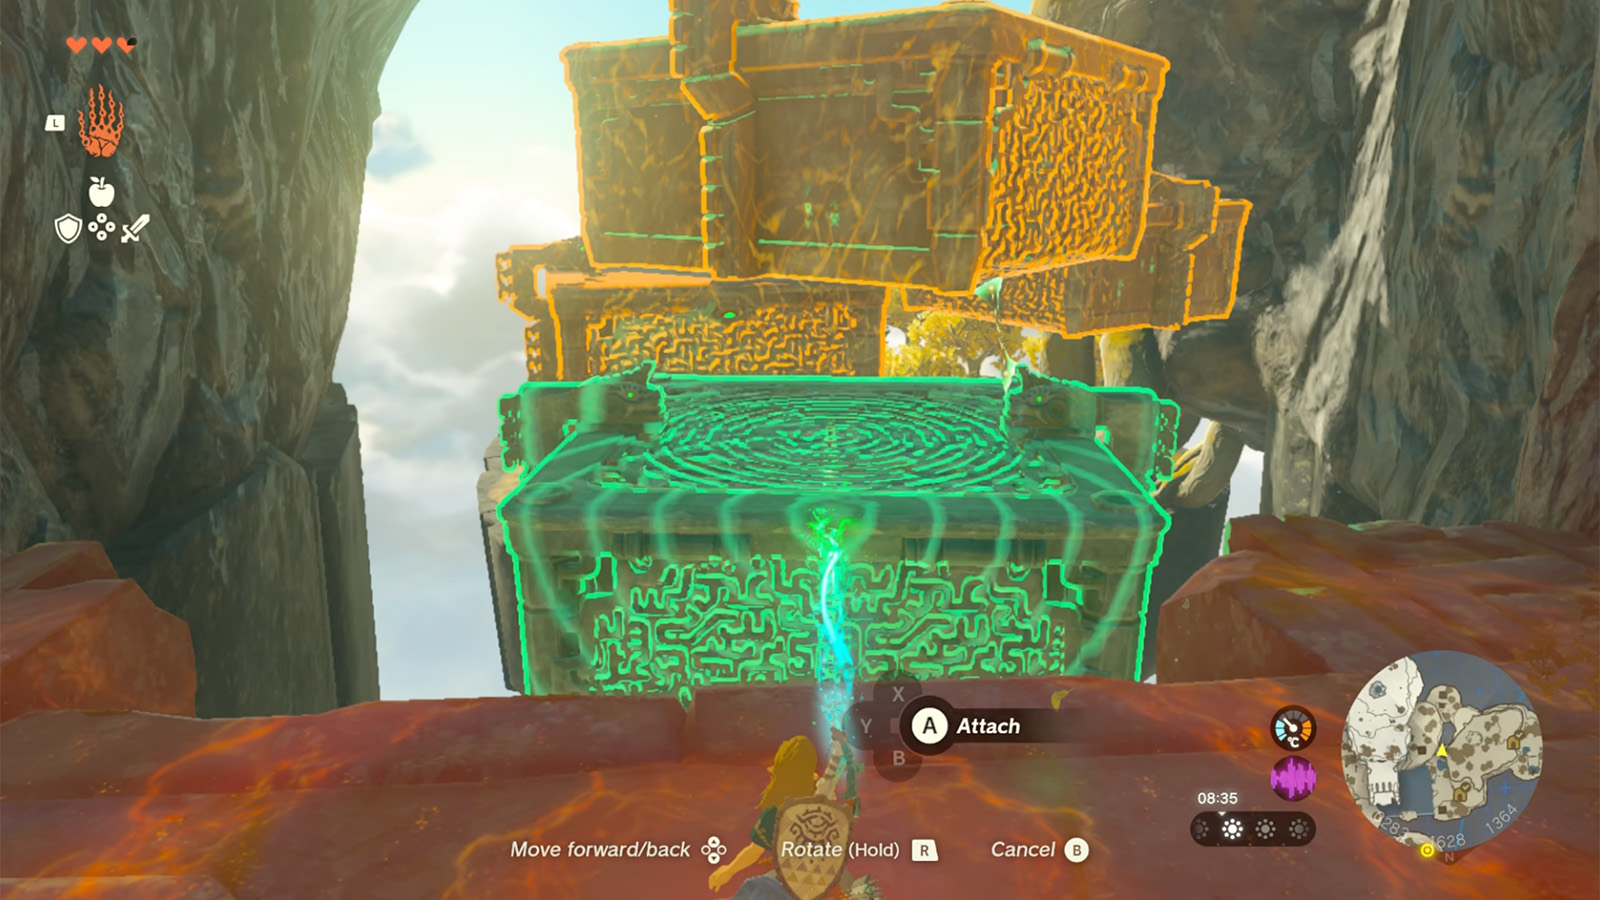
Once you exit the cave, you can follow the path along to find yourself almost at the top of the mountain. Unfortunately, due to the ice covering the mountain’s peak, you can’t climb up. Instead, you’ll need to chop down the nearby trees for logs and create a climbable apparatus with Manifest to reach the shrine.

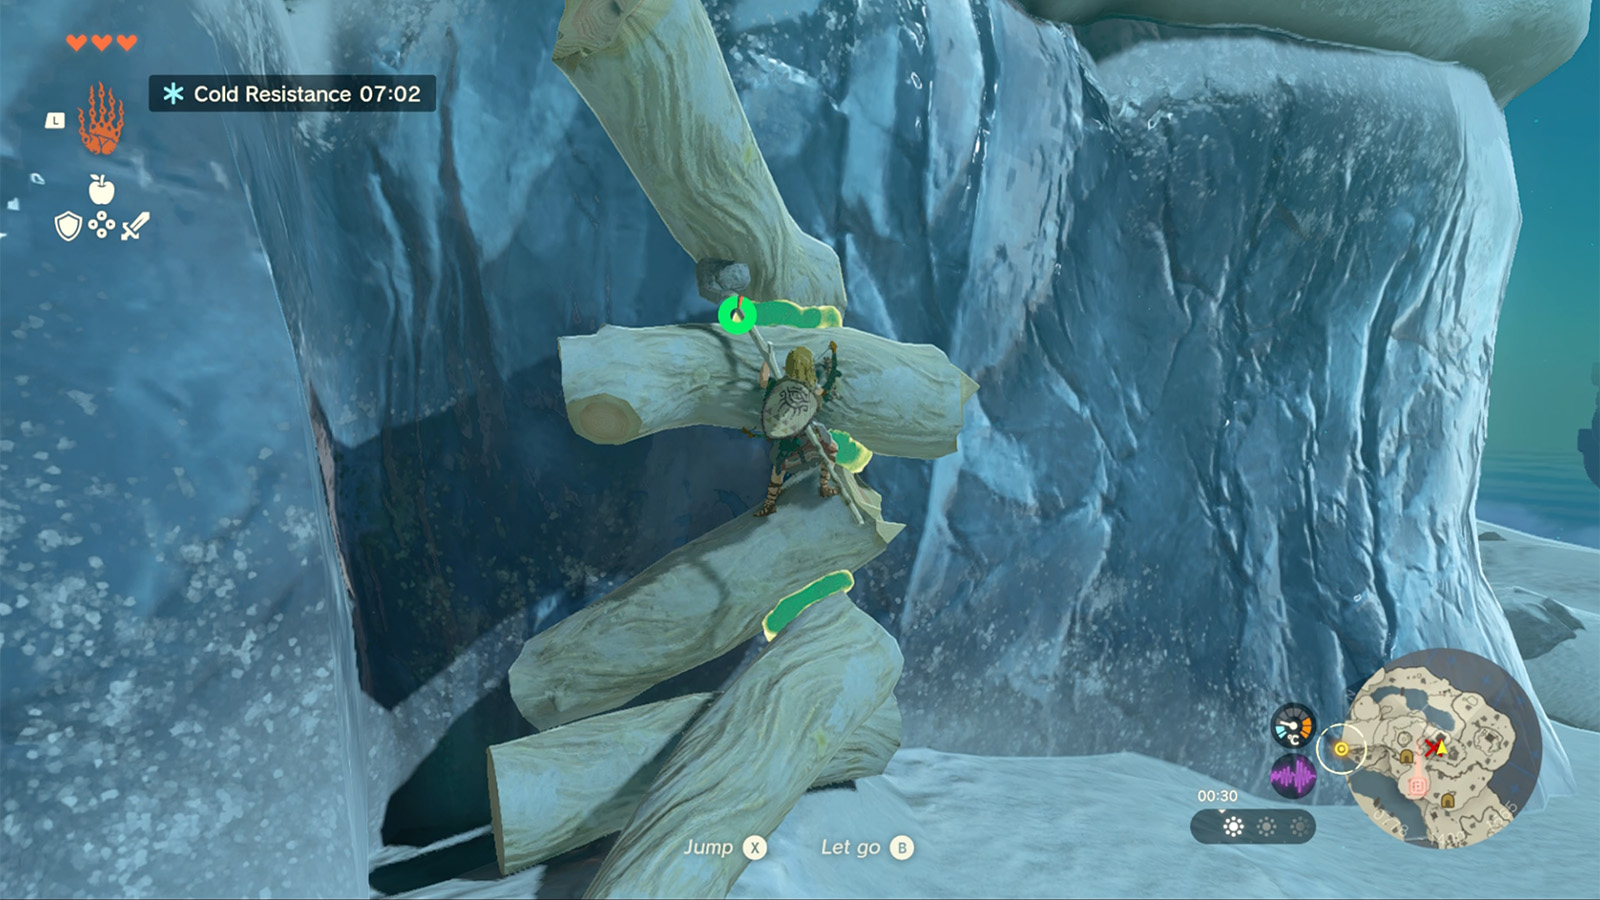
Don’t worry about how messy it is (Mine was a HUGE mess!), just build something that Link can easily climb to reach the mountain’s peak. Remember to keep an eye on your cold resistance and use your Portable Pot whenever you need to create more cold resistive meals.
Once you reach the top of the mountain peak, you can enter the third shrine to learn the new Ascend ability. That’s it! Complete the shrine, and then head back to the Temple Of Time to continue the tutorial.